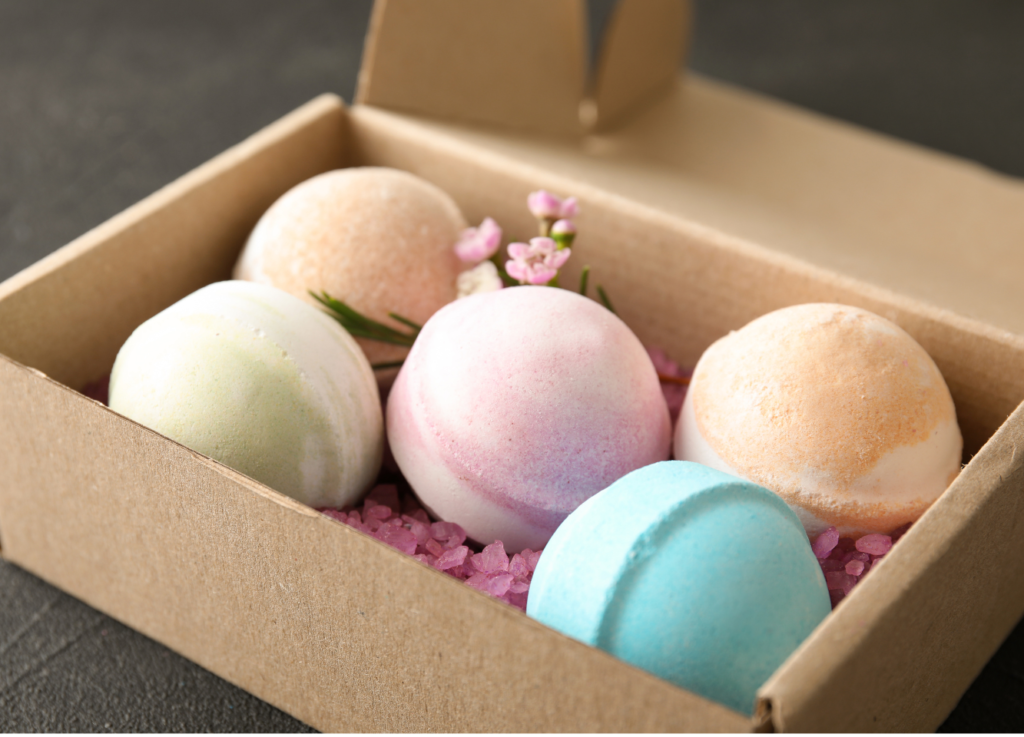
Top 10 Creative Packaging Ideas to Wrap Bath Bombs
Discover creative bath bomb packaging ideas to make your products stand out! From eco-friendly options to personalized touches, find inspiration...
Discover creative bath bomb packaging ideas to make your products stand out! From eco-friendly options to personalized touches, find inspiration...
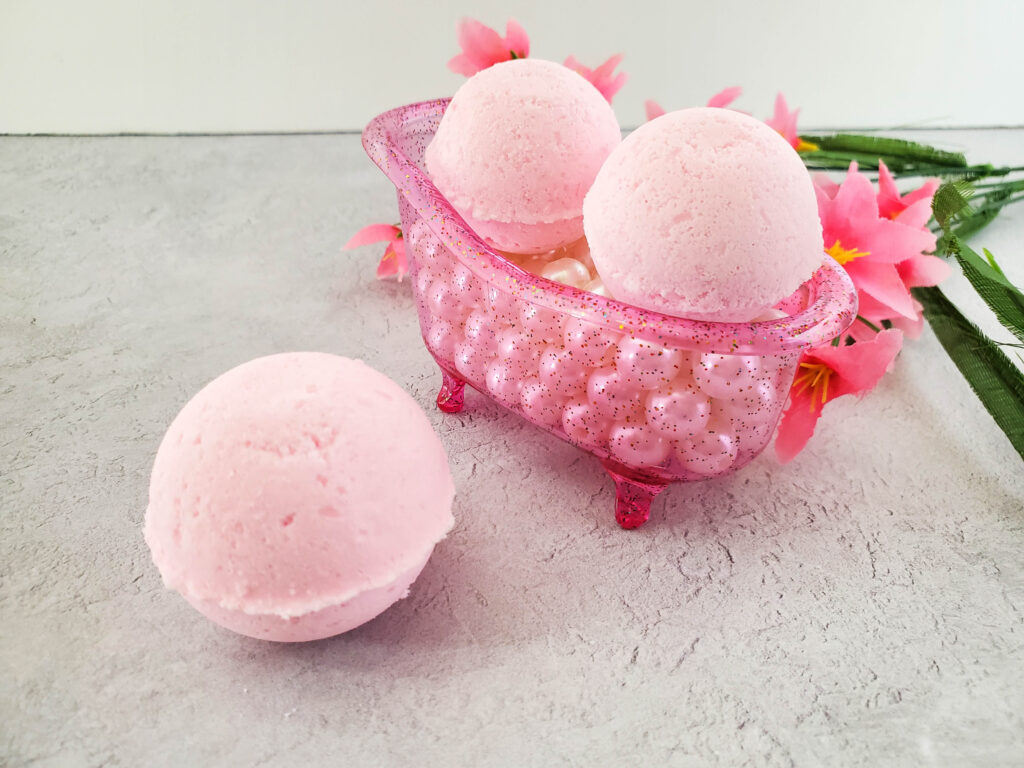
Learn how to make easy homemade bath bombs with our simple DIY guide! Elevate your bath time with these deliciously...
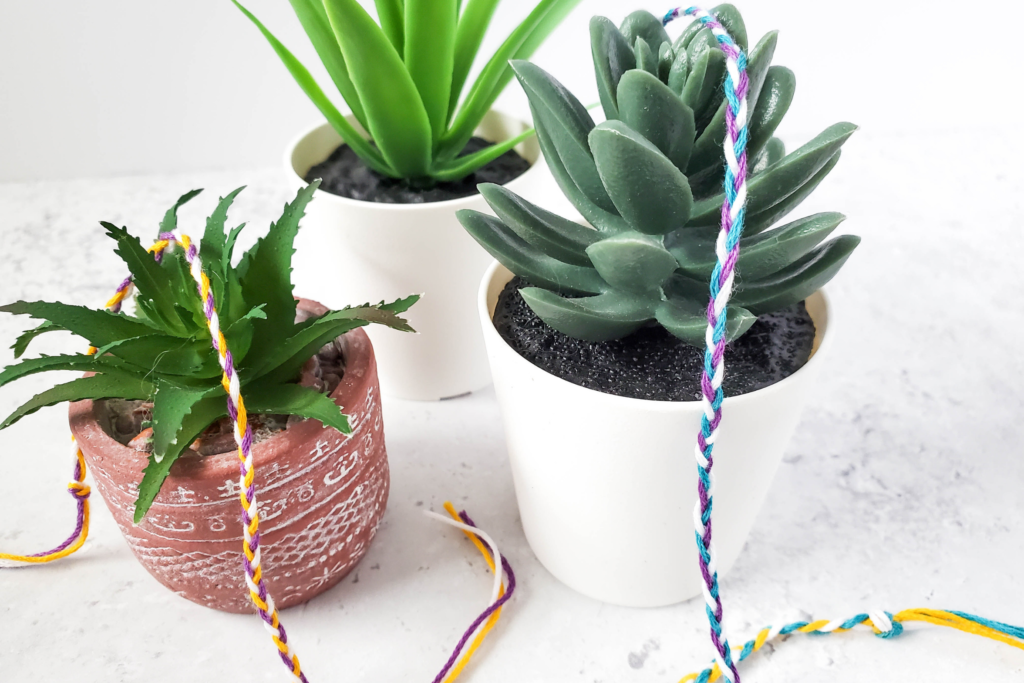
Want to make your own friendship bracelets for your best friend, new friends or family? Check out these steps on how to make your...
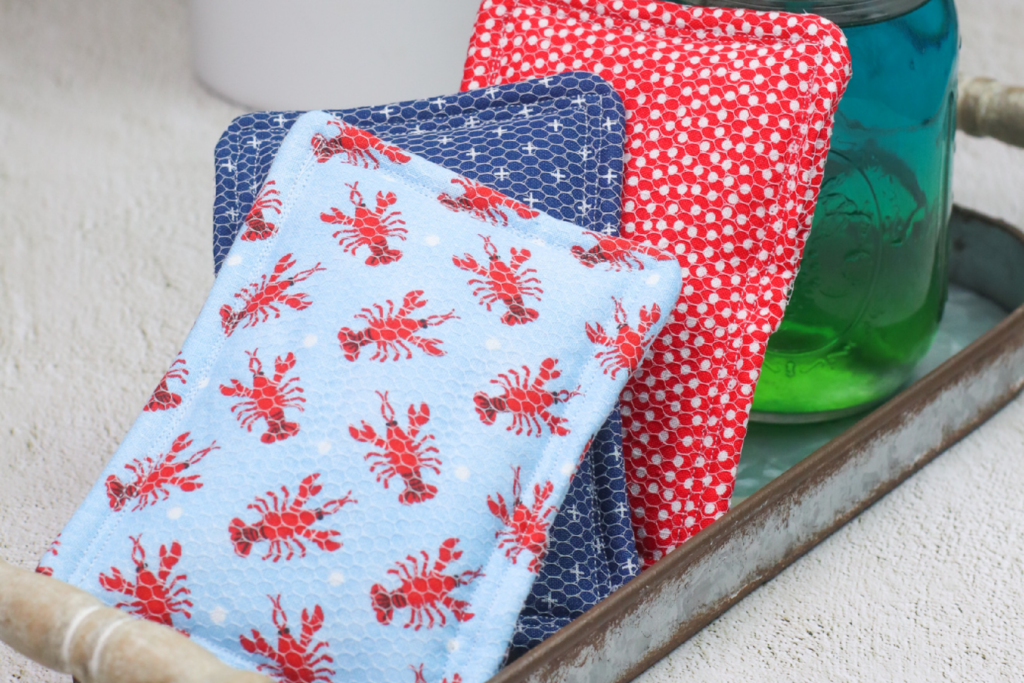
Learn how to make your own sponges with our easy DIY guide. Discover simple steps and tips for creating sponges...
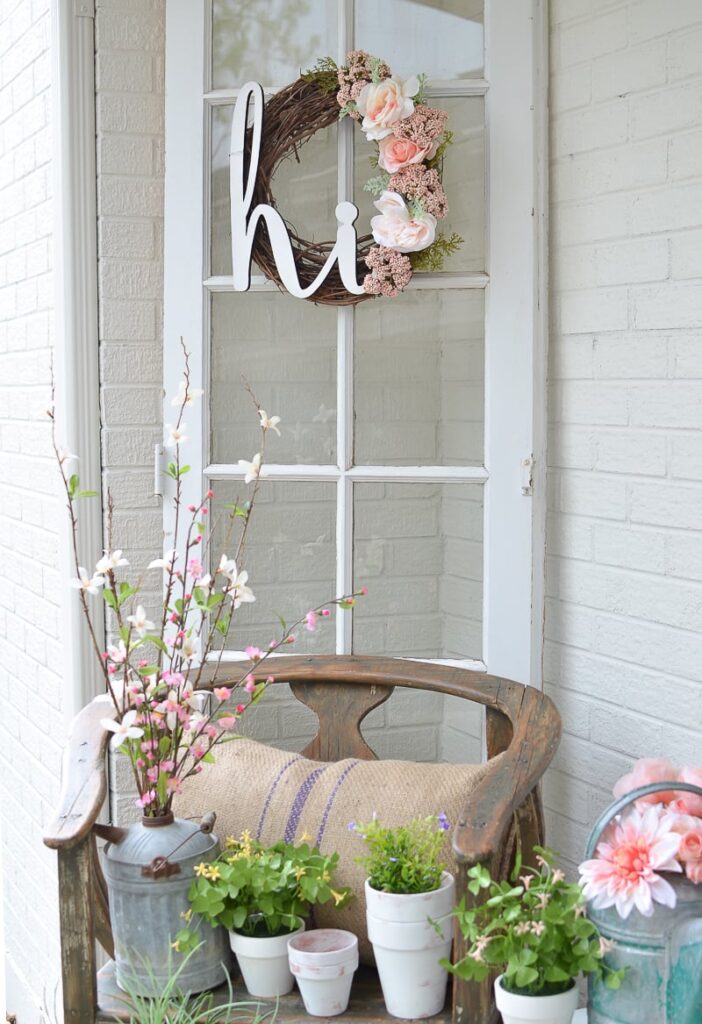
Discover delightful DIY spring wreath ideas to brighten up your home decor! Get inspired with easy-to-follow tutorials to make your...
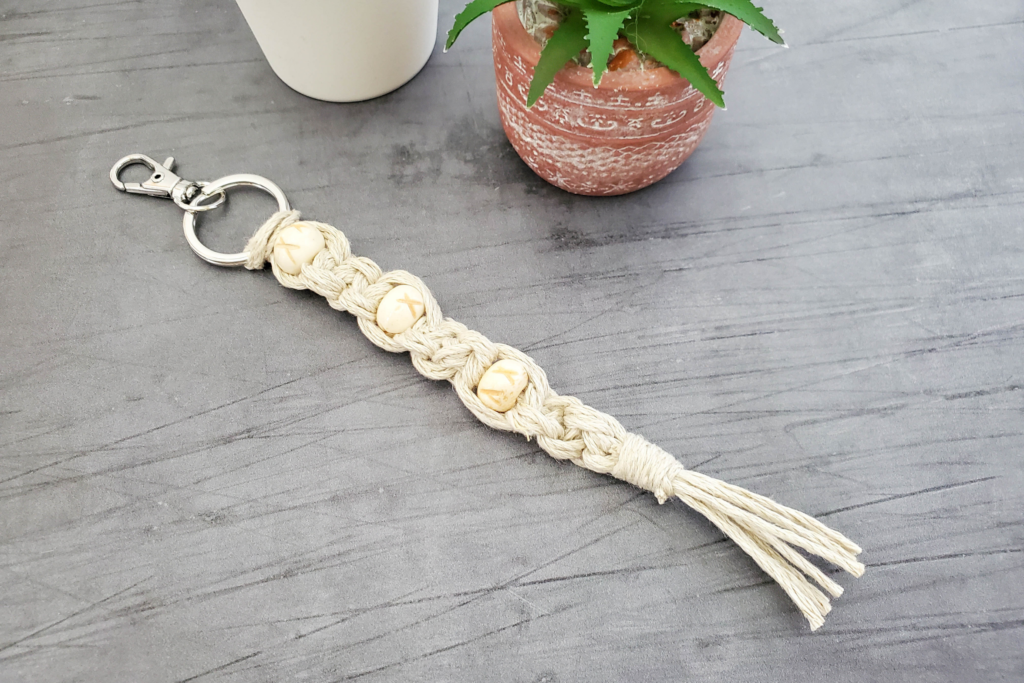
Elevate your accessories by following this fun and stylish easy macrame keychain tutorial. Perfect for beginners and seasoned crafters alike....
