Discover the joy of DIY hair care with our recipe for easy shampoo bars! Say goodbye to plastic bottles and hello to natural ingredients for healthy, vibrant hair.
Making your own shampoo bars is not only fun and rewarding but also a fantastic way to reduce plastic waste and nourish your hair with natural ingredients.
Learn how to make your own shampoo bar using ingredients such as coconut oil to add lather and cleansing properties, as well as olive oil for moisture and nourishment.
Shampoo bars typically contain natural ingredients like plant oils, botanical extracts, and essential oils. These ingredients can nourish the hair and scalp, providing moisture, vitamins, and antioxidants that promote healthy hair growth.
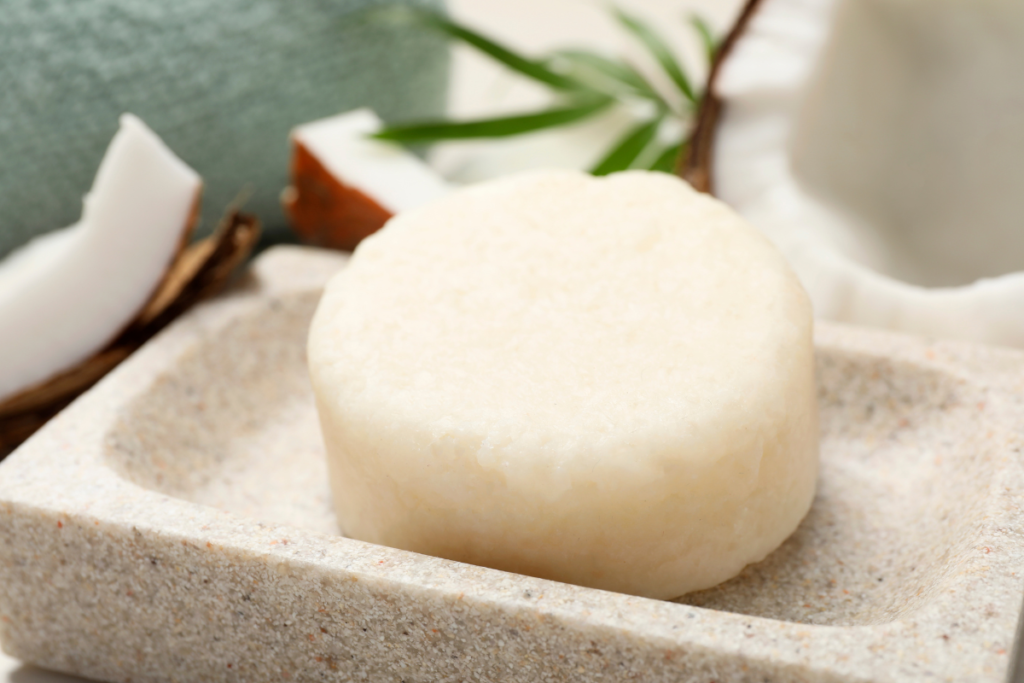
A great alternative to traditional shampoo, shampoo bars are a way to use up any leftover soap scraps and can even be used all over your body, just like a bar of soap.
If you are leaning towards a zero-waste lifestyle, making your own DIY shampoo bar is a great place to start, getting rid of plastic bottles.
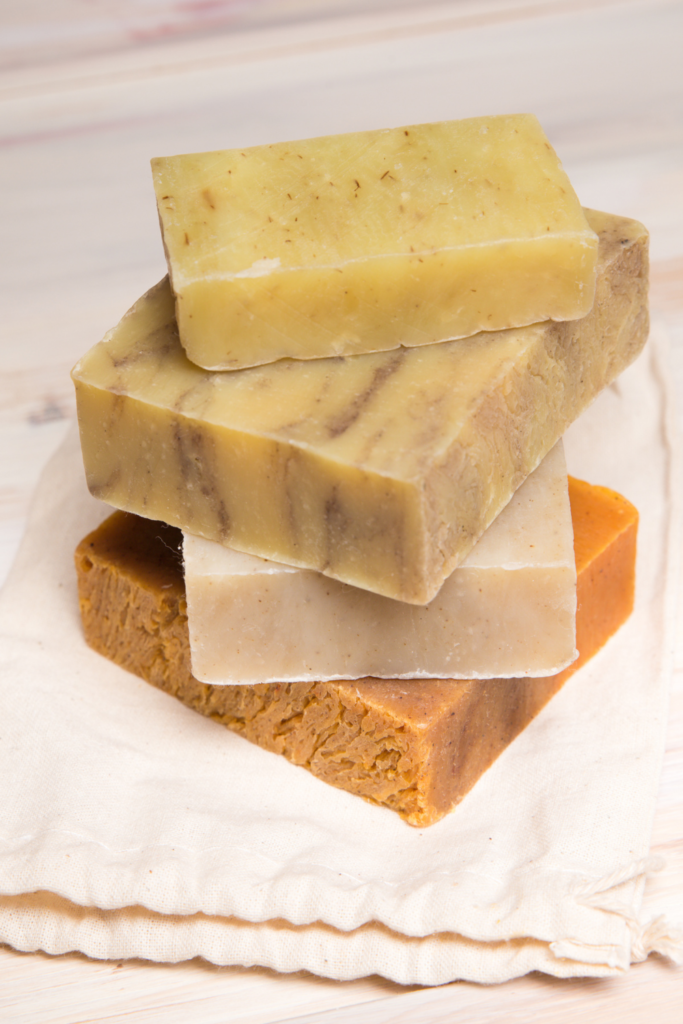
Are shampoo bars good for hair?
Here are some reasons why using solid shampoo bars can be good for your hair:
- Shampoo bars typically contain natural ingredients like plant oils, botanical extracts, and
essential oils. These ingredients can nourish the hair and scalp, providing moisture, vitamins, and antioxidants that promote healthy hair growth. - Many commercial liquid shampoos contain sulfates, parabens, and other harsh chemicals that can strip the hair of its natural oils and cause dryness, irritation, and damage. Shampoo bars, especially those made with gentle and natural ingredients, offer a milder cleansing option without these harsh additives.
- Shampoo bars are more environmentally friendly than traditional liquid shampoos in plastic bottles. By switching to shampoo bars, you can reduce plastic waste and lessen your environmental footprint.
- Shampoo bars tend to last longer than liquid shampoo, as they are concentrated and require less product per use. This can save you money in the long run and reduce the frequency of purchasing new shampoo bottles.
- Shampoo bars are convenient for travel as they are solid and not subject to liquid restrictions when flying. They are compact, lightweight, and easy to pack, making them an ideal choice for on-the-go hair care.
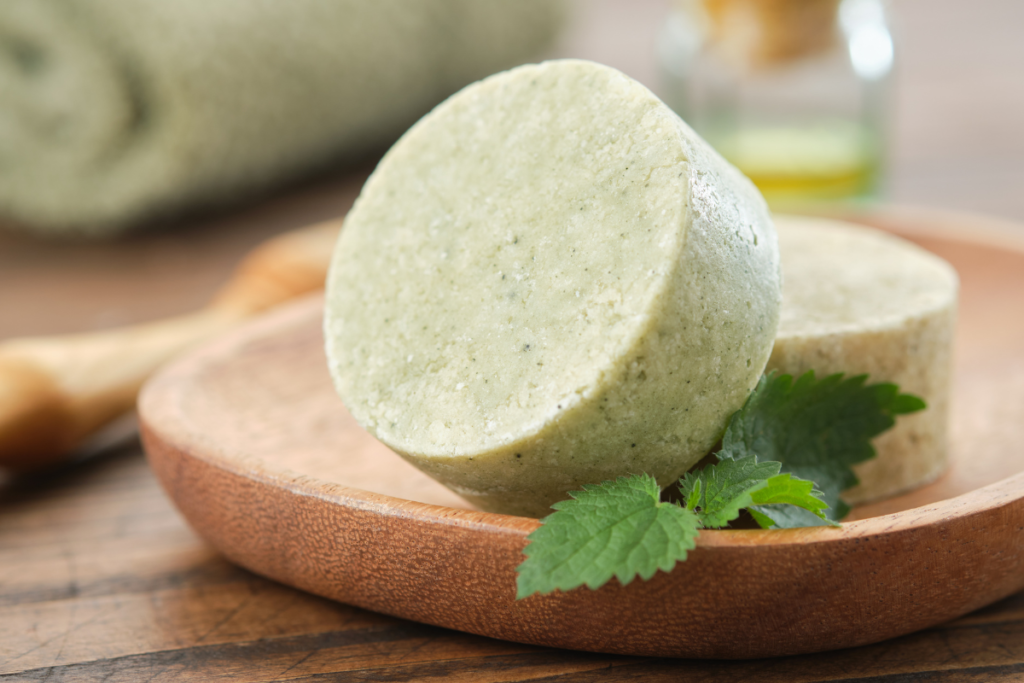
As with any hair care product, it’s essential to find the right shampoo bar for different hair types and preferences through experimentation and research.
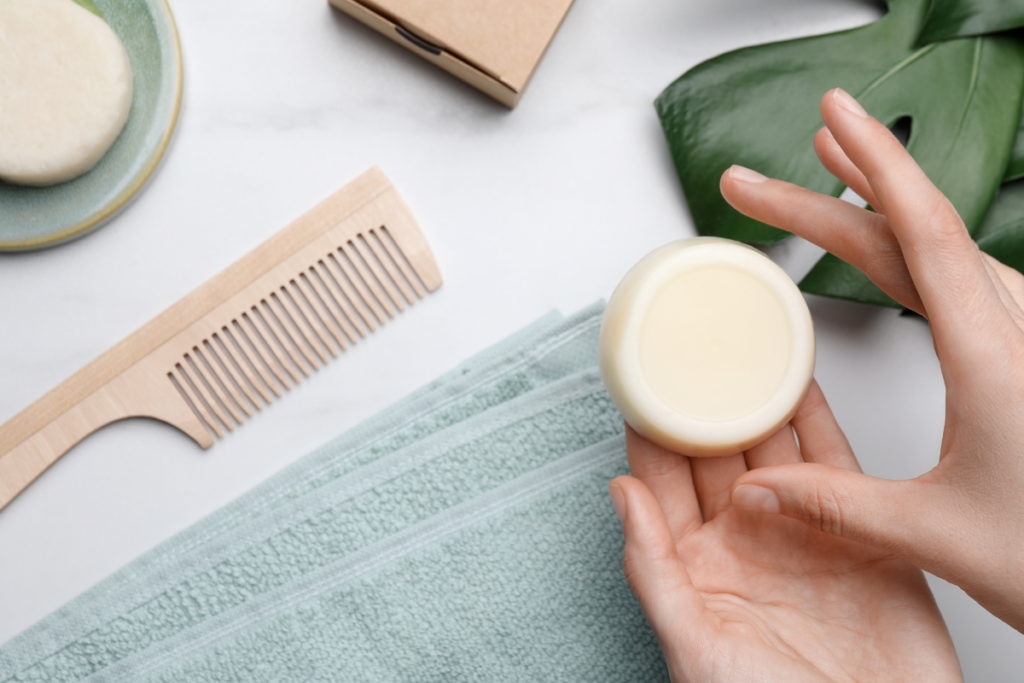
Ideas for Making a Homemade Shampoo Bar:
- Make a moisturizing shampoo bar by incorporating ingredients like shea butter, argan oil, and honey to deeply moisturize and condition the hair, leaving it soft and manageable.
- Use ingredients like apple cider vinegar and activated charcoal to make a clarifying shampoo bar to remove buildup and purify the scalp.
- Customize your shampoo bars with your favorite essential oil blends for a personalized scent experience. Essential oils not only add fragrance but also offer various hair and scalp benefits, such as promoting circulation and reducing dandruff.
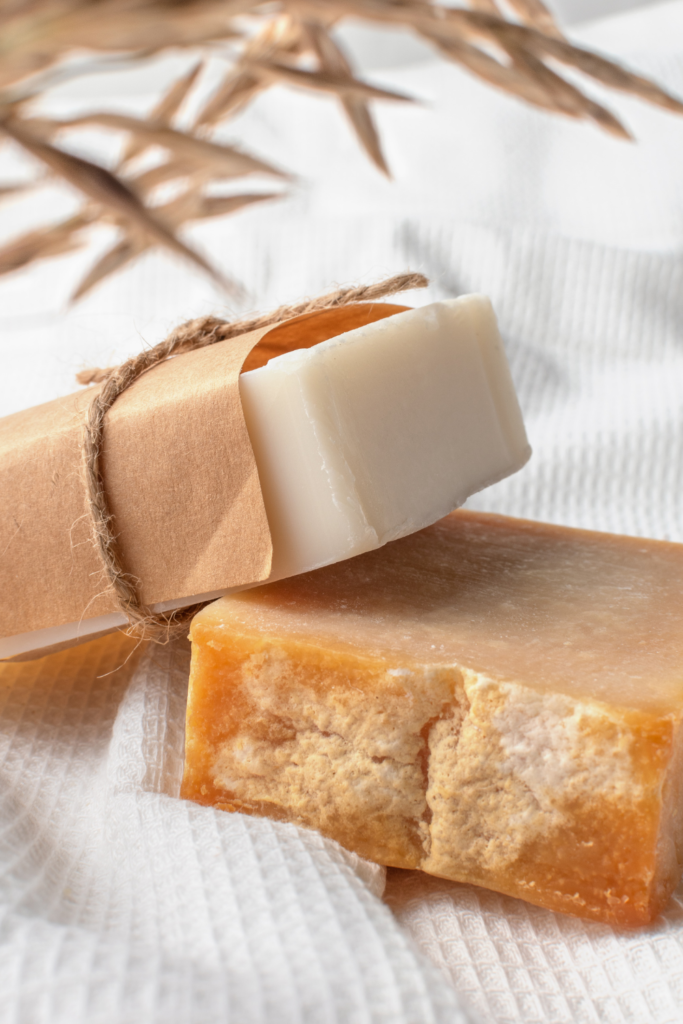
How do you make a homemade shampoo bar?
Prep Time 35 minutes
Resting and curing time 30 days
Makes 12 bars
Supplies
Because you are working with lye, it is recommended that you use supplies designated only for soapmaking.
- Glass mixing bowl
- Non-reactive pot (Stainless steel, ceramic, glass, or metal cookware with enamel coating)
- Candy thermometer
- A soap mold (silicone molds yields the best results)
- Digital scale
- Stick blender
- Wooden spoon
- Gloves and protective eyewear
- White Vinegar
Wear protective gloves and safety goggles throughout the entire soap making process, including clean up. Wash all of your supplies in hot soapy water with vinegar.
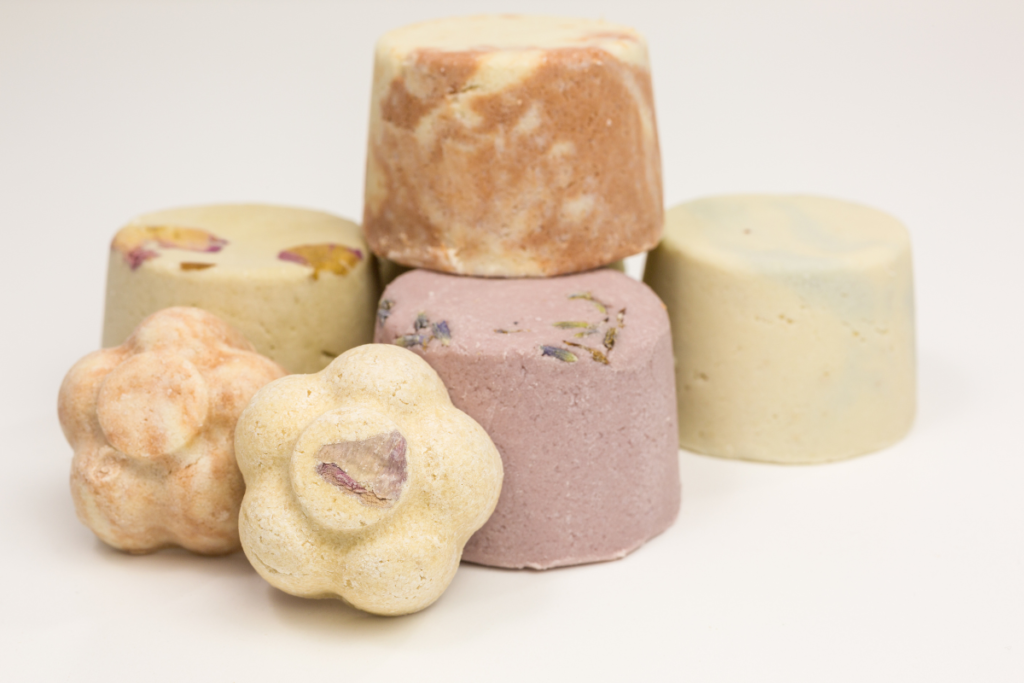
Ingredients
- 12 oz distilled water
- 5 oz lye
- 10 oz coconut oil
- 10 oz tallow (or palm oil)
- 10 oz olive oil
- 6 oz castor oil
- 1.5 oz essential oils (tea tree oil, rosemary, orange and peppermint are great oils to use)
Instructions
In a glass jar add the distilled water.
Carefully add the lye solution to the water and stir.
NOTE: NEVER add water to the lye, this will cause a bad reaction.
Let the mixture sit, giving it time for the chemical process to take place and cool.
Combine the coconut, tallow, olive and castor oil in a non-reactive pot. Warm on low to between 100 and 120 degrees.
Slowly add the lye water to the melted oils.
Using a stick blender, mix the mixture until it becomes trace. This means your mixture is still a fluid, but a drop of the mixture will stay right on the surface before it falls back into the liquid.
Add a few drops of essential oils.
Pour the mixture into the soap molds.
Cover the tops of the mold with a piece of cardboard, followed by a dish towel to keep the shampoo bar warm for 24 hours.
After 24 hours, remove from the mold and slice it 1 inch thick into 12 bars.
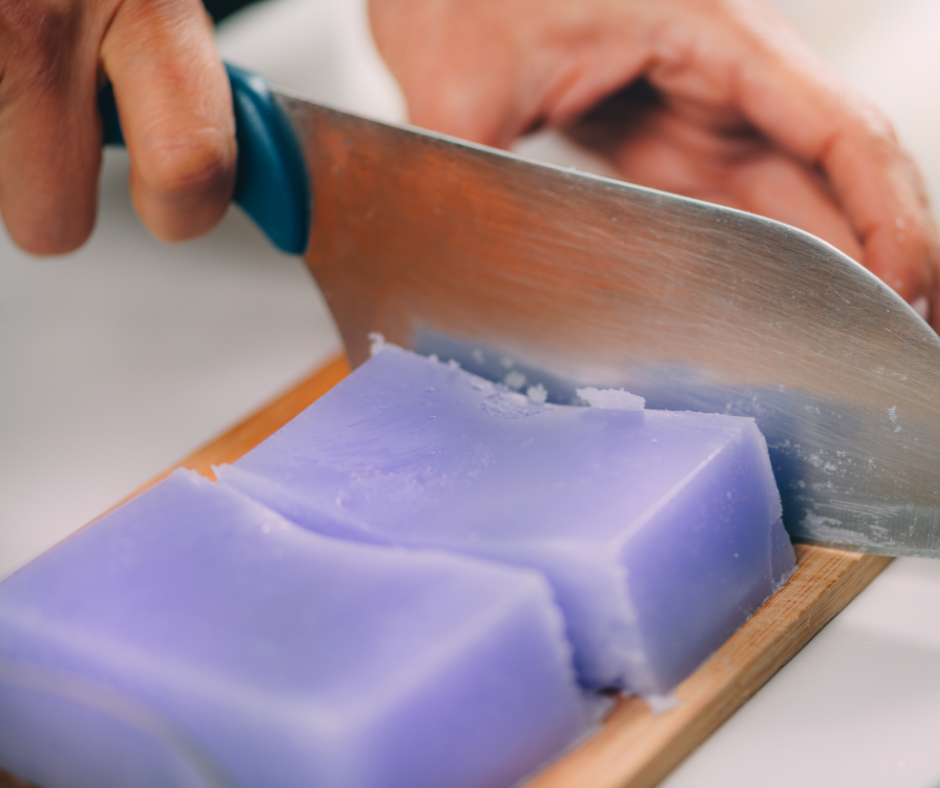
In a well-ventilated area, stand the bars upright and let them cure for 4-6 weeks.
Tips for Shampoo Bar Success:
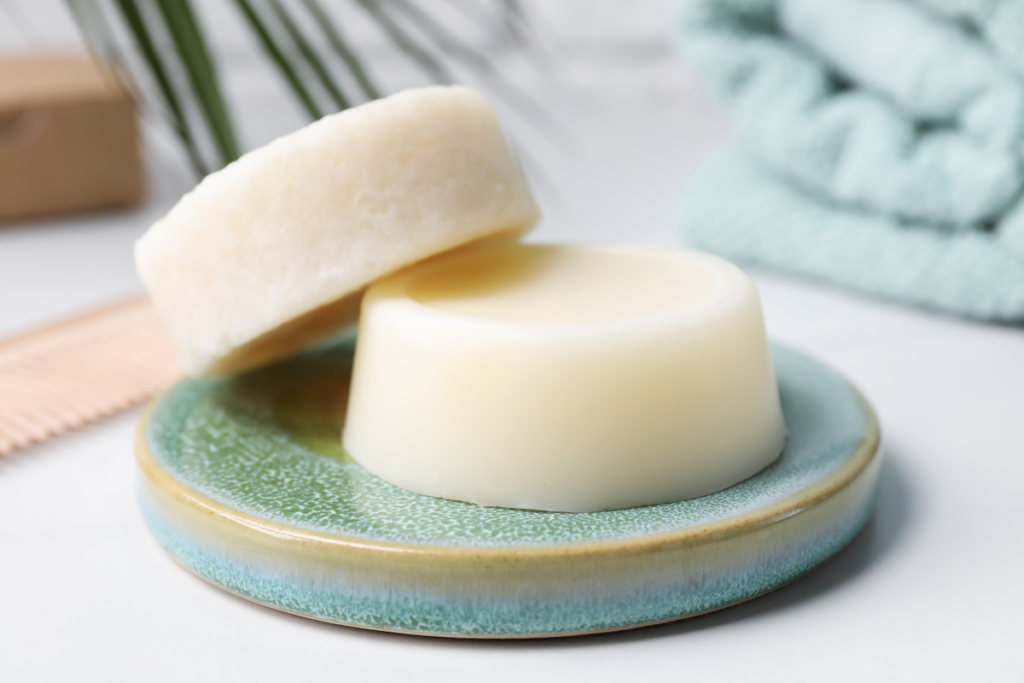
- Store your shampoo bars in a cool, dry place when not in use. Use a well-draining soap dish to help them dry between uses and prolong their lifespan.
- Use a soap dish with drainage to prevent your bar from becoming soggy.
- Transitioning to shampoo bars may involve an adjustment period as your hair adapts to natural ingredients. Stick with it, and you’ll likely see positive results in the long run.
Full disclosure: This DIY contains affiliate links.


[…] shampoos, body lotions and face wash have enough carrier oils to dilute the essential oils, so by adding a […]