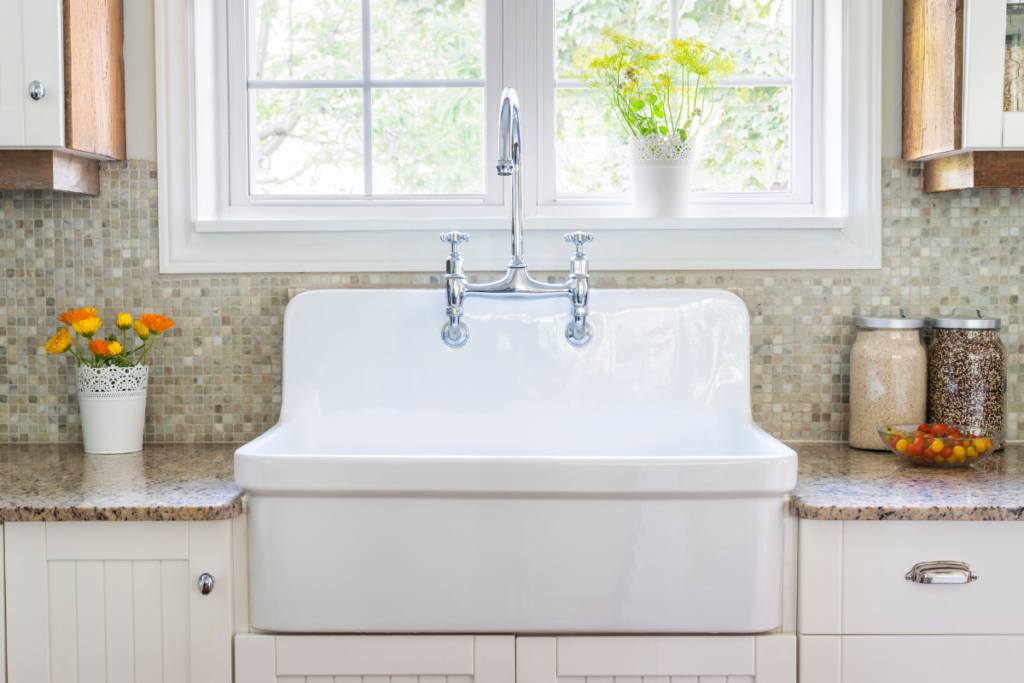
How to Clean Smelly Drains in the Kitchen
Is there a foul smell lingering in your kitchen? It might be coming from your drains. Over time, kitchen drains...
Is there a foul smell lingering in your kitchen? It might be coming from your drains. Over time, kitchen drains...
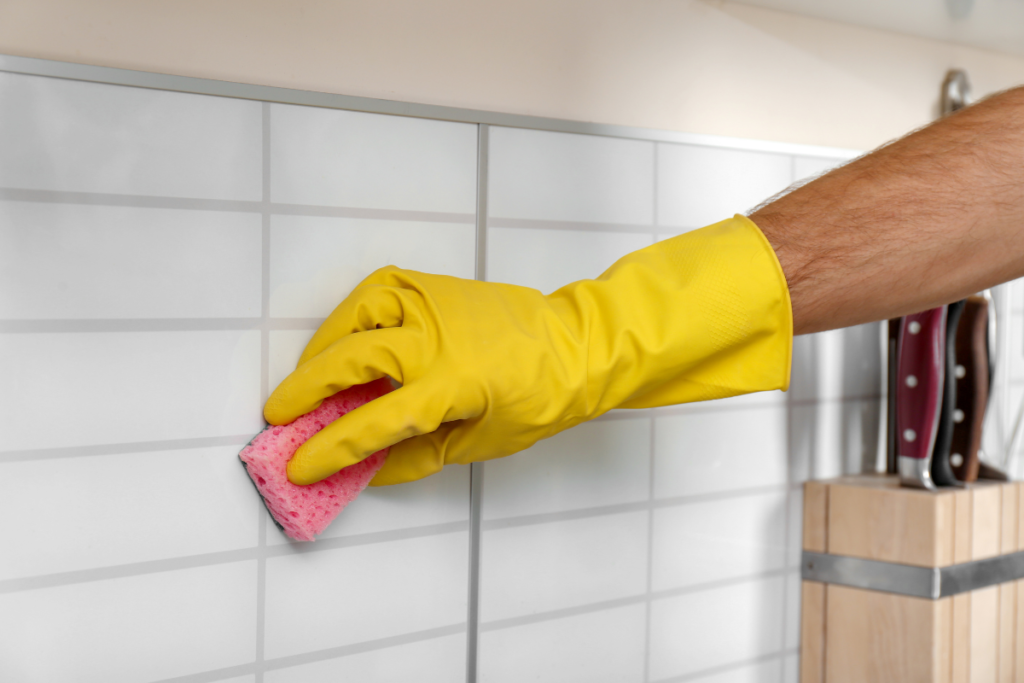
Learn simple and effective methods to tackle grease buildup on your kitchen walls. Say goodbye to stubborn stains with our...
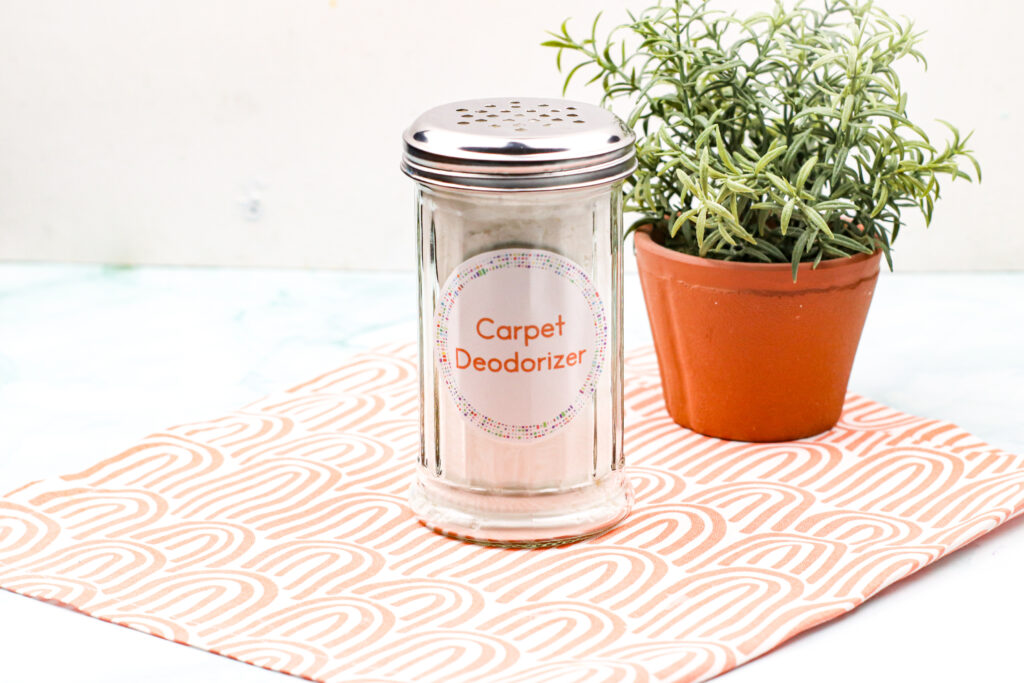
Learn how to make a homemade carpet deodorizer so you can keep your carpets smelling fresh and clean. It’s easy,...
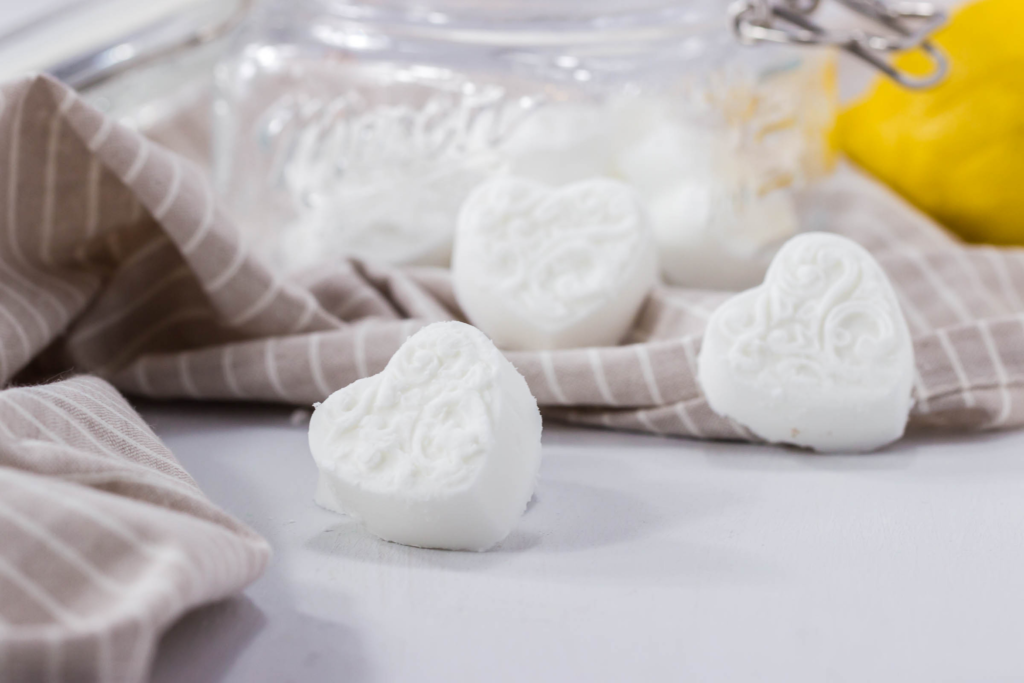
Tired of trash can smells? Use these DIY trash can deodorizers on the bottom of your trash bin to get...
