Unlock your creative side with our step-by-step guide on how to make a DIY hemp wish bracelet. Craft your own stylish accessory and spread positive vibes effortlessly!
Have you ever seen a hemp bracelet and wondered how to make your own, this tutorial will show you how to make your own DIY Wish Bracelet
Express your style, positivity, and creativity with this simple yet charming crafting journey. Hemp wish bracelets not only adds a trendy touch to your style but also infuses your day with positive vibes.
This project is perfect for beginners and only requires a few supplies.
Simple wish bracelets make great gifts for friends or family members at special occasions like birthdays or graduations to guarantee good luck!
If you are looking for another fun bracelet project try learning how to make a friendship bracelet!
What is a Wish Bracelet?
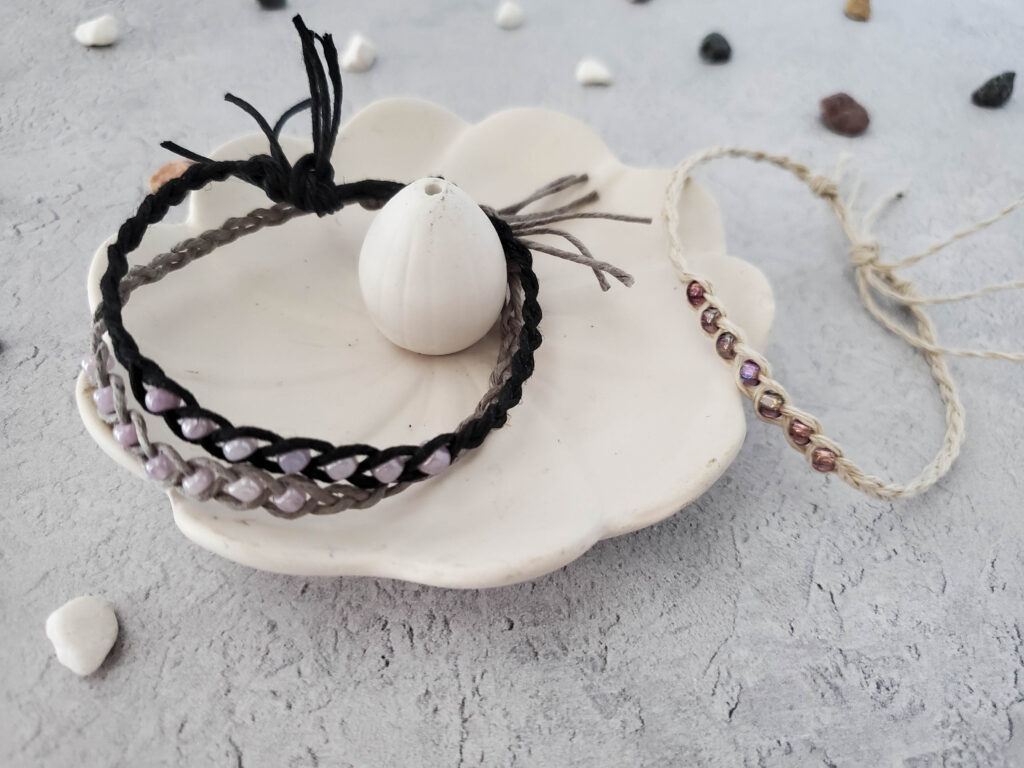
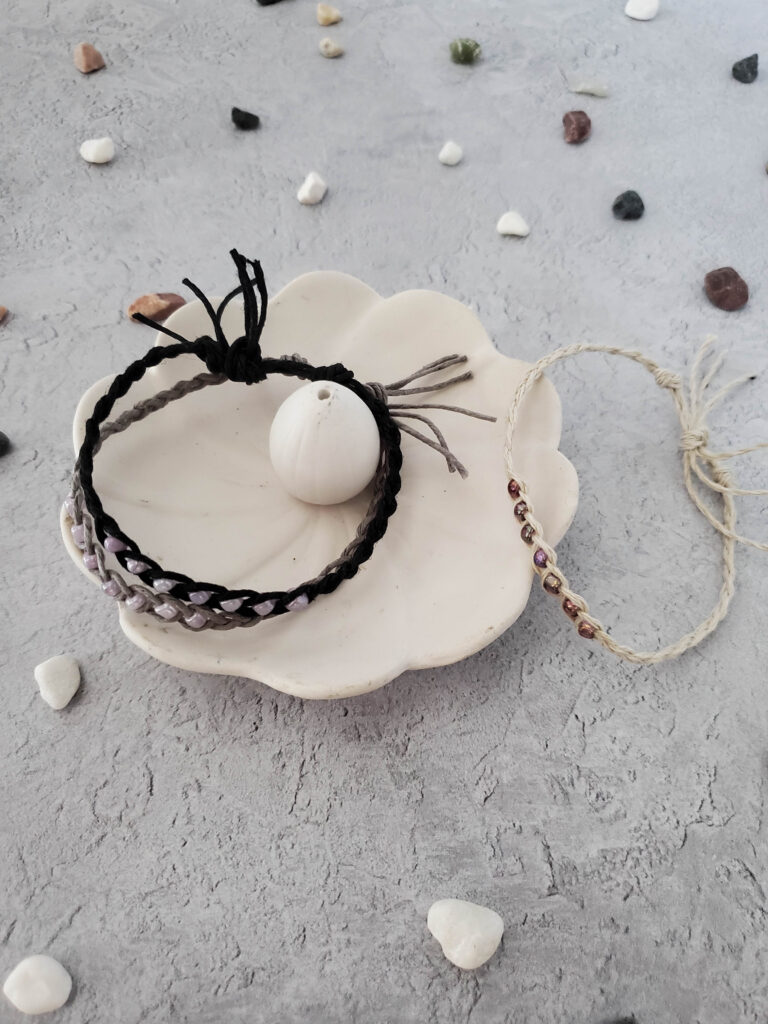
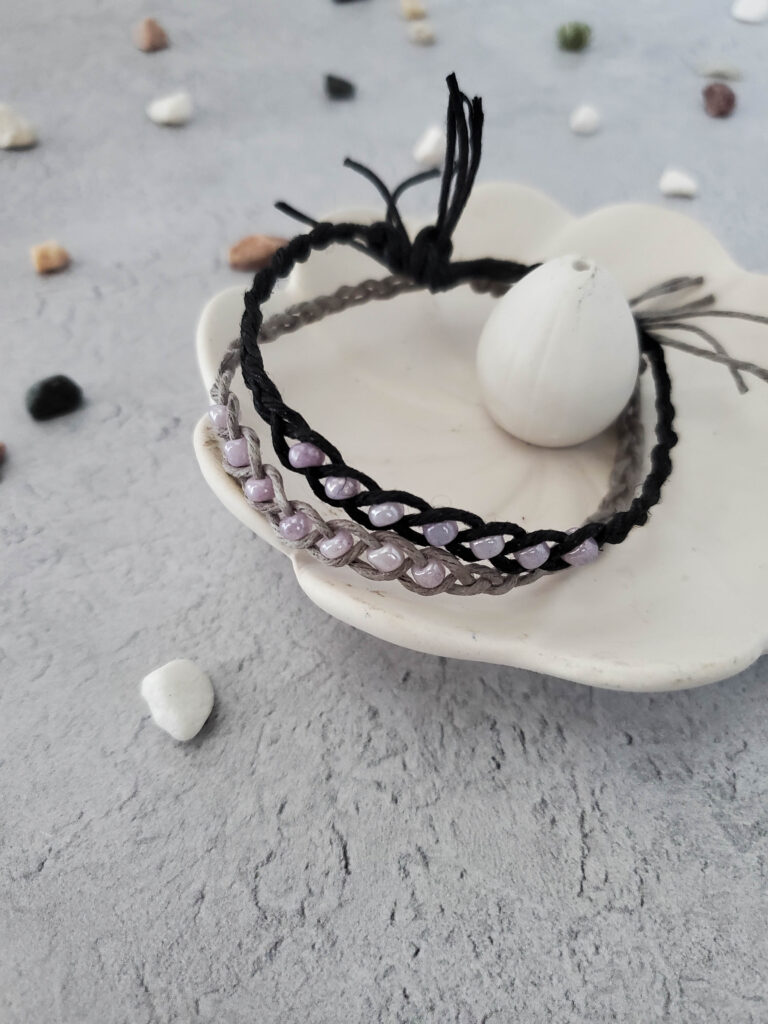
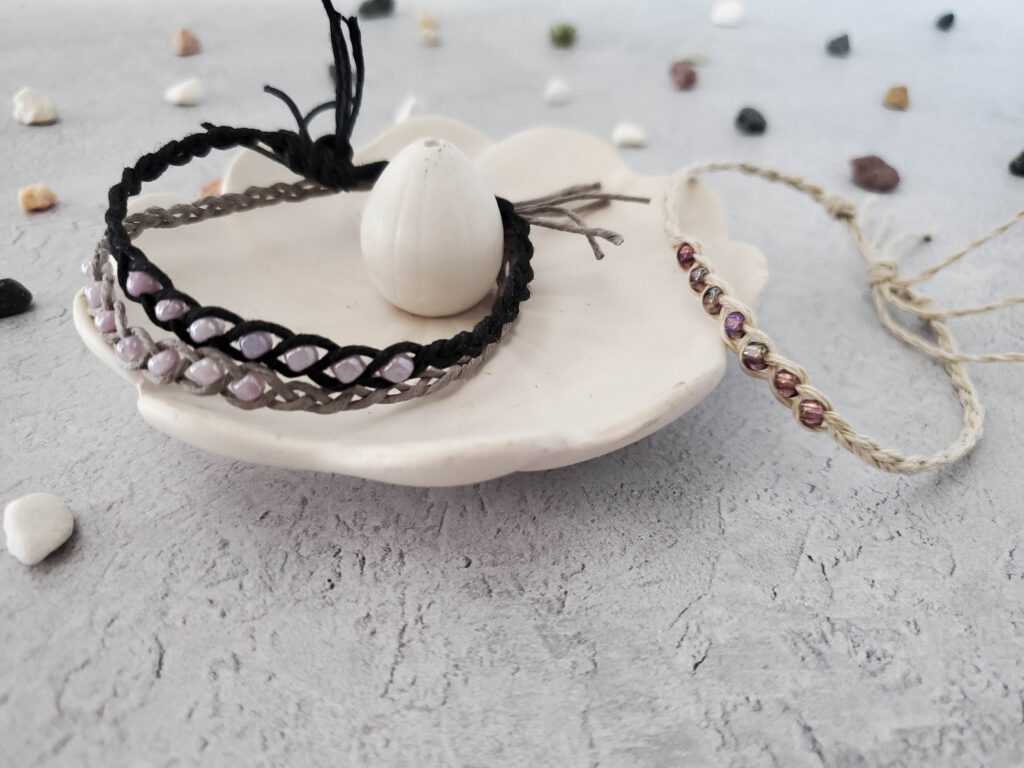
A wish bracelet is a simple bracelet made out of hemp and adorned with colorful beads or charms. It’s the perfect blend of style and meaningful intentions.
The idea is that you make a wish when you first put it on and then throughout the day, you keep your wristband close to your heart and focus on that wish. By the time the bracelet wears off, your wish will have come true!
What do the colors of the wish bracelet mean?
So what color should you choose for your hemp bracelet? It depends on what kind of wish you want to come true, each different color has a different meaning. Here are some of the most popular color meanings:
Red: strength, passion, love
Orange: energy, creativity, happiness, joy, vitality
Yellow: joy, optimism, clarity, intelligence
Green: balance, growth, new beginnings
Pink: love, compassion, and gentleness
Blue: tranquility, peace, serenity
Some believe that wearing a hemp wish bracelet with all of the colors represented can bring about all of the corresponding qualities. Others might wear a single color to focus on one specific quality. The choice is up to you!
See Also: DIY Washi Tape Frame | DIY Macrame Keychain | Wildflower Seed Bombs
How to Make a Wish Bracelet
Supplies:
- Hemp string (#20 used for this one)
- Scissors
- 7 seed beads (you will want to use the medium or large ones, not the super tiny ones)
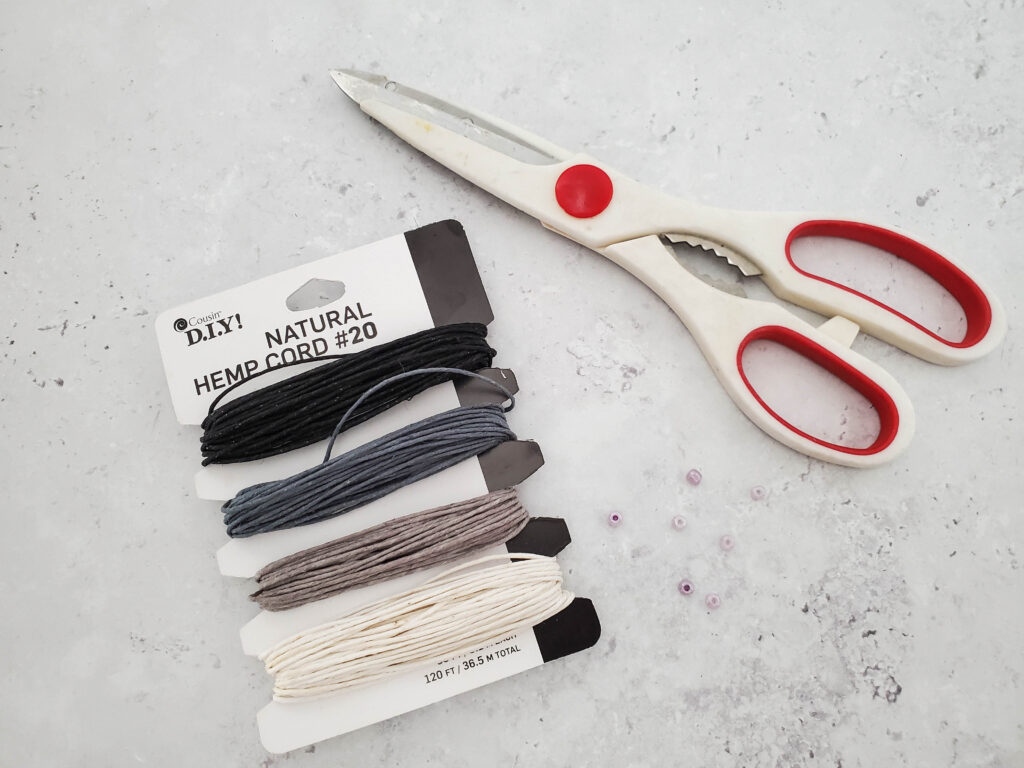
Directions:
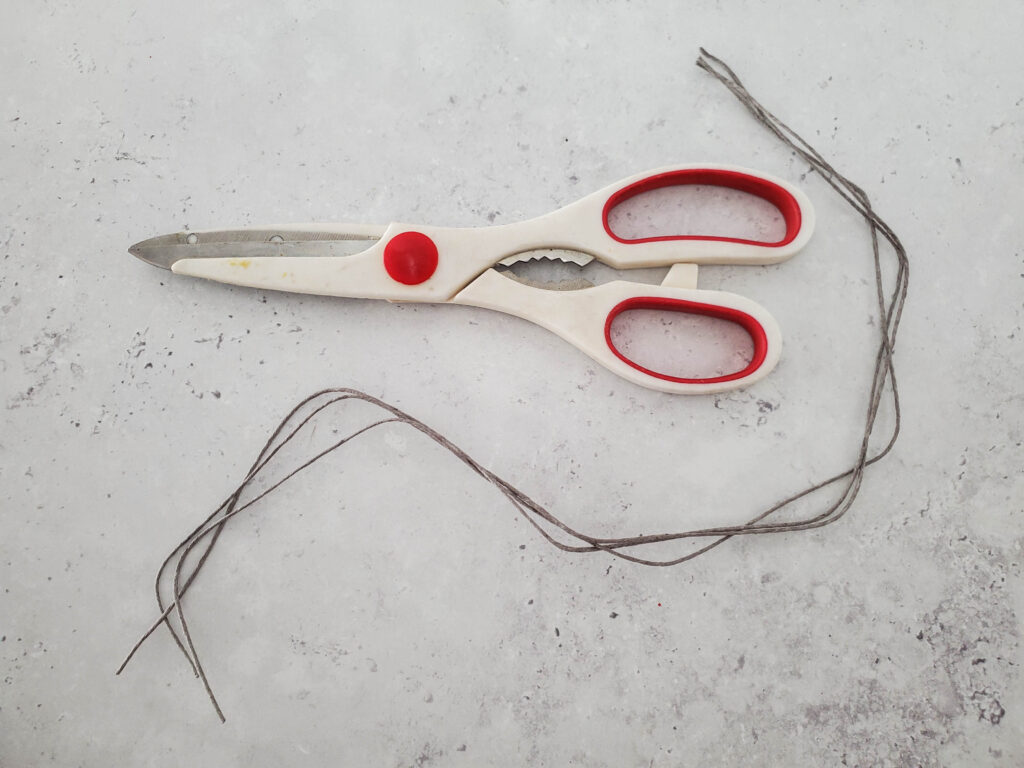
Cut 3 lengths of 15” inch strands of hemp twine.
Remember, you can always make the bracelet bigger or smaller by adjusting how much cord you use. If you’re not sure what size to make your bracelet, you can always err on the side of making it too big rather than too small. You can always trim off any excess piece of hemp later.
Once you have your cord cut to size, go ahead and seal the ends with a lighter or matches. This will prevent the cord from fraying.
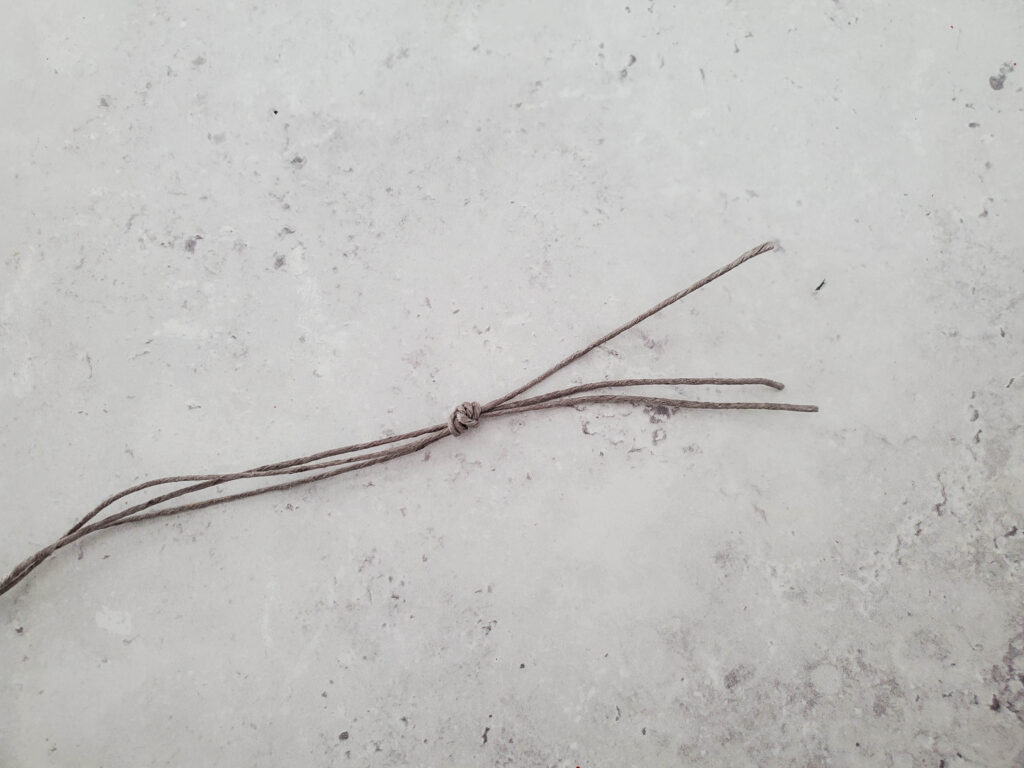
Gather the ends of the 3 cords together, and make a double knot, leaving about 2-3 inches of cord at the end.
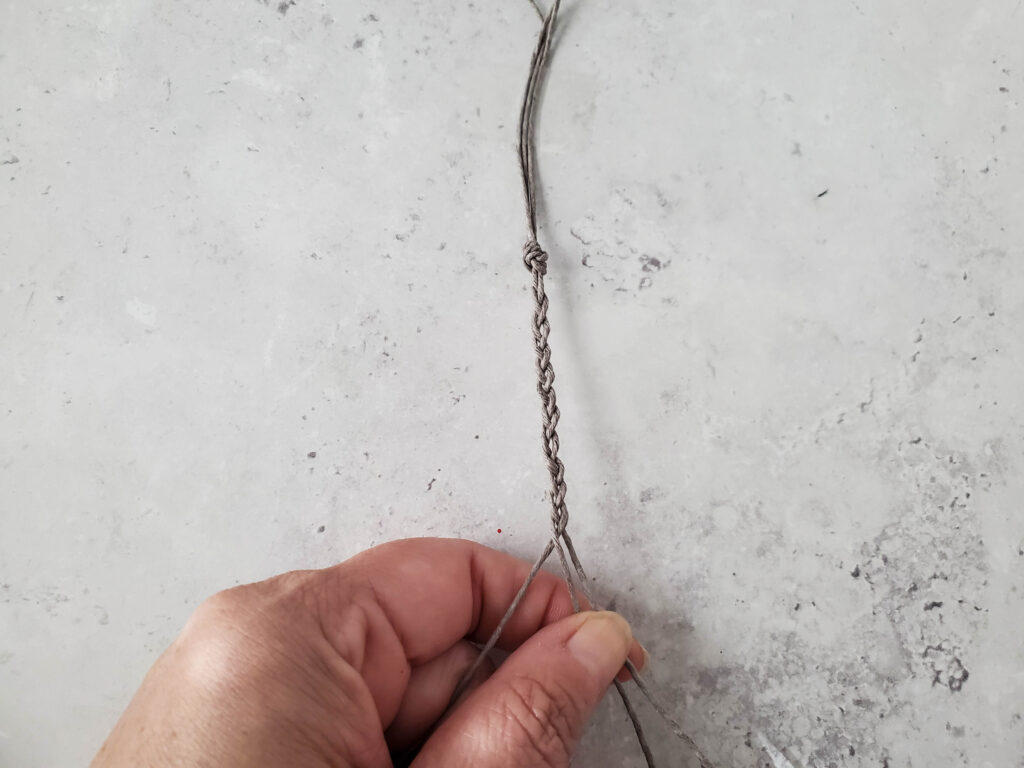
Braid the 3 cords together, for about 2.5 inches.
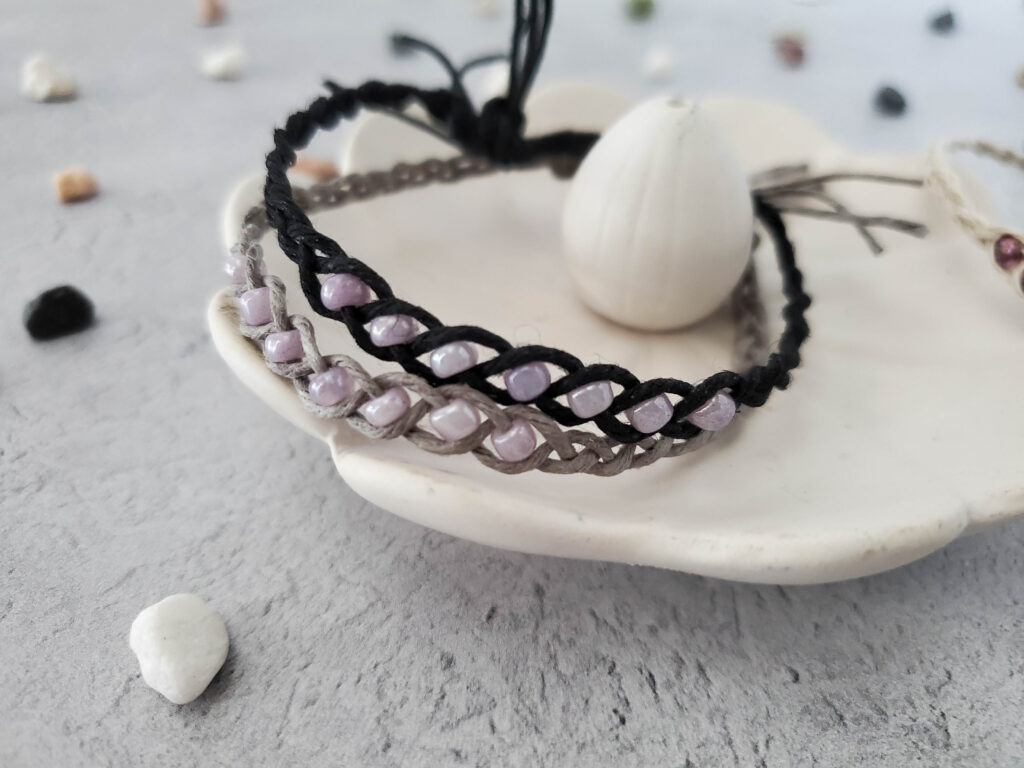
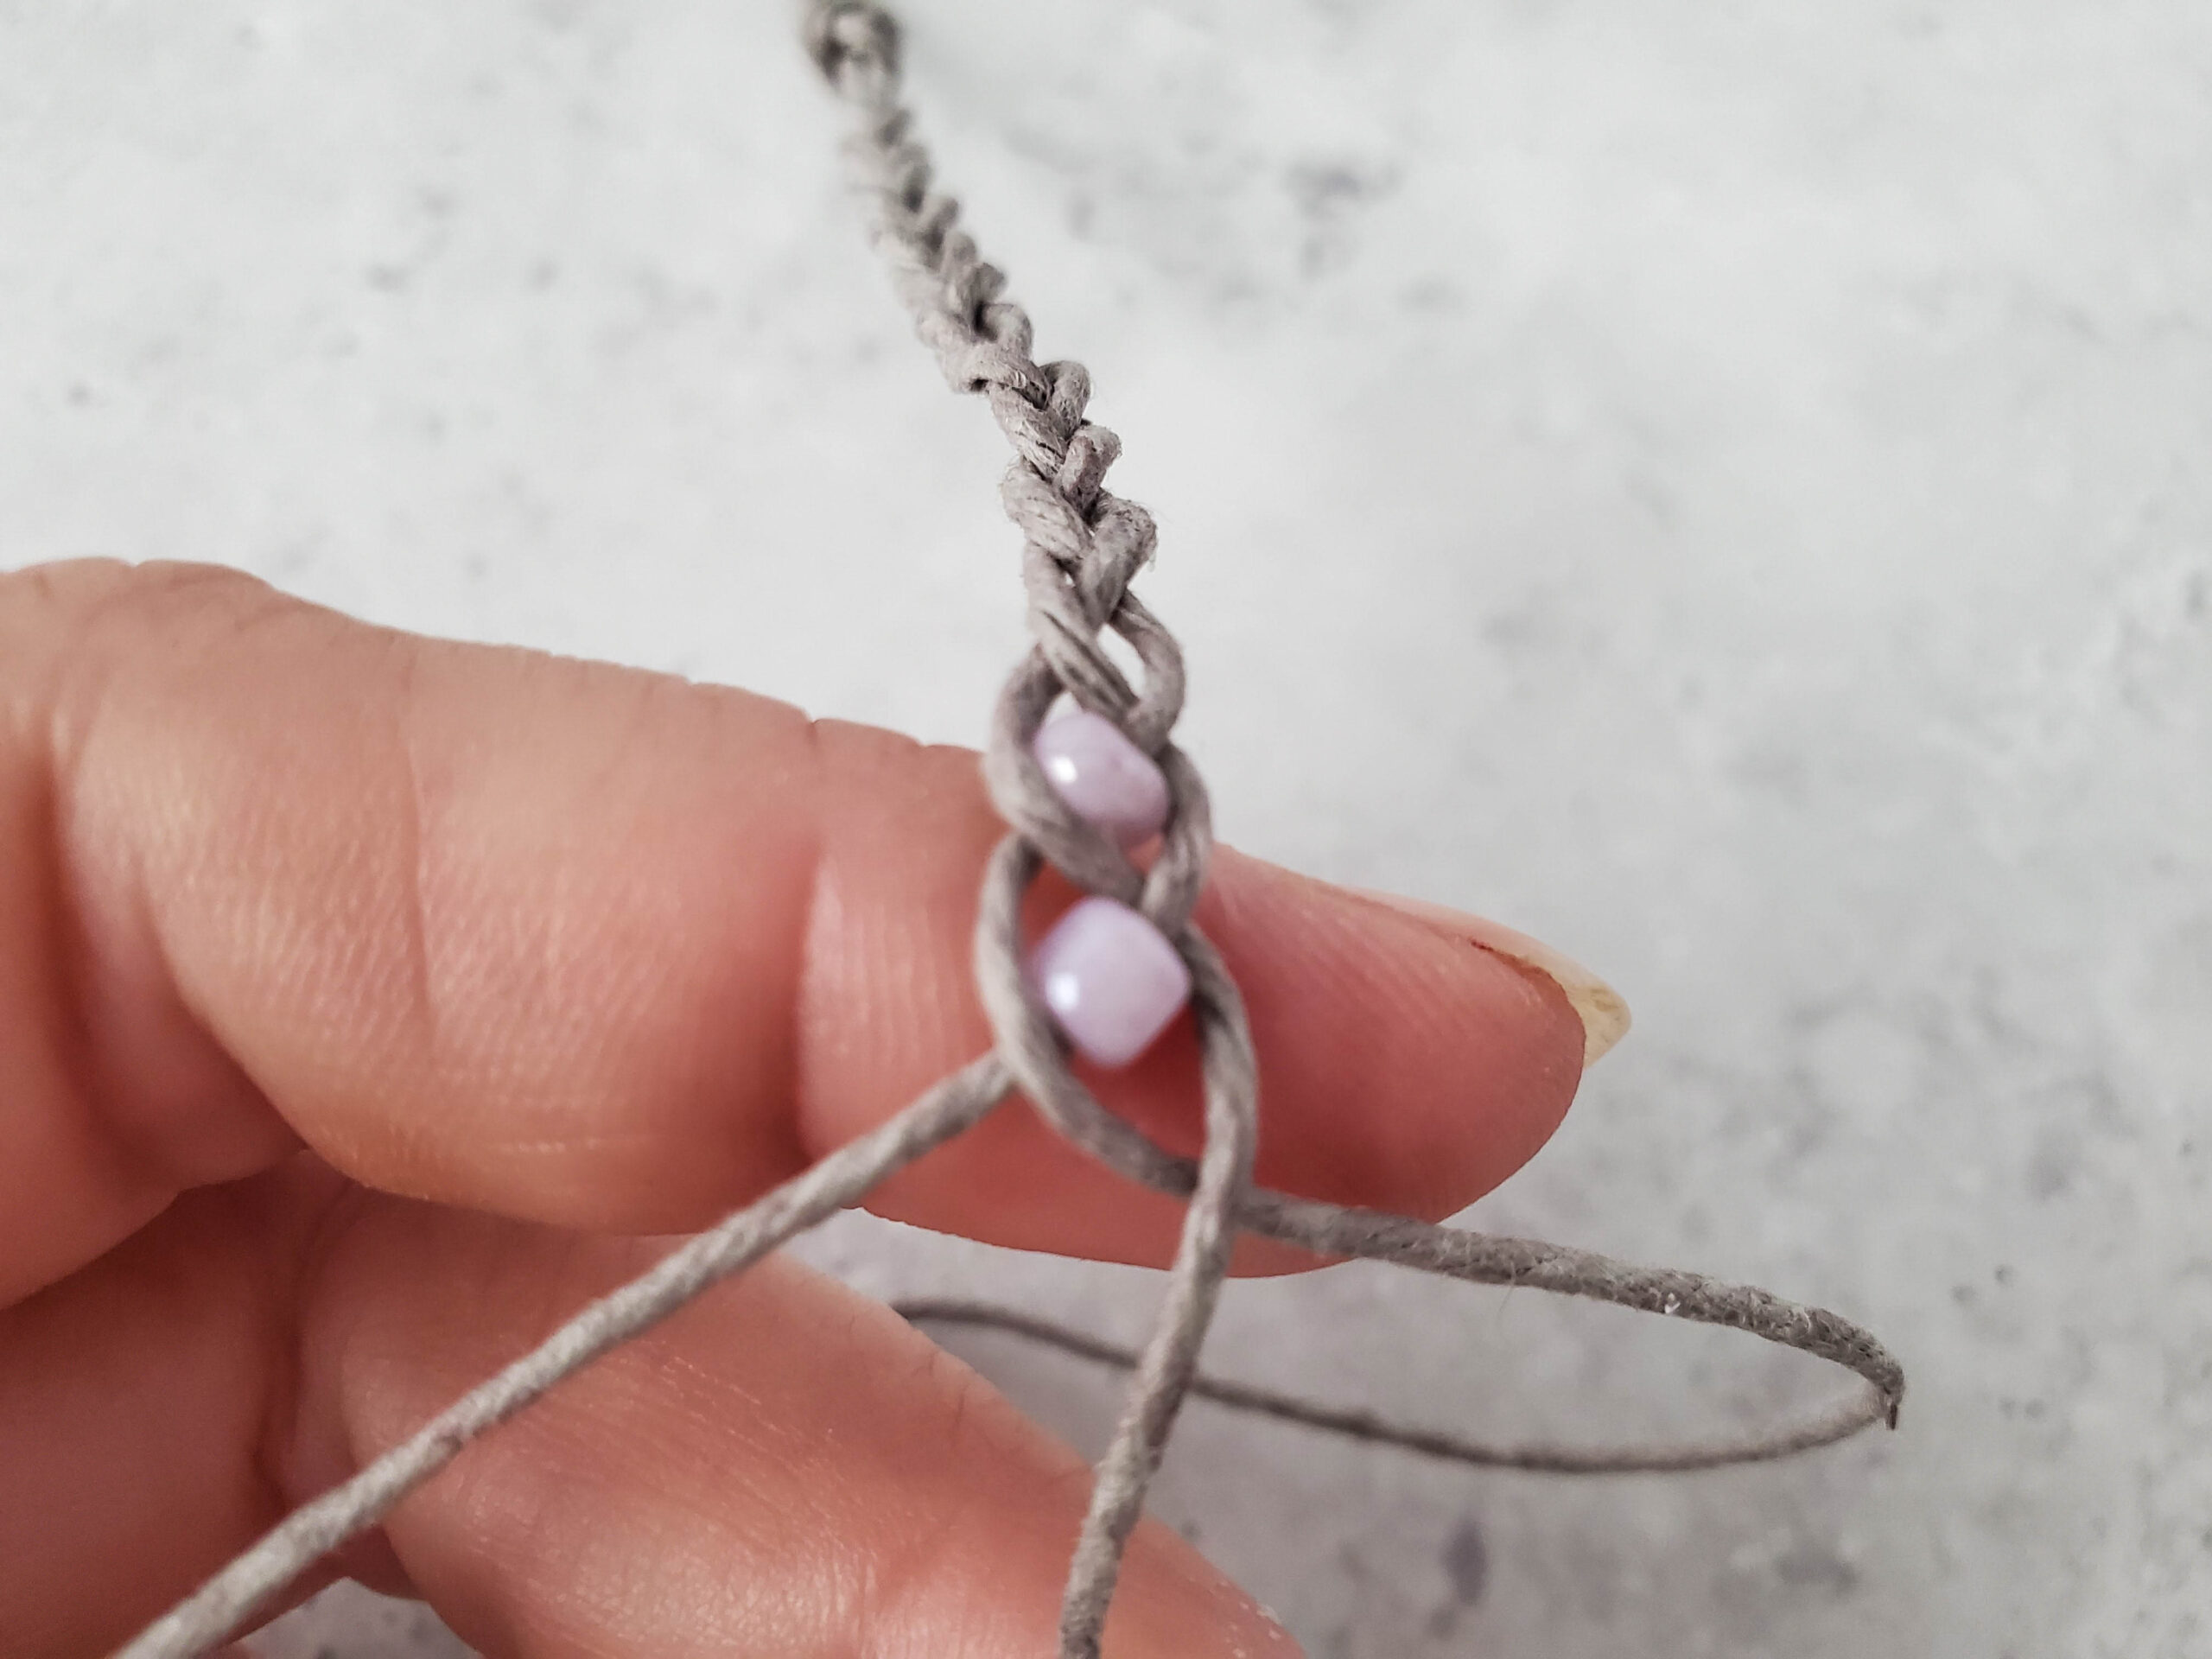
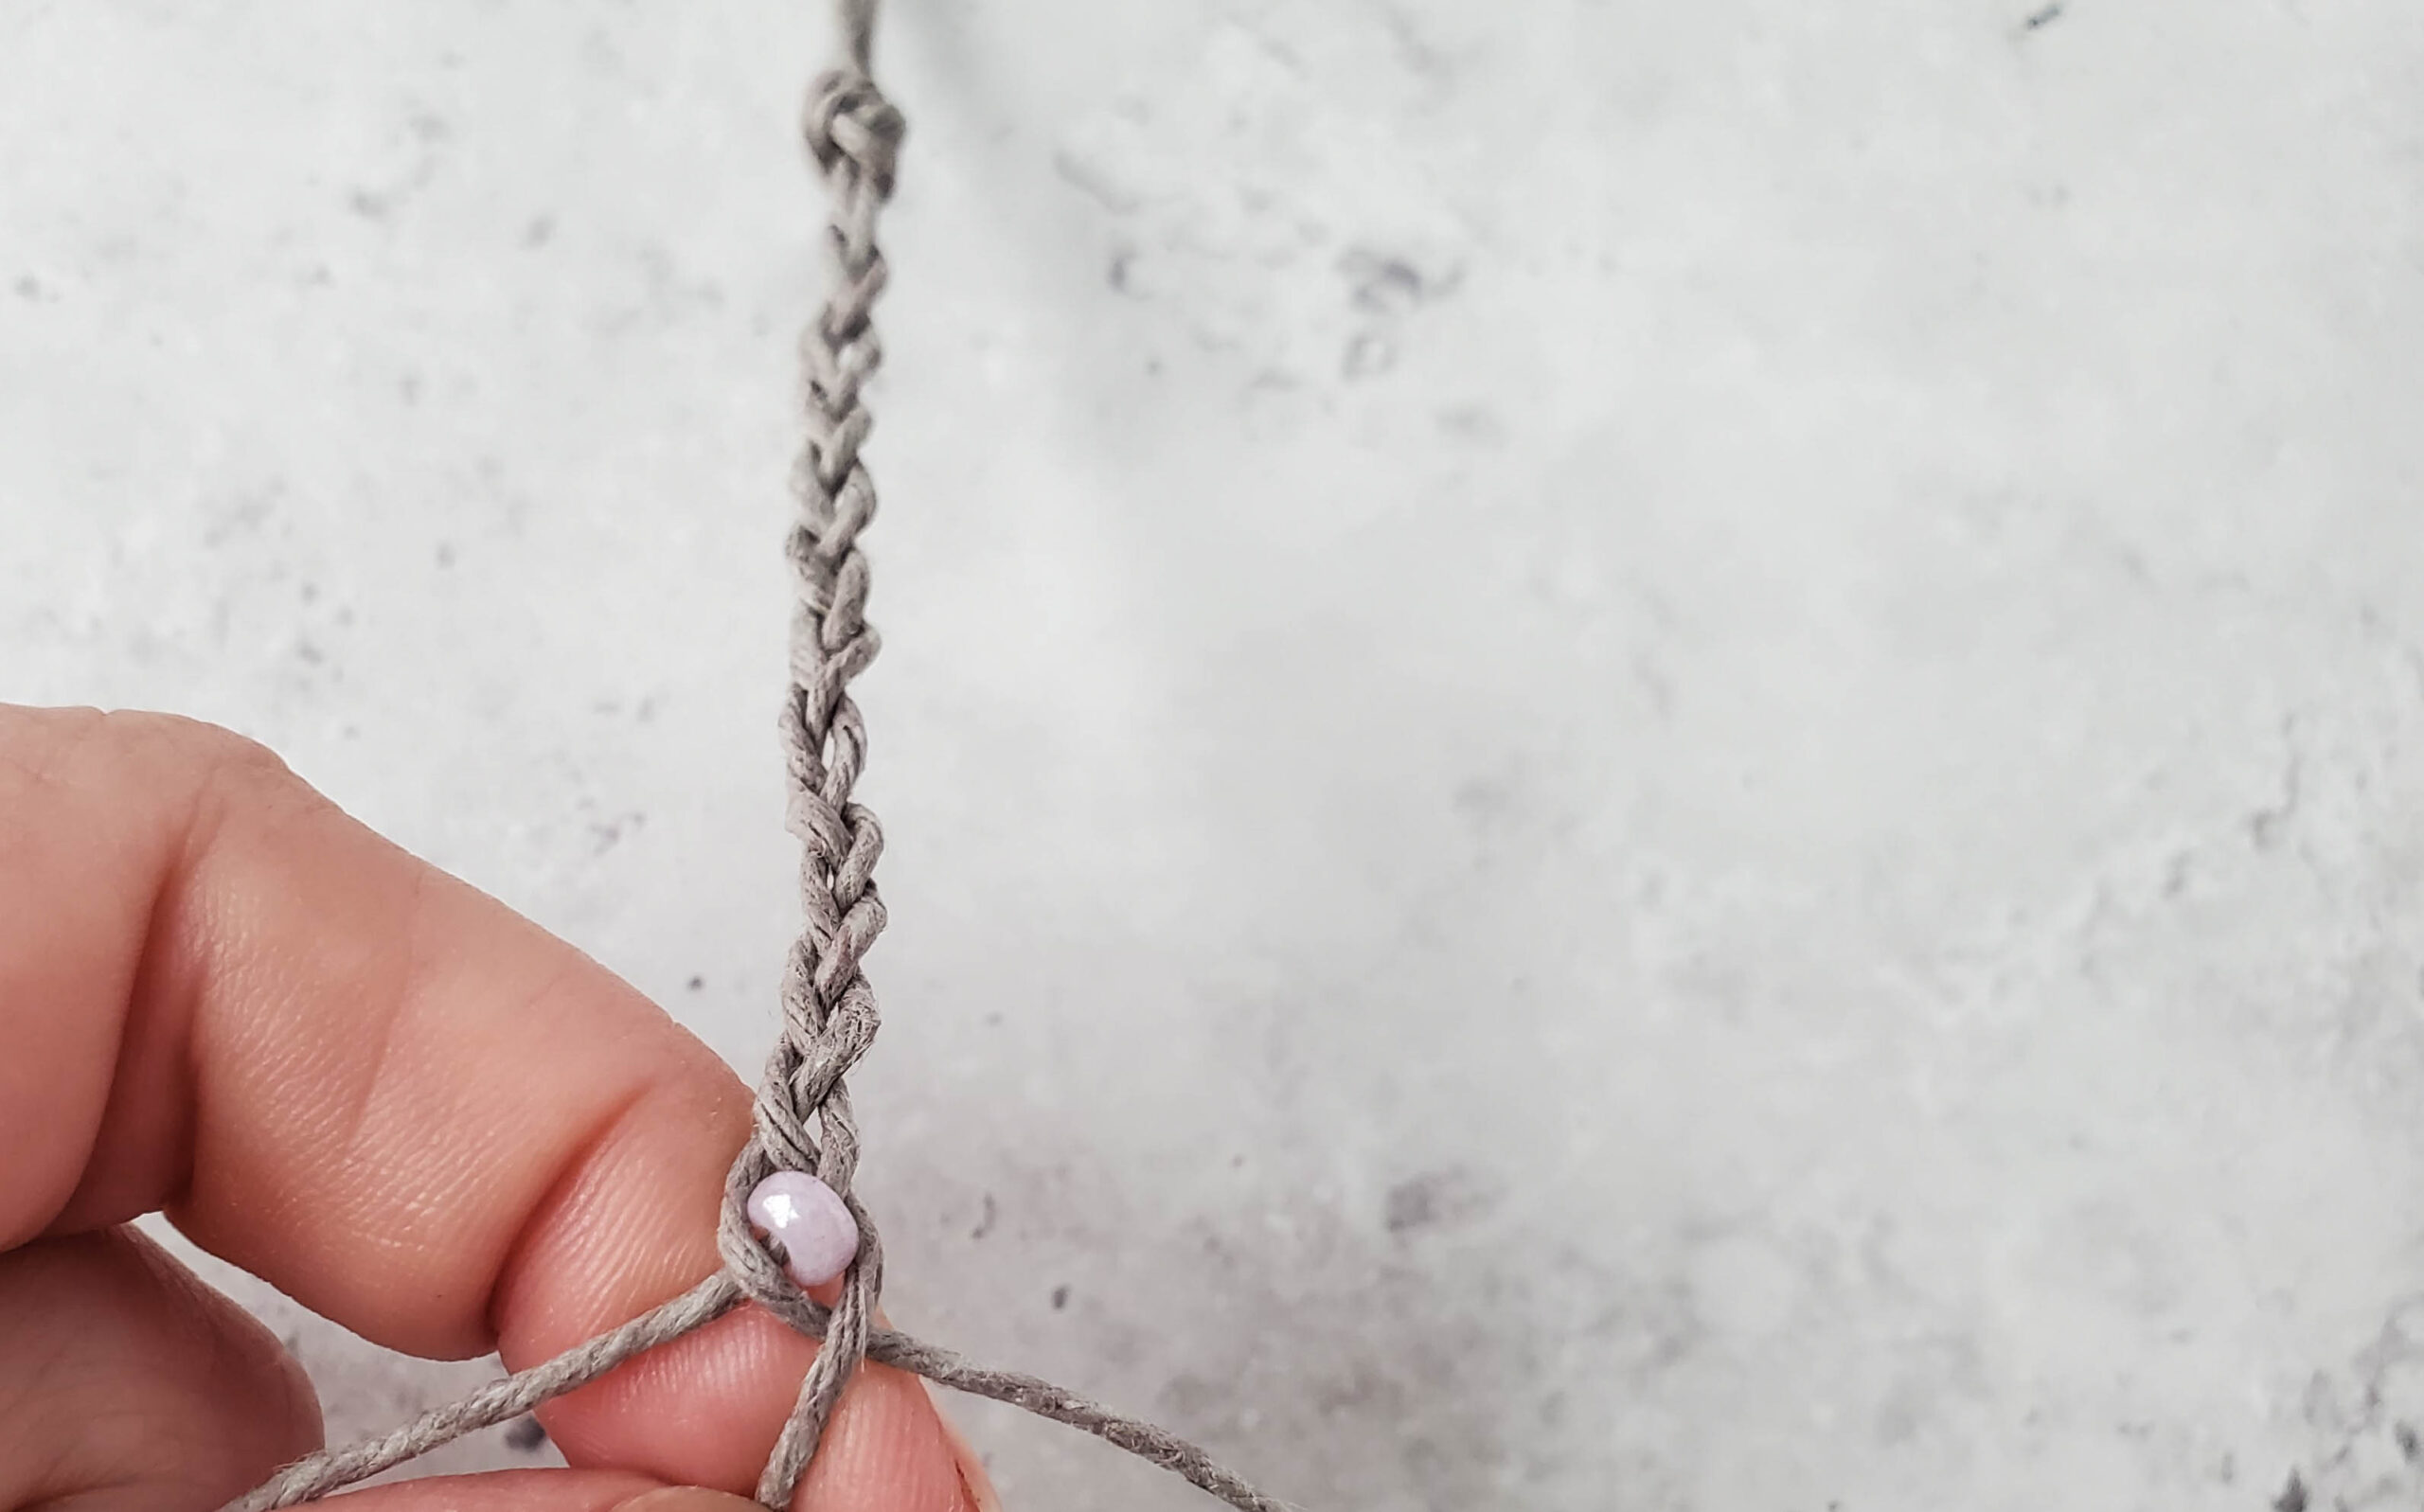
Add a bead to the cord on the right, then bring it over the middle cord. Bring the left cord over, under the bead.
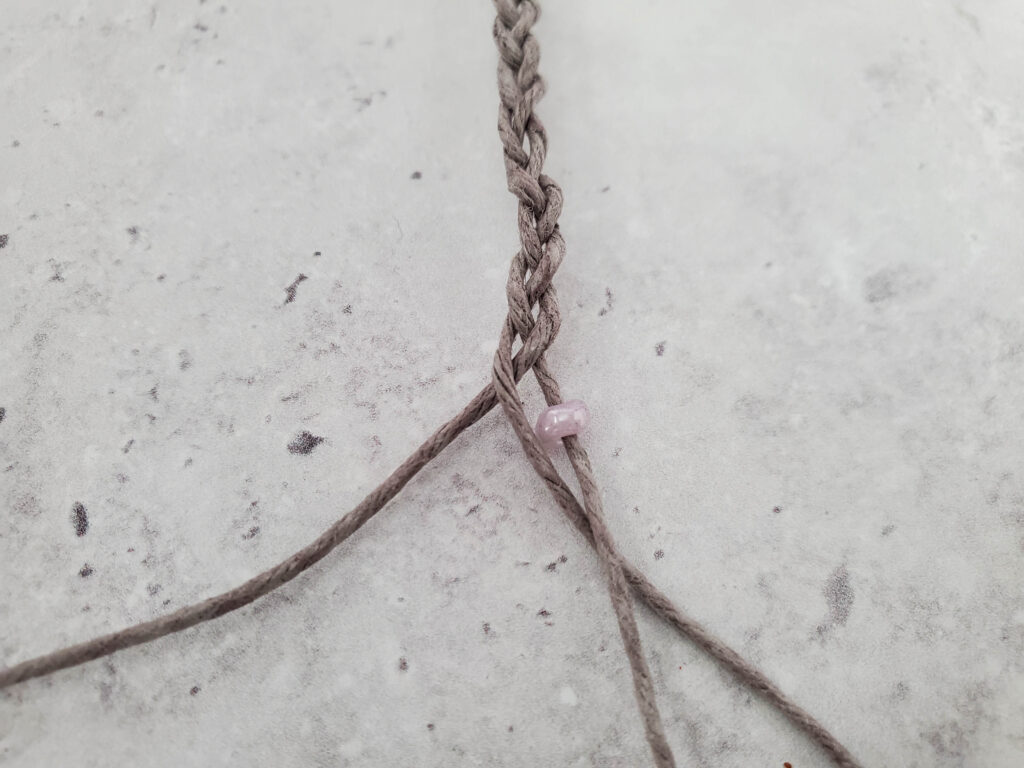
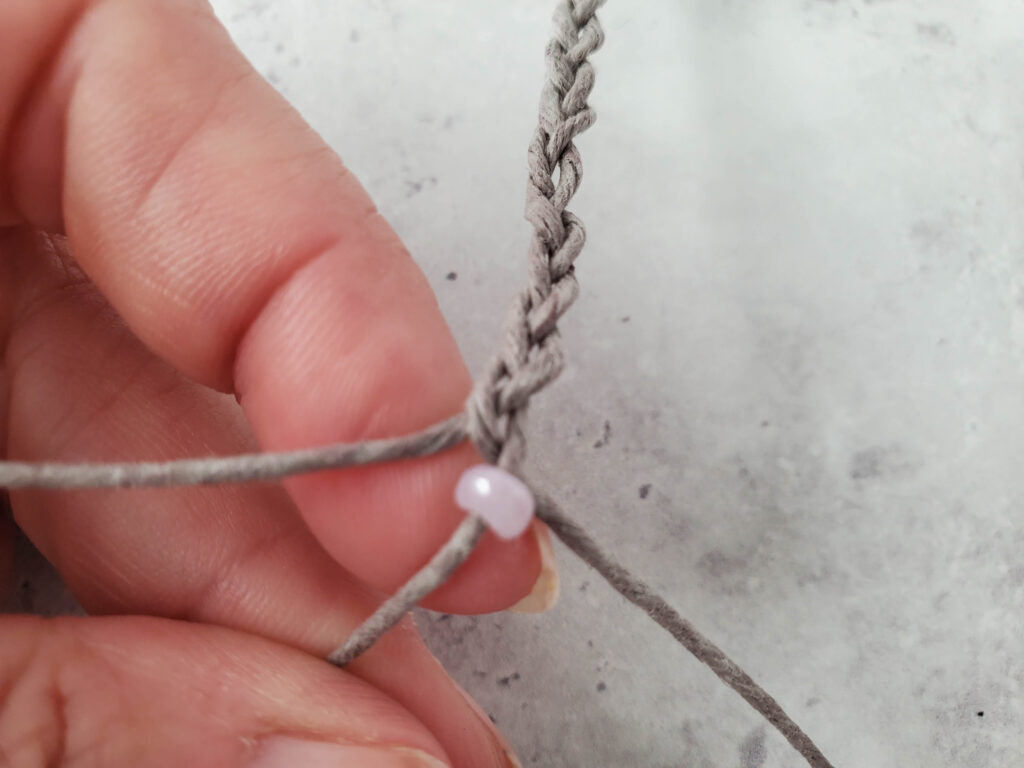
Repeat this step above until all seven beads have been added.
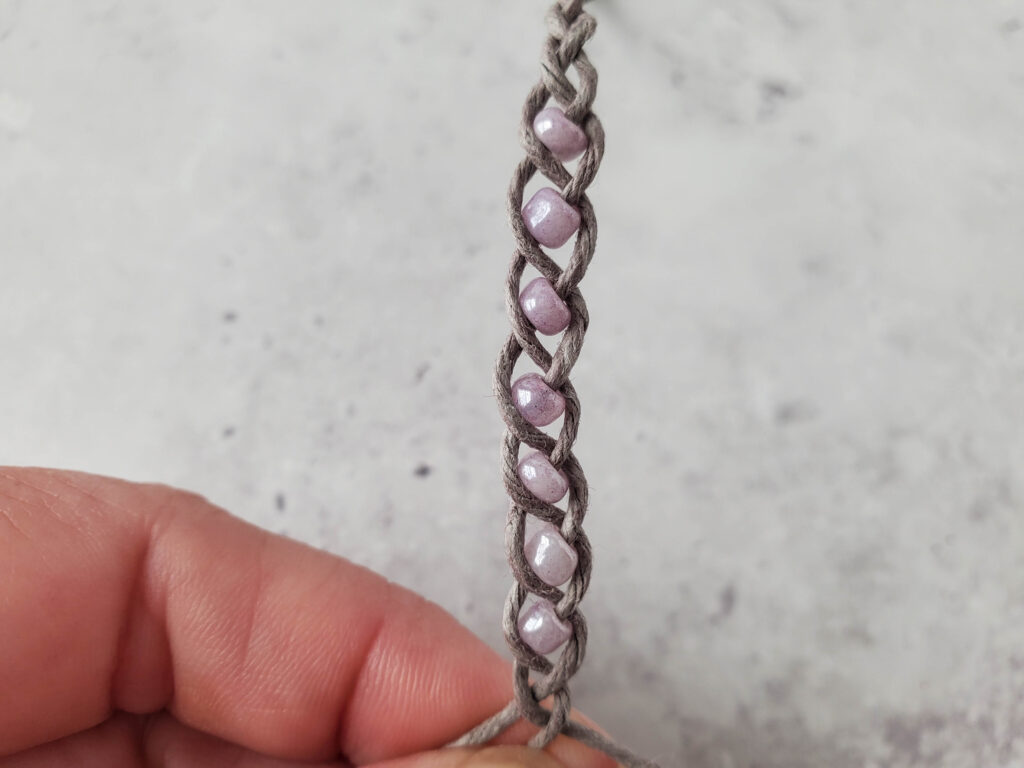
How to Tie a Hemp Bracelet at the End
Continue braiding for another 2.5 inches, then add a double knot at the end.
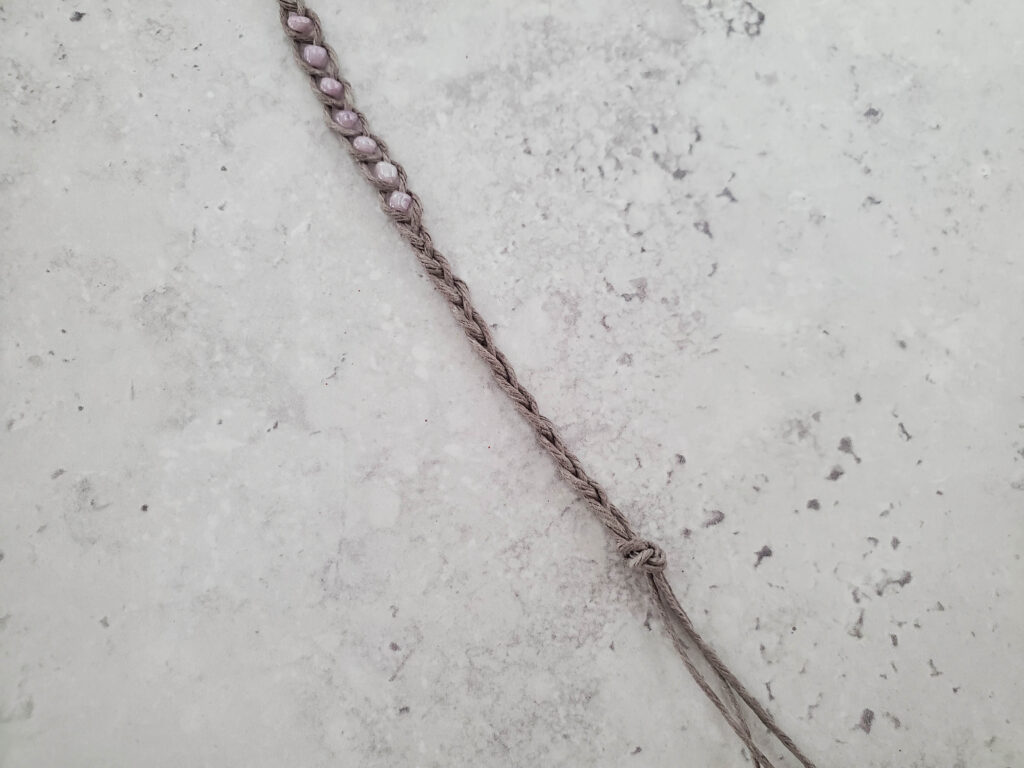
When you’re happy with the fit of your bracelet, trim off any excess cord.
To finish off your bracelet and make sure that the knots are secure, you can either tie them off with a second knot or use a lighter to carefully melt the ends of the cord so that they fuse together.
Wish Bracelet DIY FAQs
What cord do you use for wish bracelets?
The cord commonly used for wish bracelets is often a thin and durable material such as hemp. Simple hemp bracelets allows for creating various knotting patterns while keeping the bracelet lightweight.
How much hemp cord do I need for a bracelet?
The amount of hemp cord you need for a bracelet depends on the bracelet’s design, your wrist size, and the desired length of the finished product. As a general guideline, you might start with around 6 to 8 feet of hemp cord for a basic bracelet.
Here’s a simple way to estimate:
- Measure Your Wrist: Wrap a piece of string or flexible tape measure around your wrist to determine the desired bracelet length.
- Calculate the Cord Length: Multiply the wrist measurement by the number of times you want the cord to wrap around your wrist (usually 2-3 times, depending on the design). Add a bit extra for knotting and finishing.
Remember, it’s always better to have a little more cord than you think you need, as you can trim the excess. Additionally, the complexity of your bracelet design and the number of knots will also impact the amount of cord required, so adjust accordingly based on your specific project.
*Contains affiliate links in which we receive a small commission. See our privacy policy for more information.

[…] Also: Homemade Playdough | DIY Hemp Bracelet | DIY Friendship […]