Discover fun and patriotic 4th of July shirt ideas you can make with your Cricut! Get inspired with these fun designs perfect for celebrating Independence Day.

Get ready to celebrate Independence Day in style with some creative 4th of July shirt ideas made possible with your trusty Cricut machine.
Whether you’re hosting a backyard BBQ, attending a parade, or watching fireworks with friends and family, these DIY shirt designs will add an extra spark to your festivities.
Crafters of all levels will be able to make their own patriotic shirts!
Create 4th of July t-shirts that are unique and eye-catching, from classic American flag motifs to quirky patriotic puns, there’s something for everyone to enjoy.
Get some inspiration and tips for creating the perfect Fourth of July shirts using Cricut!

10 Fun 4th of July Shirt Ideas
All American Girl
Add a touch of charm and personality to your 4th of July festivities with this adorable All-American Girl SVG file.

Fireworks & Chill
Show off the relaxed feeling and camaraderie of the 4th of July holiday with this fun T-Shirt design.

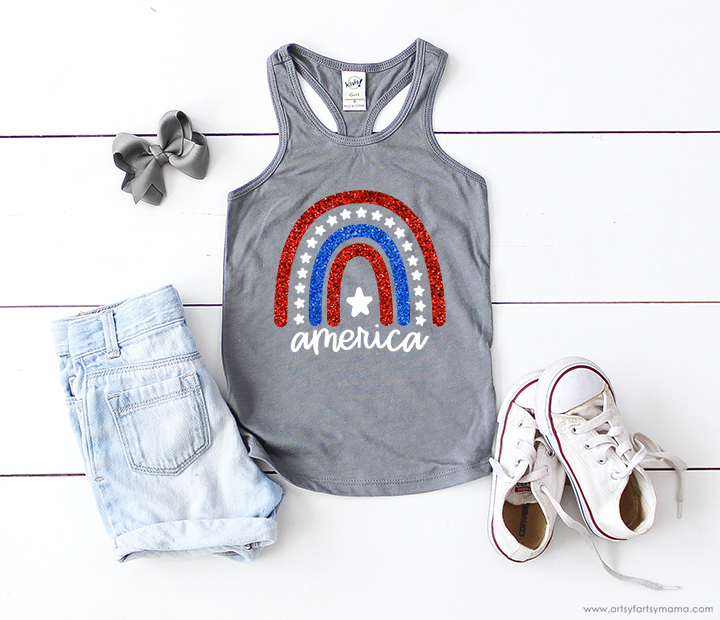
Patriotic Rainbow
Create a charming patriotic rainbow shirt utilizing this Independence Day SVG SVG cut file.
Count Me In!
I’m definitely on board with the enjoyable retro vibe of these shirts that are perfect for the entire family!

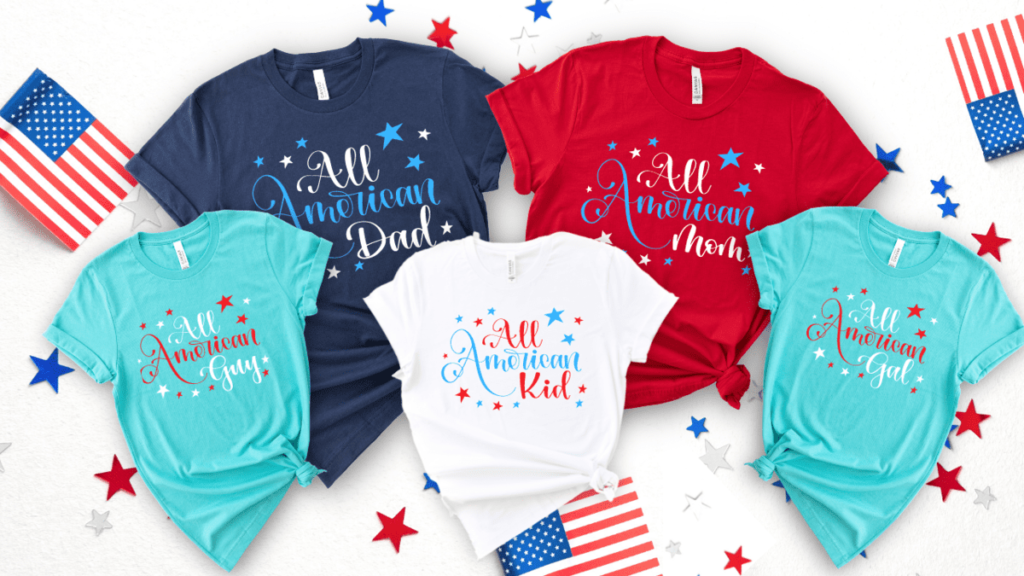
Family T-Shirts
The whole family will love these patriotic-themed t-shirts for your 4th of July festivities!
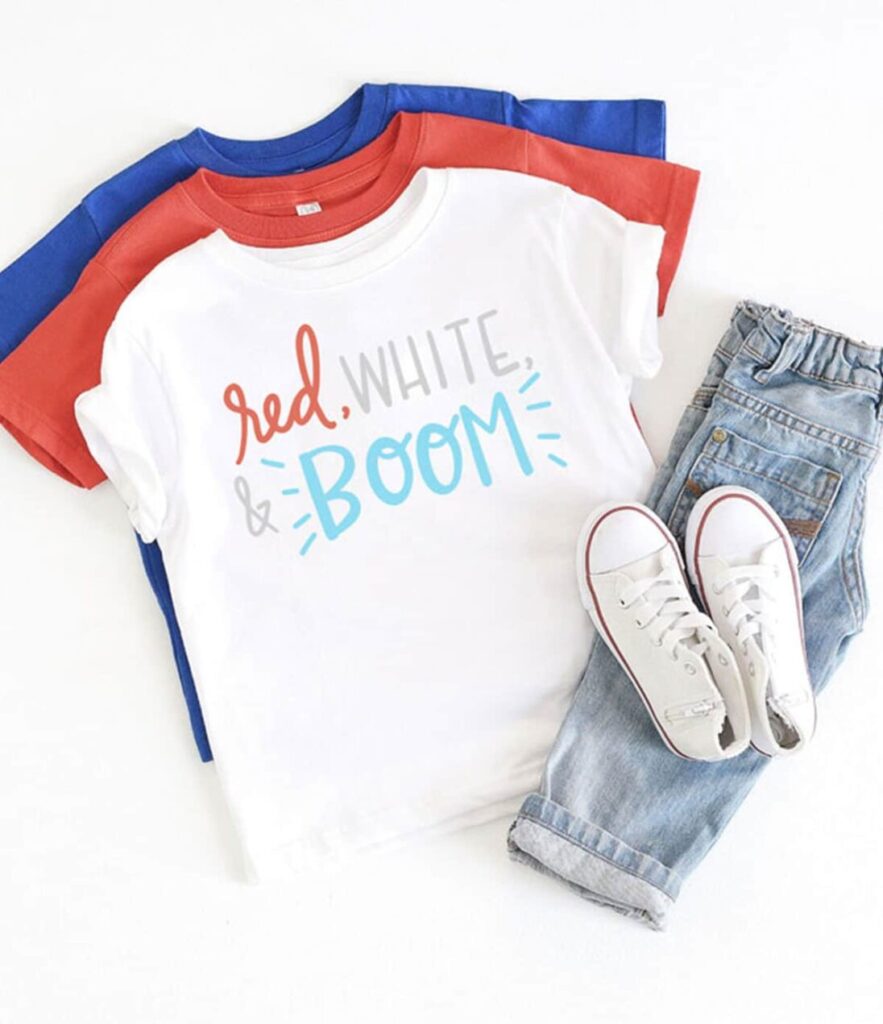
Red, White & Boom!
Get your hands on these cute FREE 4th of July SVG files to commemorate the red, white & blue.
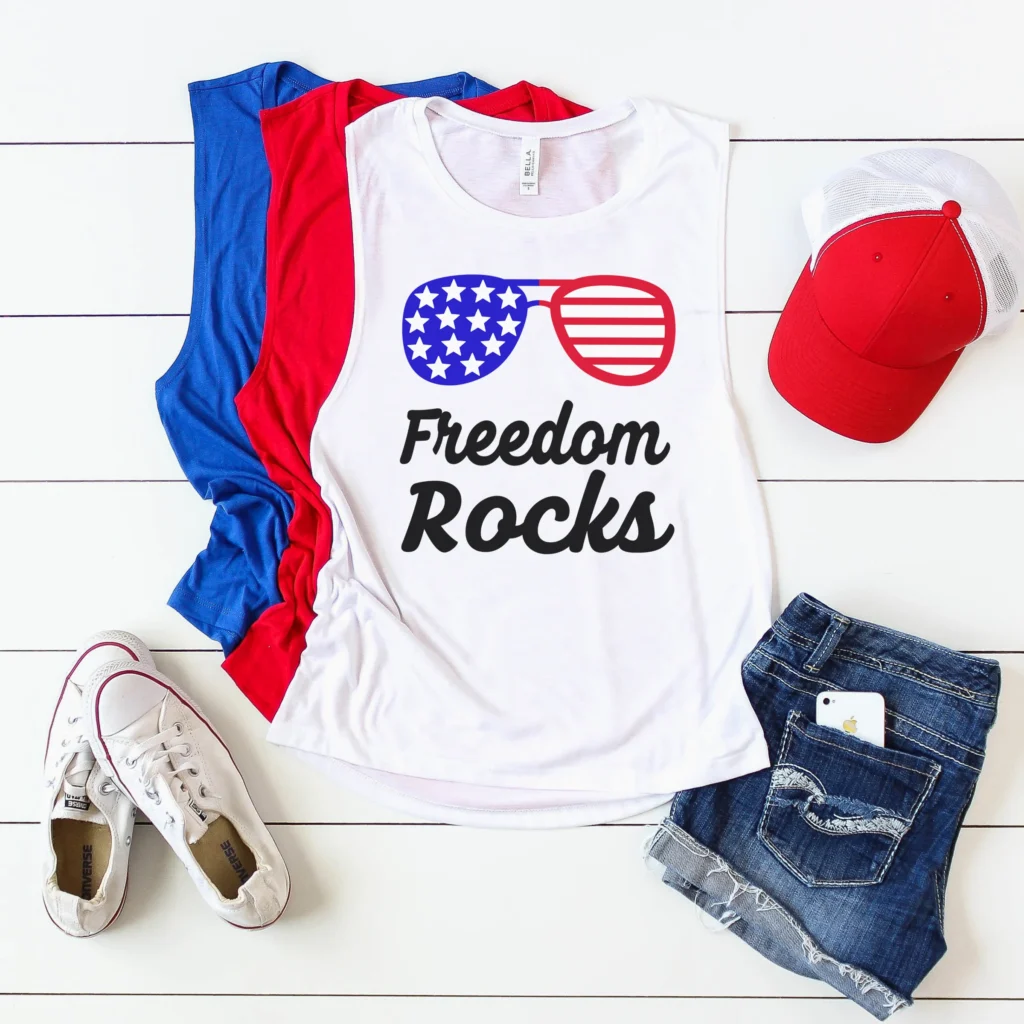
Freedom Rocks
Celebrate the patriotic spirit of the 4th of July with this Freedom Rocks tee!
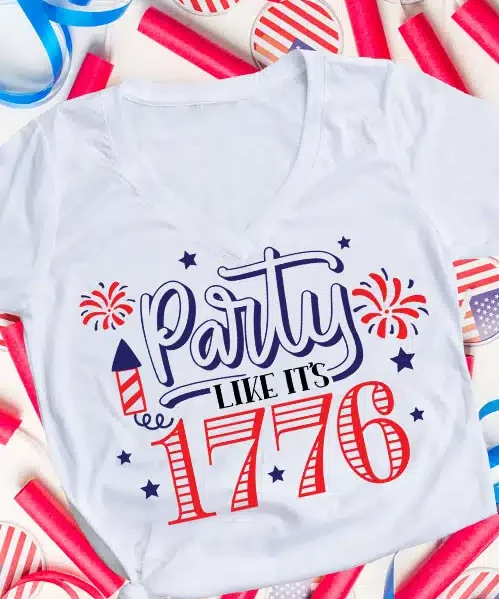
Party Like It’s 1776
Let freedom ring with this free Party Like It’s 1776 SVG cut files!
Tips for Making Your Own 4th of July T-shirts with a Cricut:
- Select heat transfer vinyl (HTV) in patriotic colors like red, white, blue, and metallics. Ensure the material is suitable for use with your Cricut machine.
- Open Cricut design space to create and download 4th of July-themed designs. Consider patriotic symbols like American flags, star shapes, fireworks, or phrases like “USA” and “Land of the Free.”
- Measure your T-shirt to determine the ideal size and placement for your design. Consider factors like the shirt’s neckline and whether the design will be centered or off-center.
- Before cutting, remember to mirror your design in the Cricut software. This step is crucial for ensuring that the design appears correctly when transferred onto the shirt.
- Perform a test cut on a small piece of HTV to ensure your settings are correct. Adjust the blade depth and pressure as needed to achieve clean and precise cuts.
- Carefully weed out the excess vinyl from your design using a weeding tool. Take your time to ensure all intricate details are properly removed.
- Set your heat press or iron to the recommended temperature for the HTV you’re using. Follow the manufacturer’s instructions for pressing time and pressure.
- Place a protective layer like parchment paper or a Teflon sheet over your design before pressing. This prevents the vinyl from sticking to the heat press or iron.
- Position your design on the T-shirt, ensuring it’s centered and straight. Apply firm, even pressure with your heat press or iron, moving it in a circular motion to ensure full coverage.
- Allow the T-shirt to cool before peeling off the carrier sheet from the HTV. Take care when peeling to avoid lifting any part of the design.

Happy crafting!
Contains affiliate links. See our full disclosure policy.


Leave a Reply