Craft a charming felt wreath that adds a touch of warmth and color to your space. Learn how to make a Felt Wreath DIY out of felt scraps
Don’t throw away those fabric scraps! Tie simple strips of leftover felt onto an embroidery hoop to create a Felt Wreath DIY.
This craft is quick and easy to create with just four supplies, making it the perfect craft to make on a budget.
We’re going to show you how to make your very own felt wreath.
Whether you’re a seasoned crafter or a beginner, this project is sure to bring joy and a cozy atmosphere to your living space.
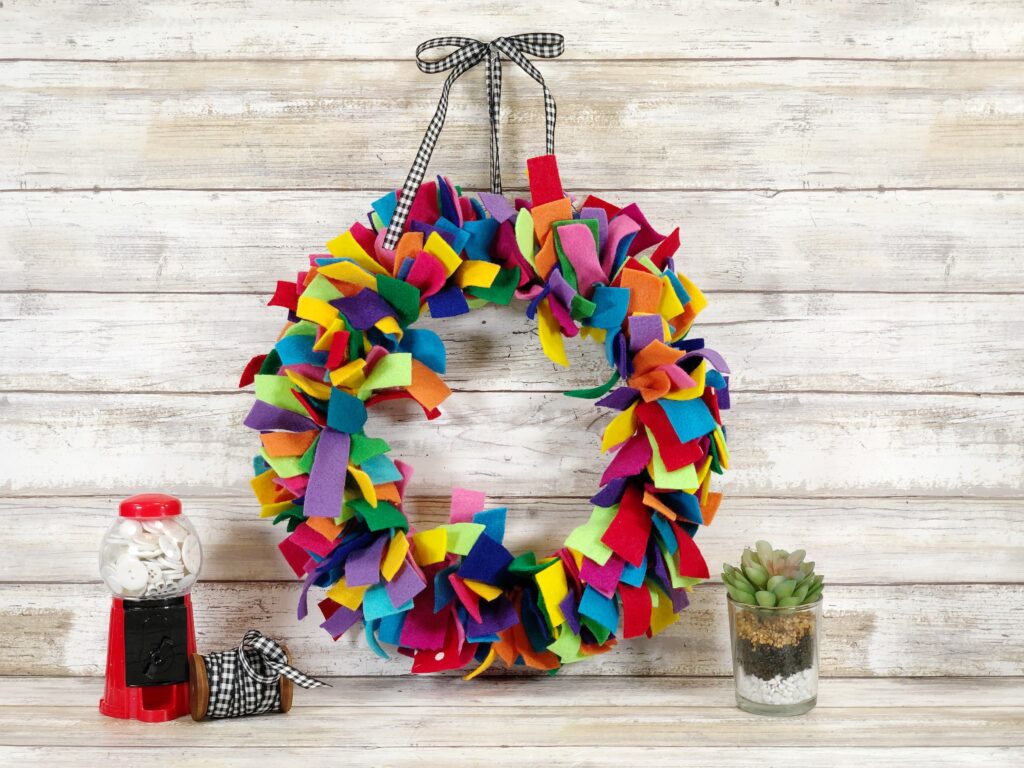
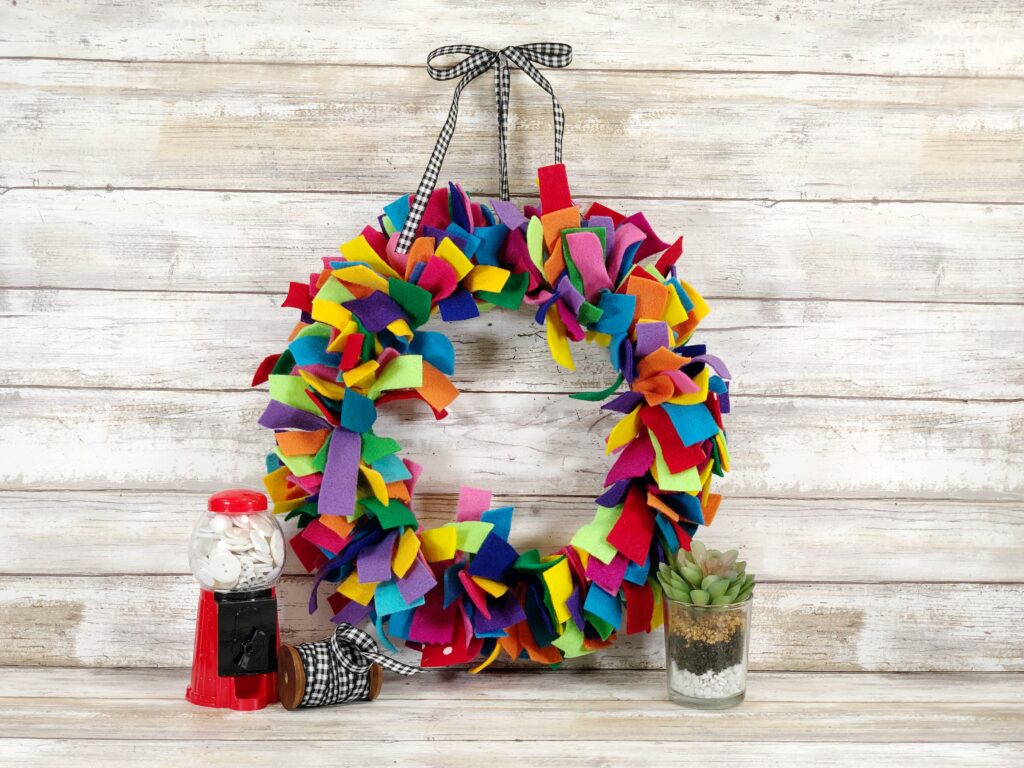
Once your wreath is complete, hang it on your front door, on a wall, or even use it as a centerpiece. Admire your handmade creation and the cozy vibe it brings to your space.
The best part is that you can customize your DIY wreath for all kinds of things! Match your own color palette, style or season, from Christmas to the Fourth of July to Valentine’s Day!
A DIY Felt Wreath is an easy way to add a festive feel to your home decor. The variations are endless, so get creative and let your imagination run wild.
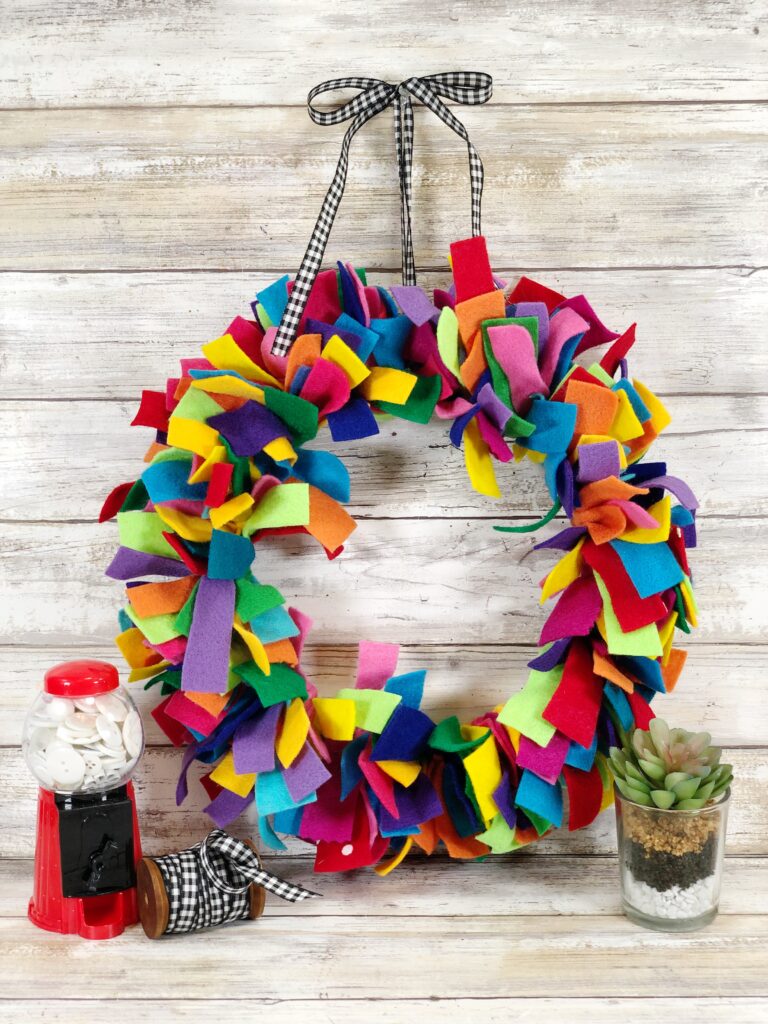
How to Make a Felt Wreath
Materials:
- Kunin Classic Felt Craft Cuts Sheets – 9” by 12” in various colors – Red Felt, Yellow, Orange, Neon Green Felt, Apple Green, Lagoon, Cadet Blue, Fuchsia, Candy Pink, Bright Lilac, Orchid, Purple, Cadet Blue, Peacock Blue, Brilliant Blue, Shocking Pink, or any colors you have on hand!
- Wreath Frame – 10″ Wooden Embroidery Hoop or a styrofoam wreath
- Regular Scissors or a Rotary Blade
- Ribbon or Twine
Easy Steps
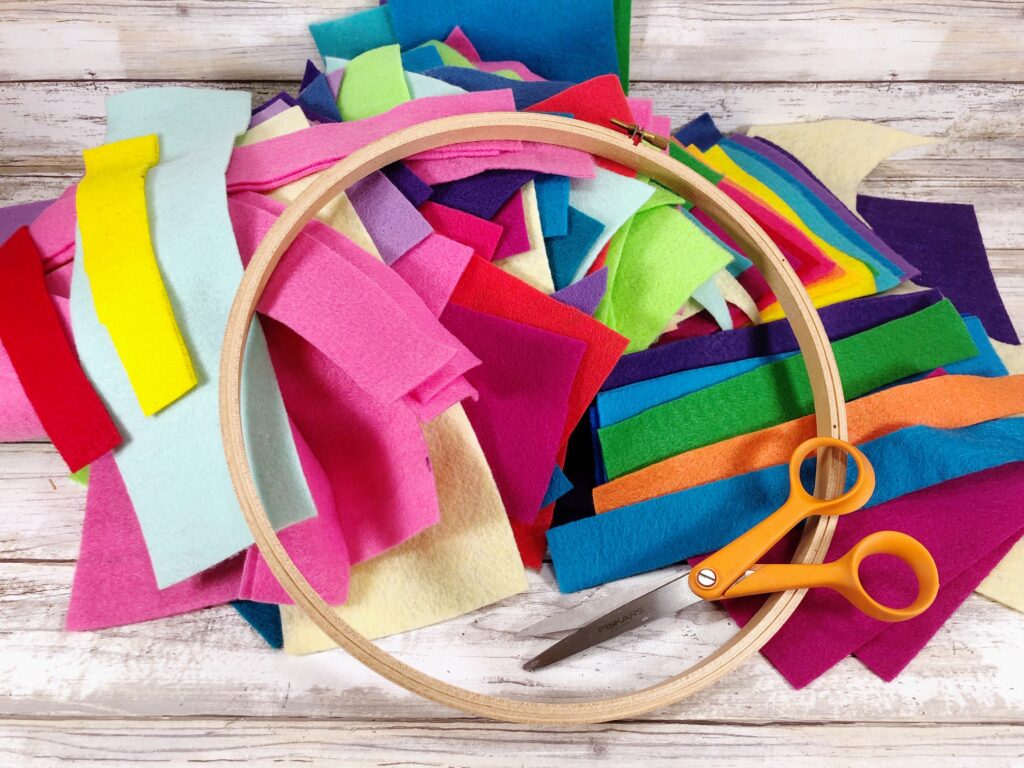
To begin the Rainbow Felt Wreath, gather all of your craft supplies.
Remove the label from your wreath base, the embroidery hoop.
Loosen the screw on the embroidery hoop and separate the rings to create two wreaths.
Organize all the colors of the felt scraps. Use ALL the colors that you have on hand or purchase one sheet of 10-12 different rainbow colors. The good news is that these felt craft sheets are under fifty cents each at your local craft store like hobby lobby.
For this project, use the 9″ width of the felt piece and make a stack of bits and pieces that are long enough. Randomly cut the scraps and/or the felt sheets into strips, some skinny and some fat, with scissors.
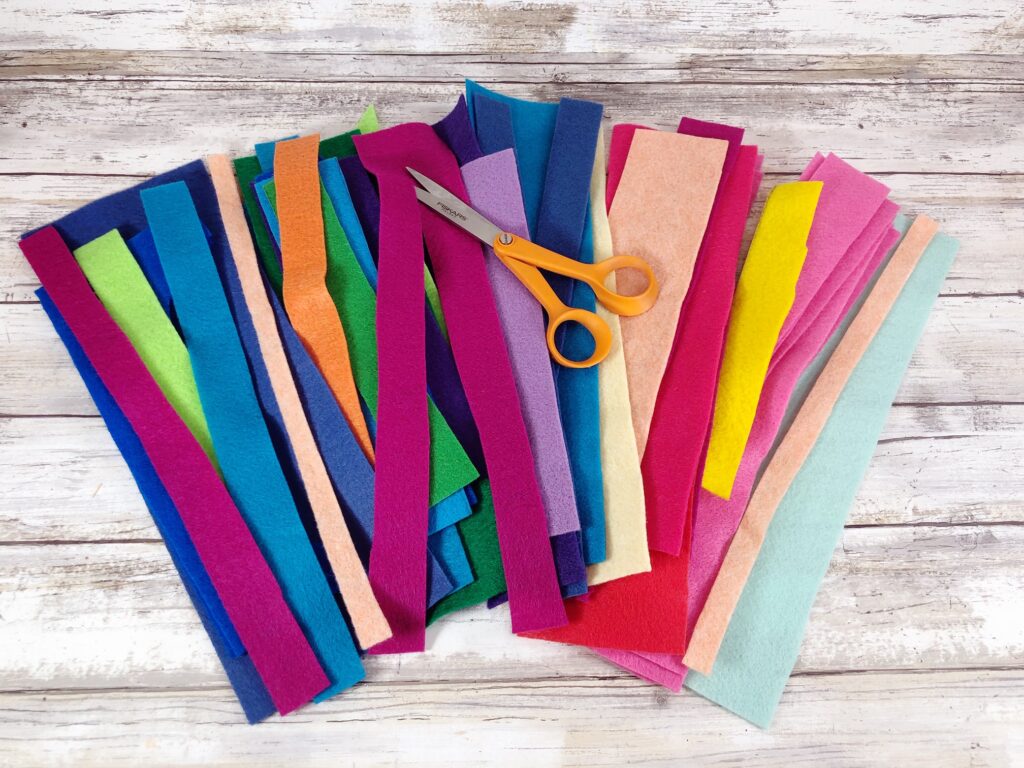
For this 10″ hoop cut approximately 100 strips. This is a great task to complete while watching television.
Start tying the strips felt around the embroidery hoop in double knots along the sides of the wreath. Use the 12, 3, 6, and 9 o’clock marks as a starting point. This is a great activity for the kiddos to help with.
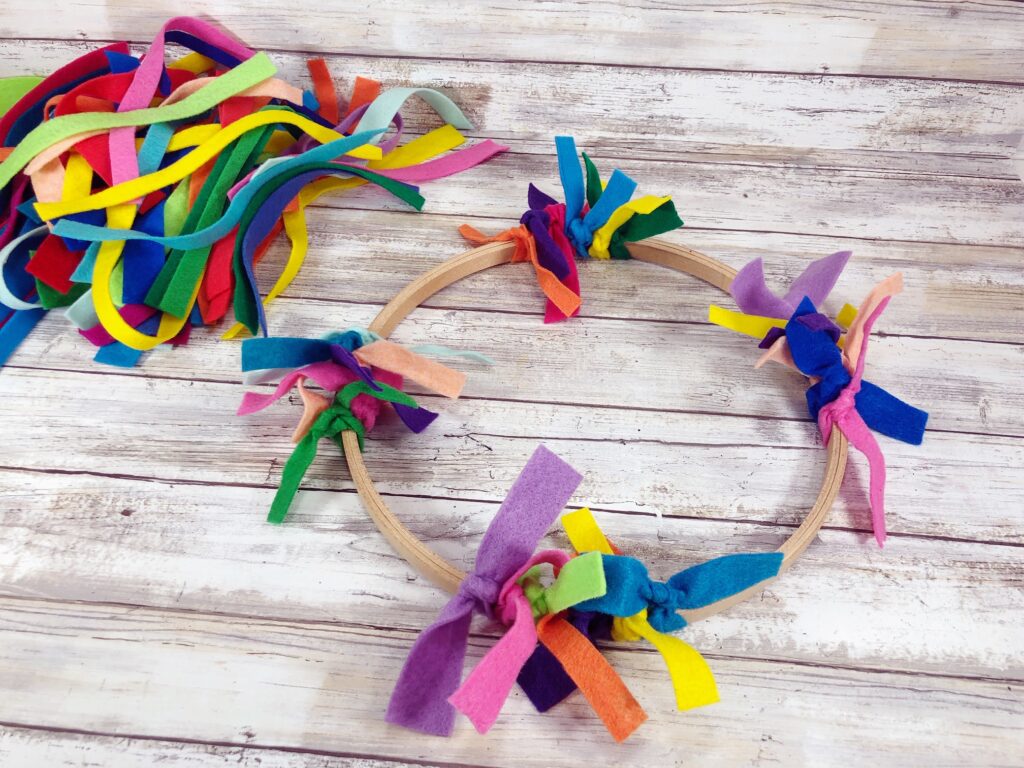
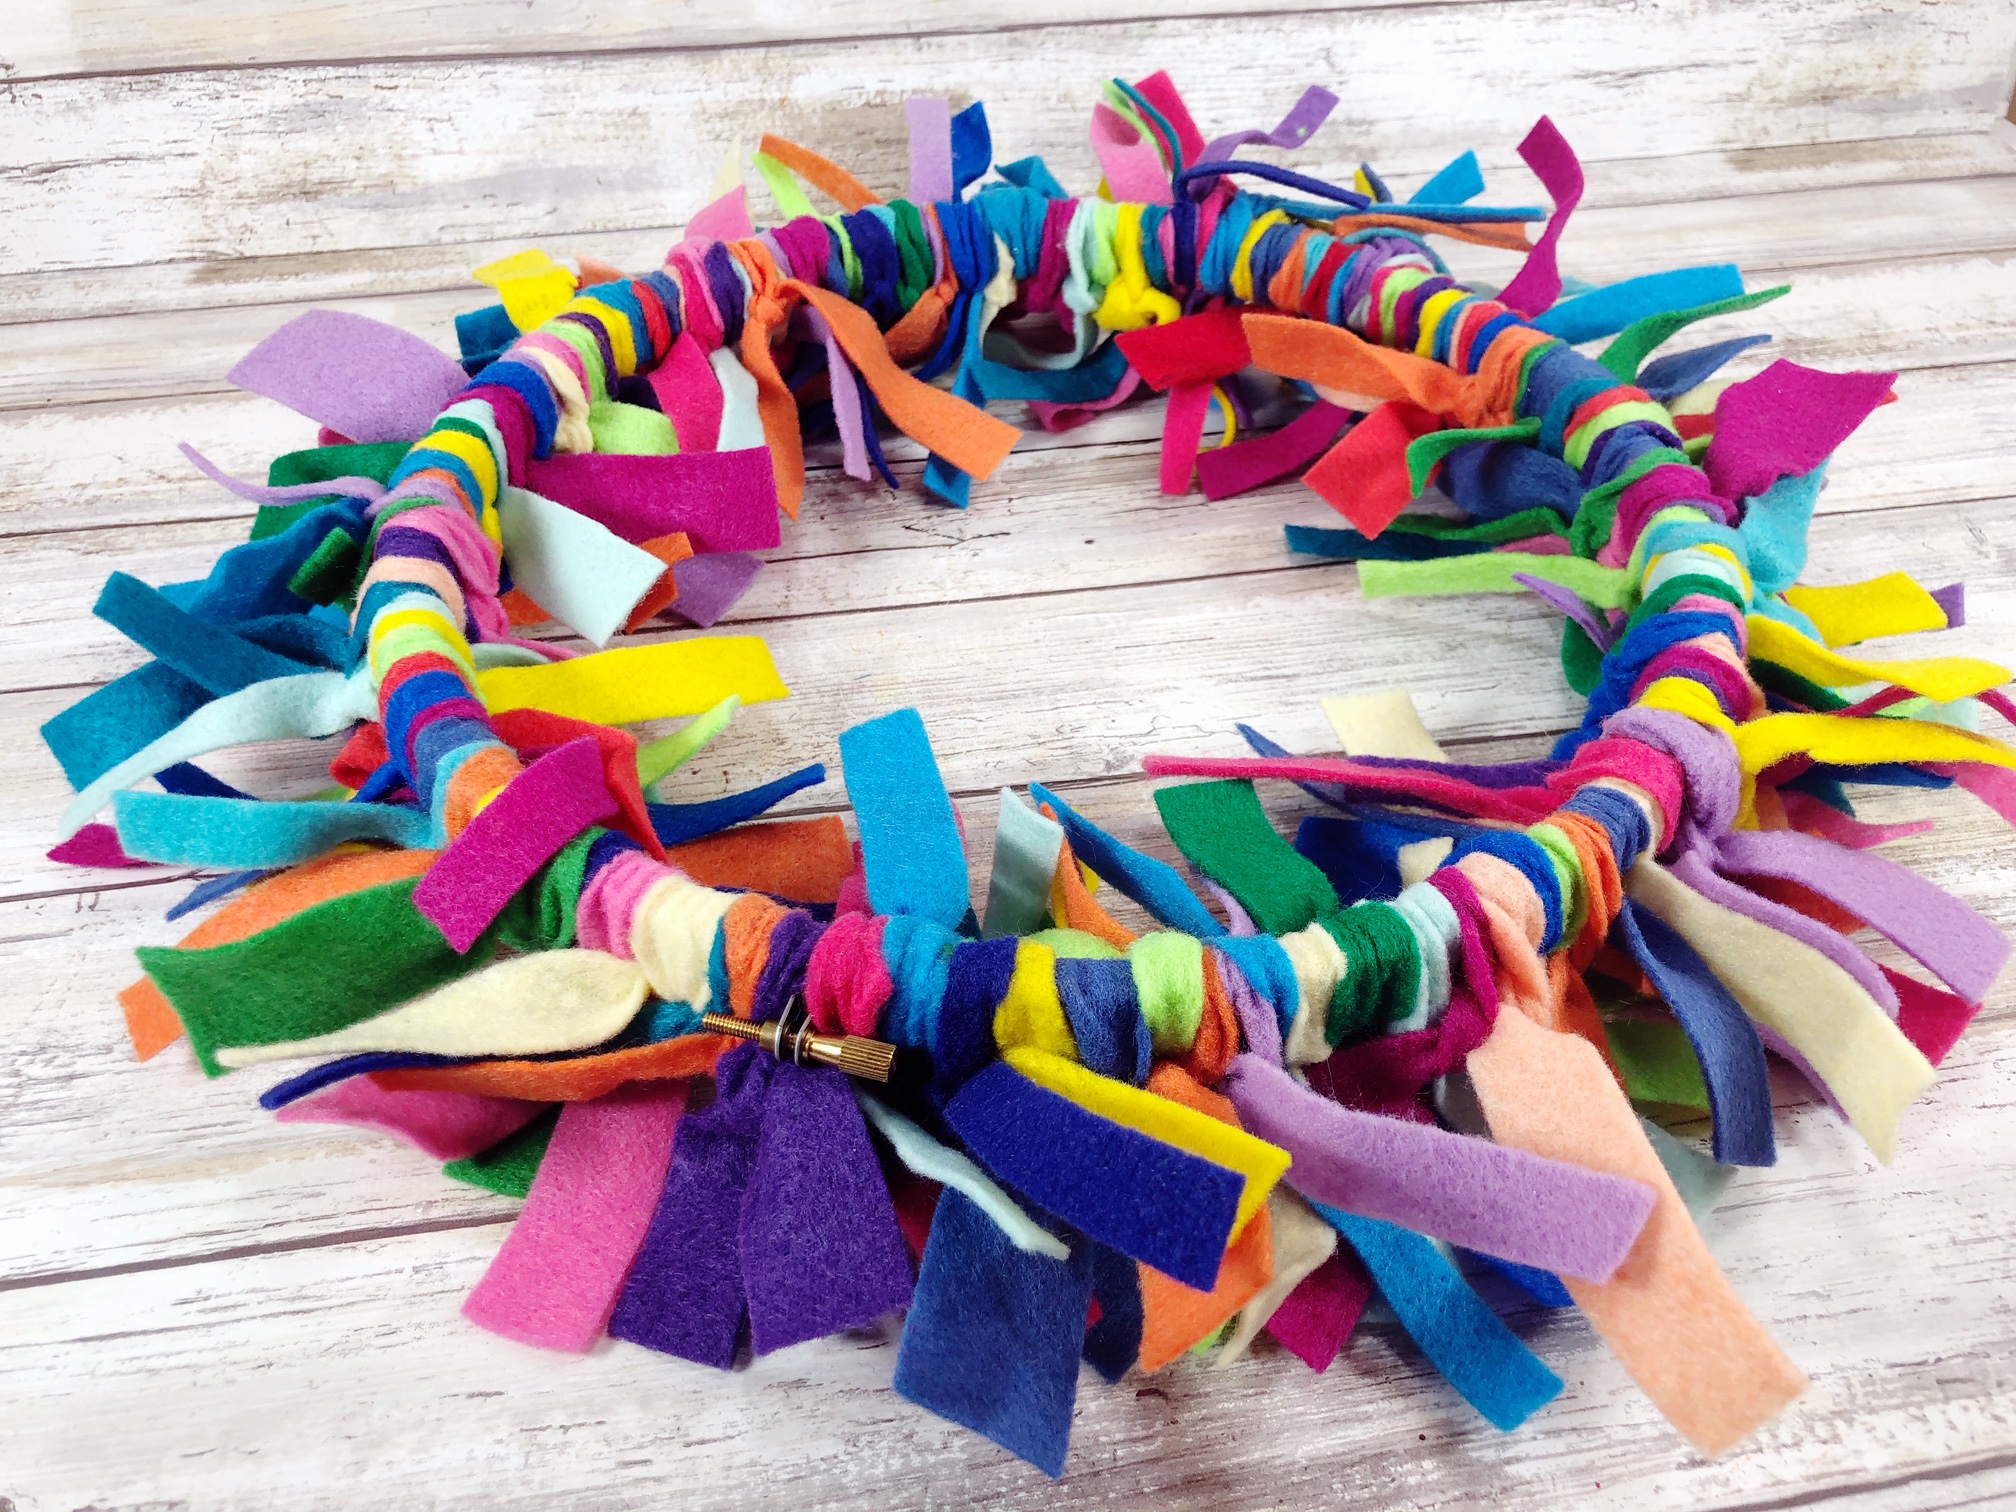
Continue working around the entire wreath, pushing the strips together to get as many on as possible. The more felt strips tied onto the hoop the fluffier the wreath will be.

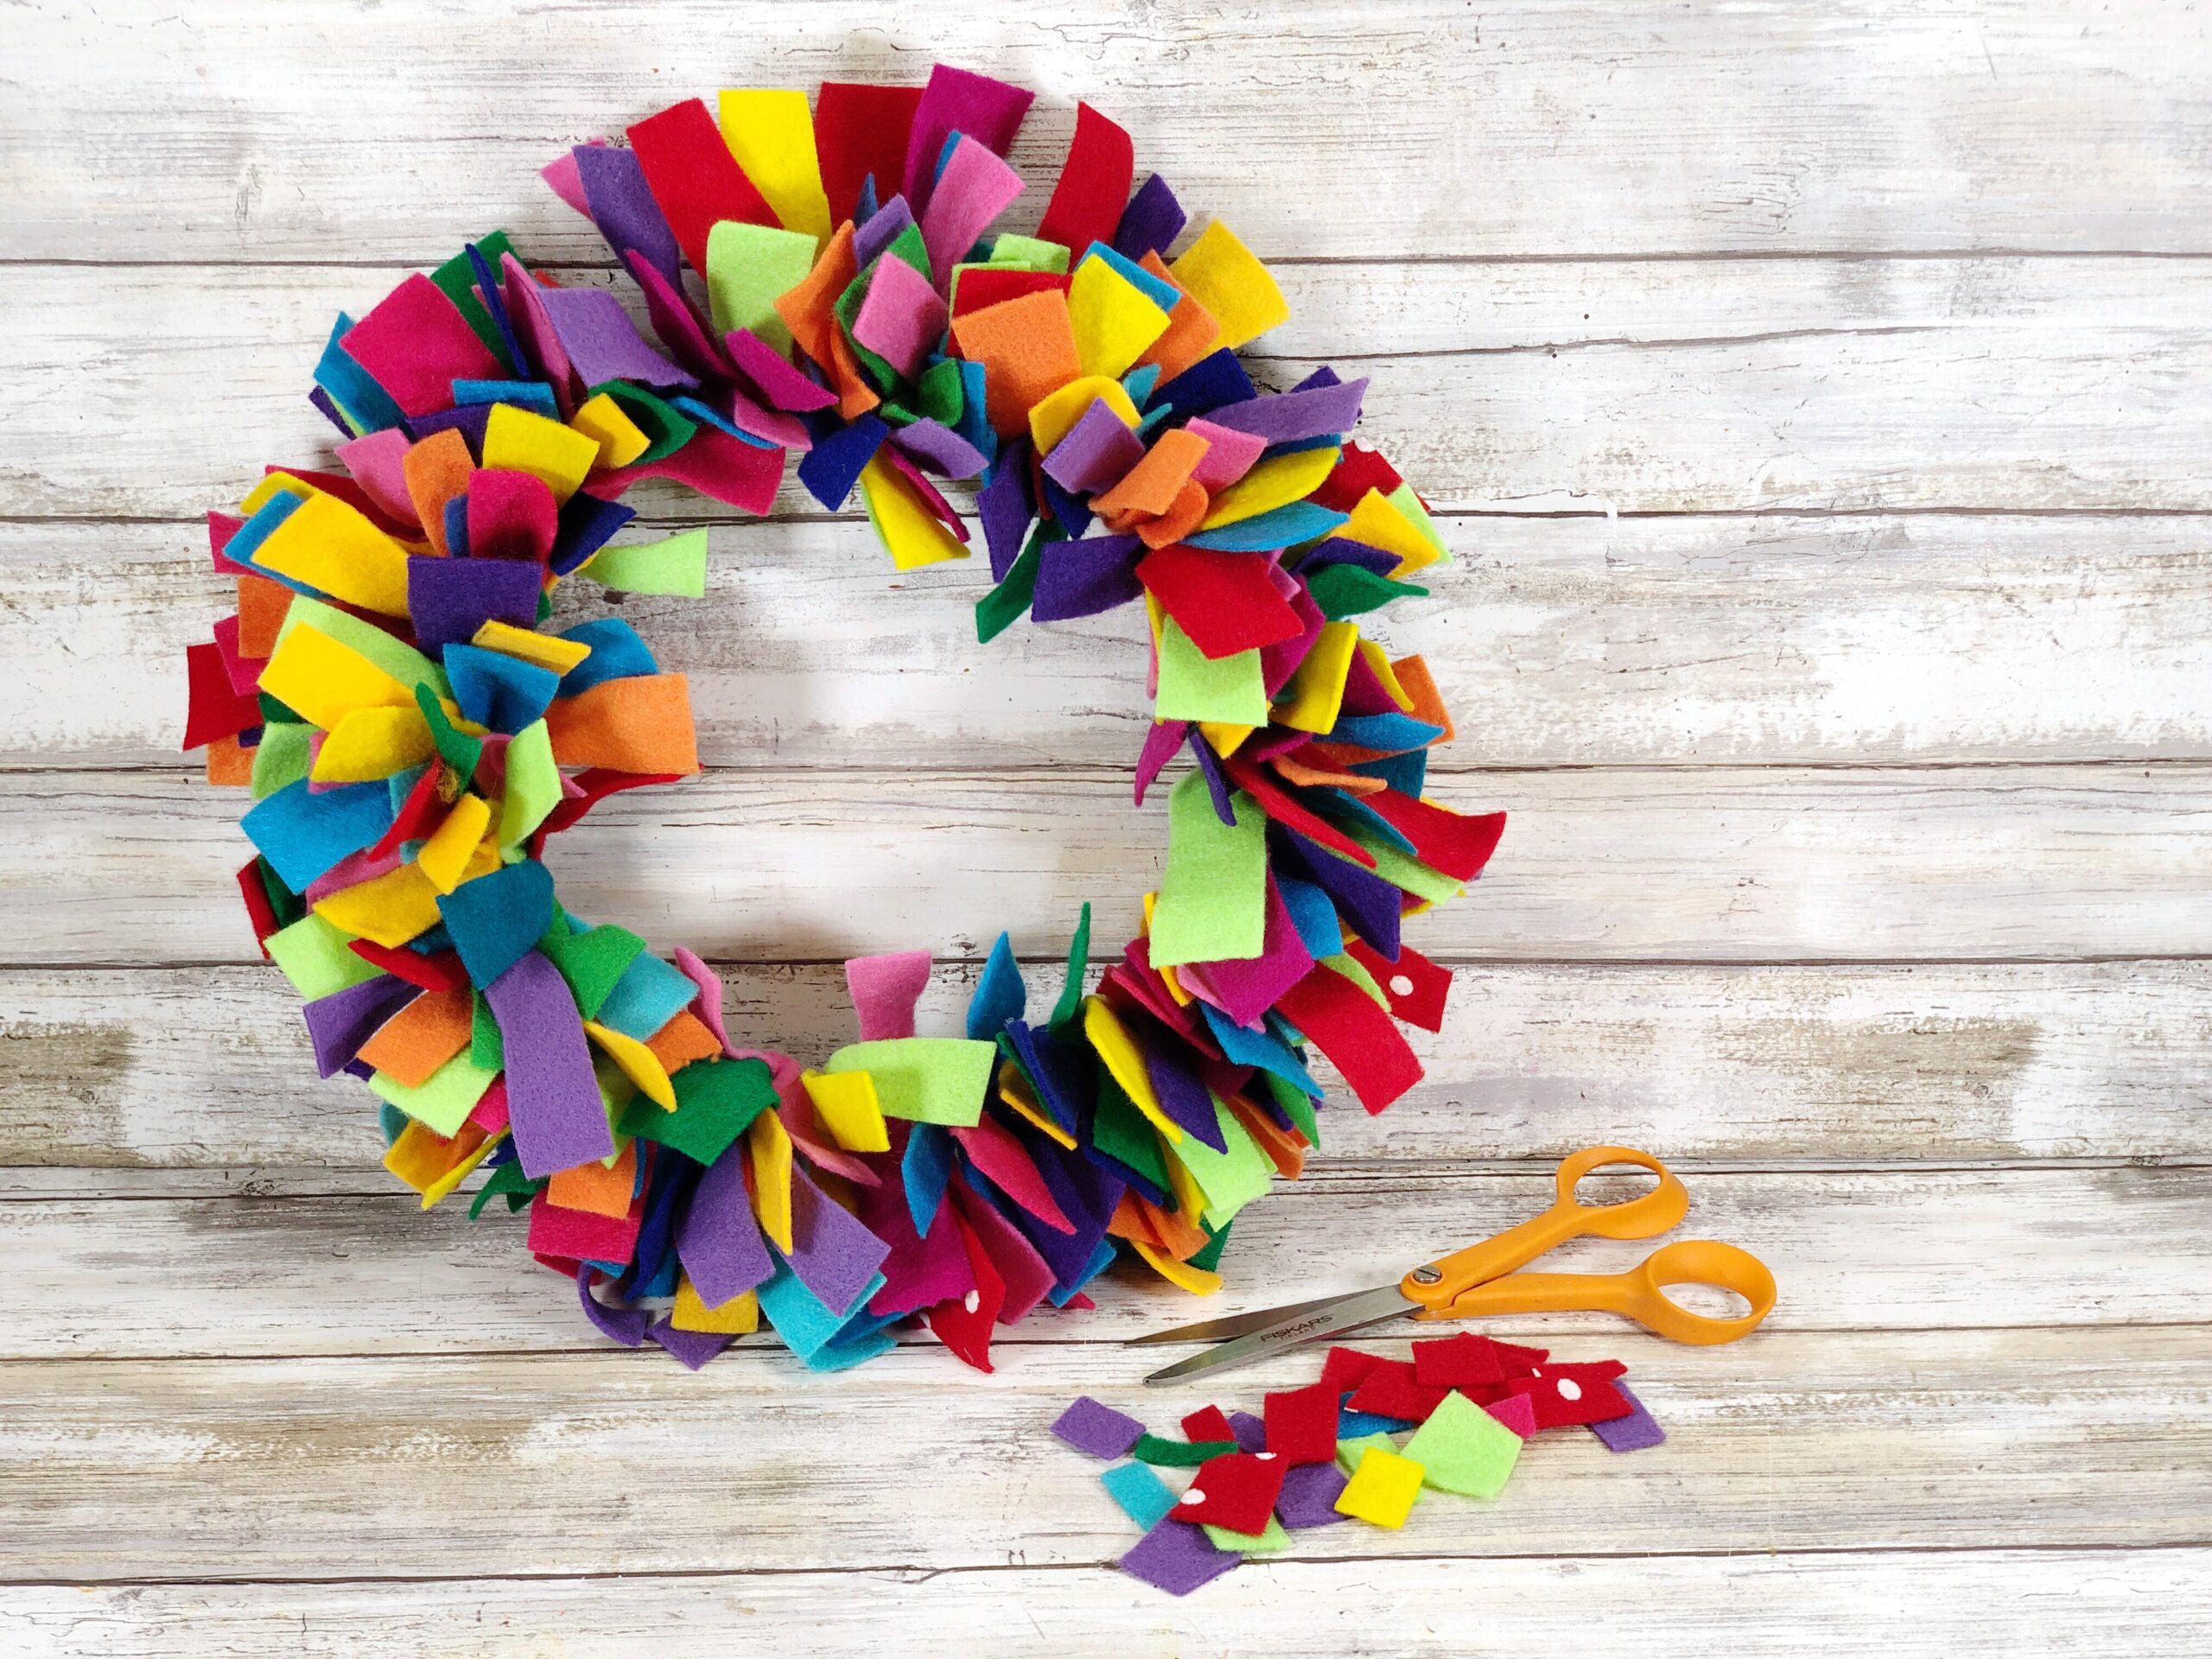
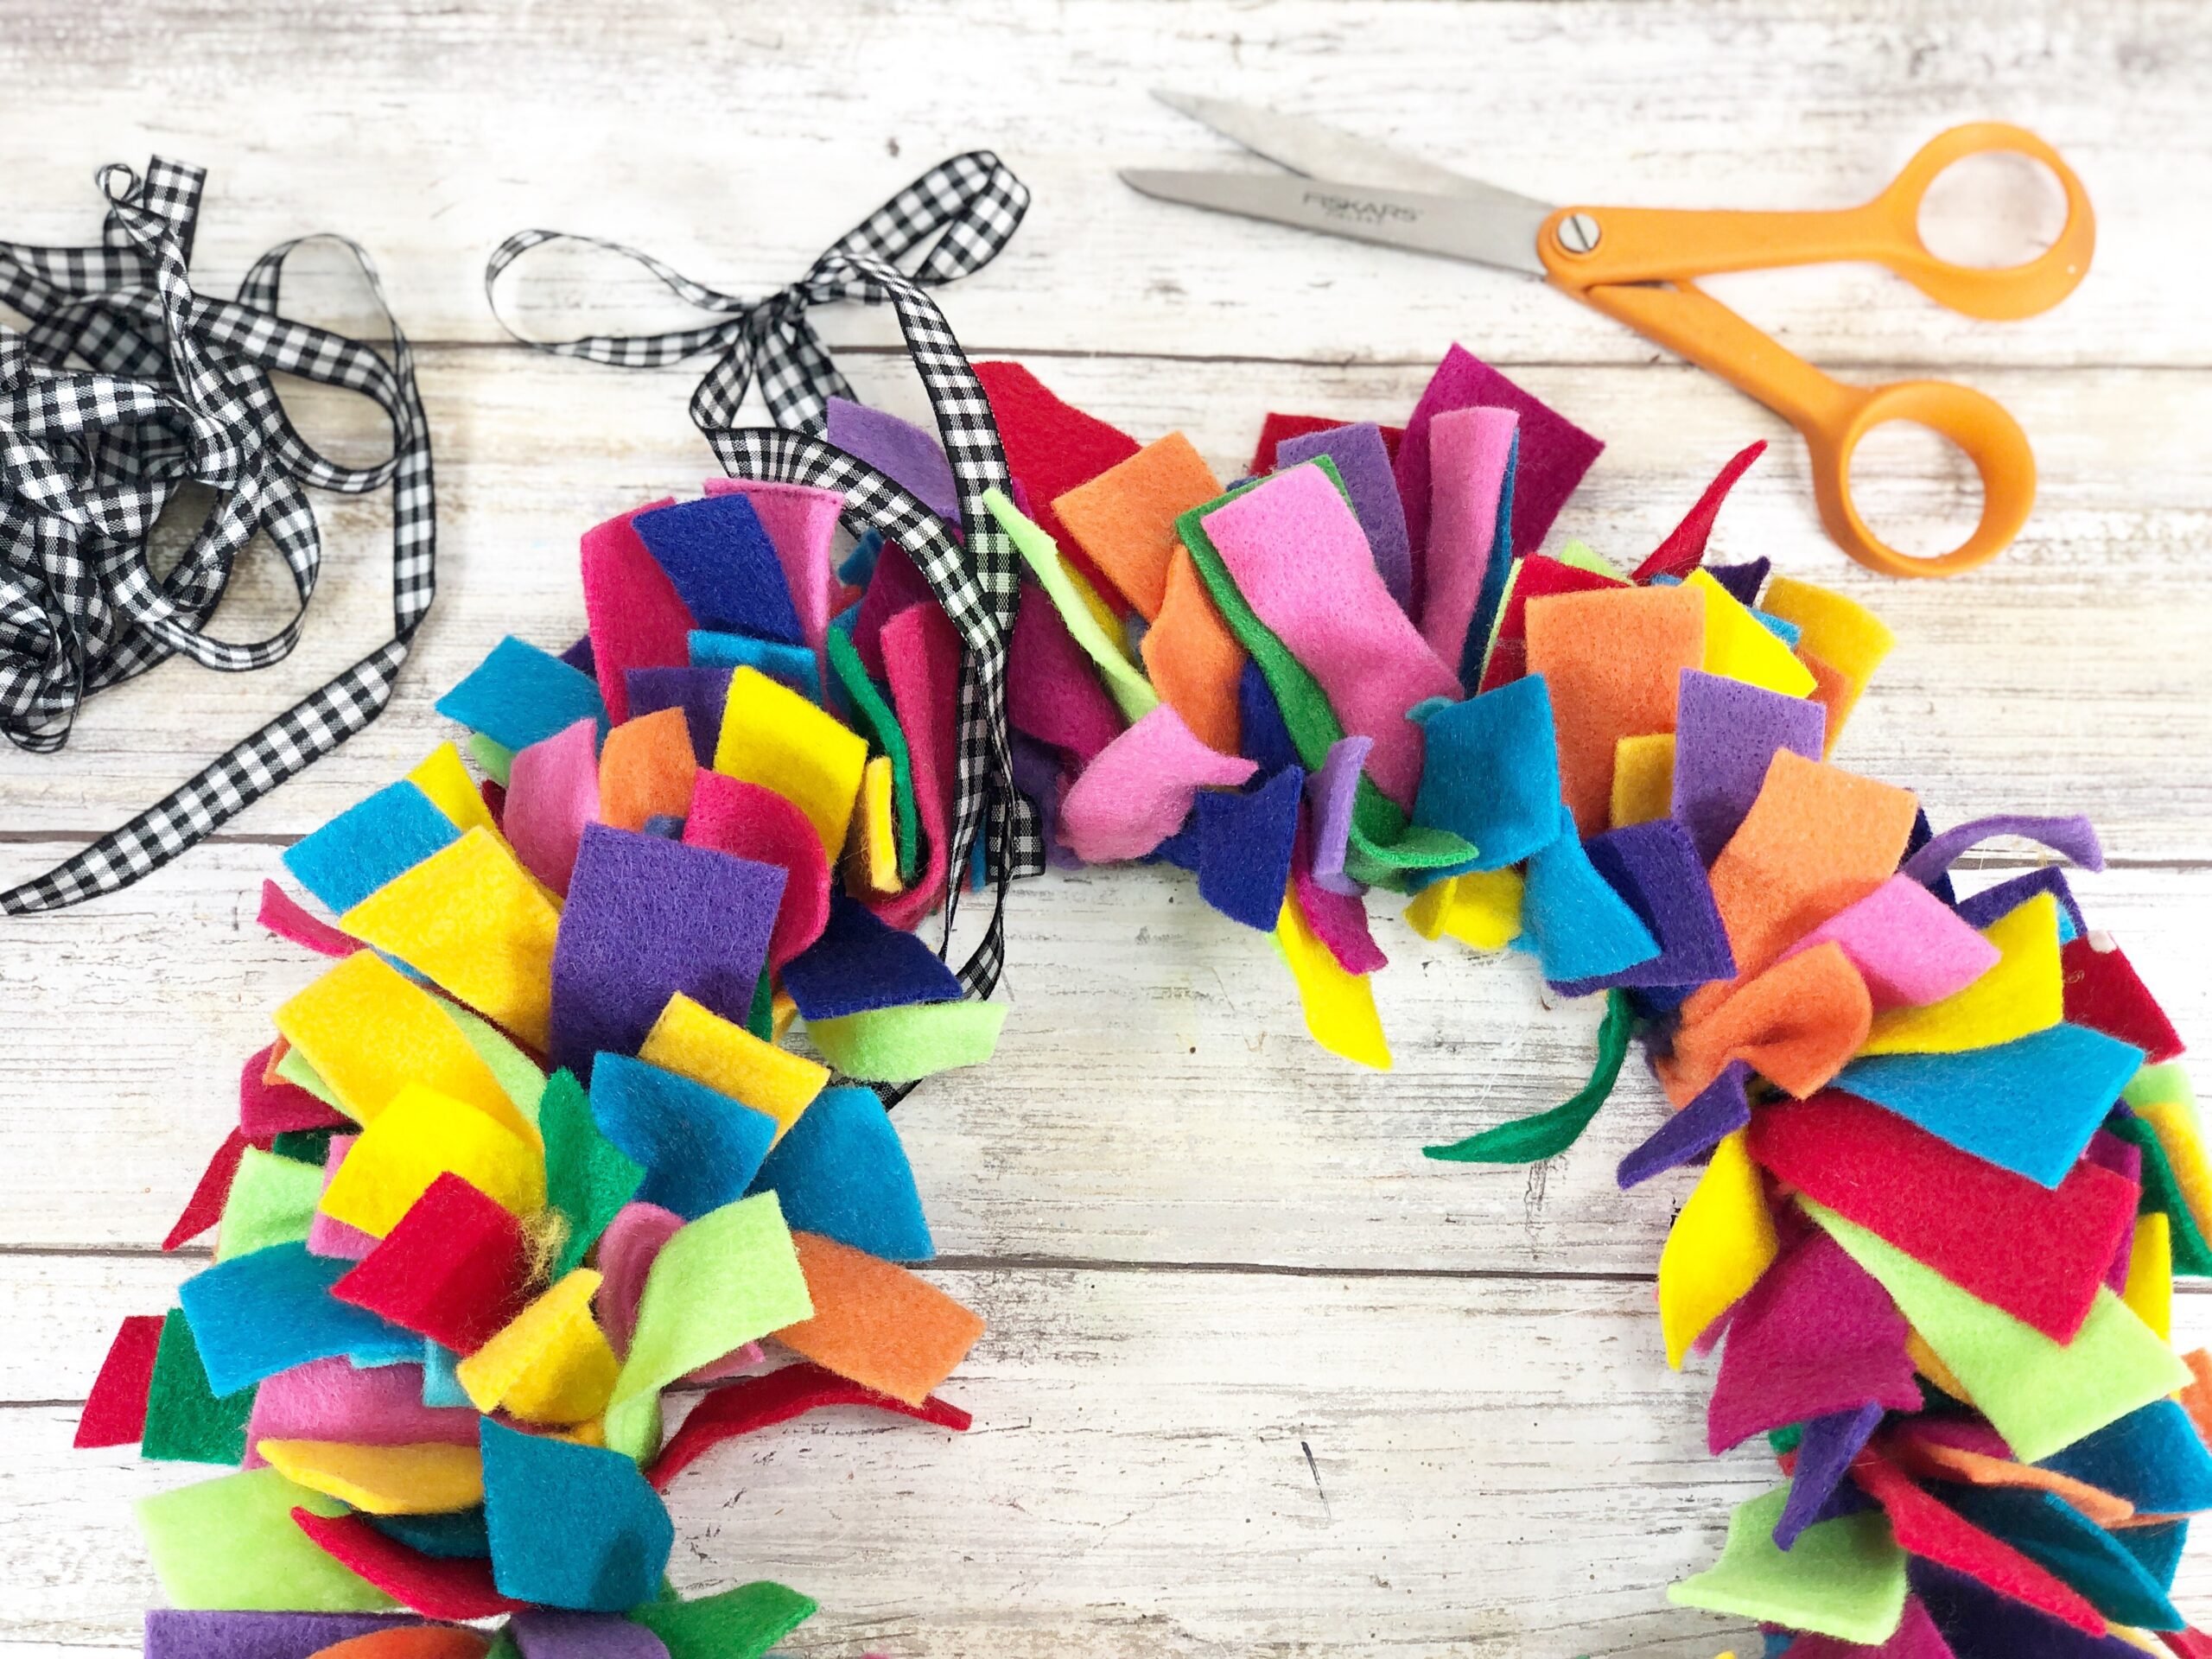
To finish the Rainbow Felt Wreath, trim any long ends with scissors. Tie a ribbon or twine hanger to your finished wreath at the top of the embroidery hoop.
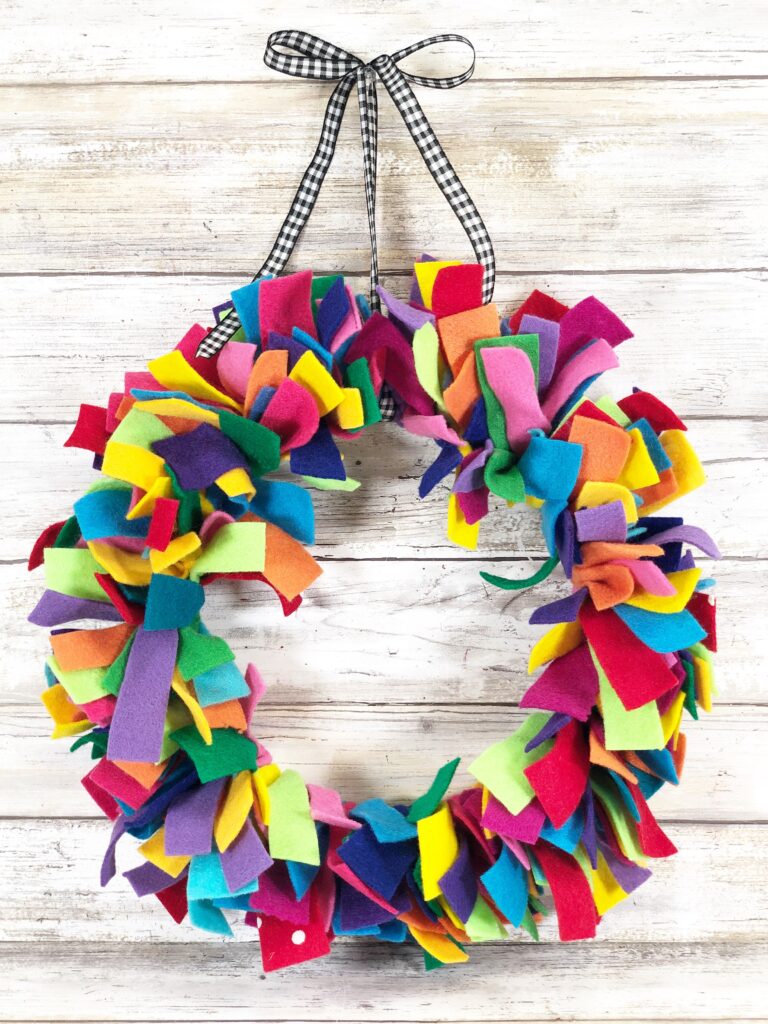
Felt wreaths are best kept indoors and away from water. If needed, spot clean gently with a damp cloth.
More ideas for DIY Felt Wreath Craft Projects
*Contains affiliate links, a small commission is received. See our full disclosure policy for more information.


[…] synonymous with blossoms, greenery, and bursts of color, making it the ideal season to craft easy DIY wreaths that celebrate nature’s […]