Learn how to make your own sponges with our easy DIY guide. Discover simple steps and tips for creating sponges at home for all your cleaning needs!
Why not make your own kitchen sponge? Making your own sponges at home is not only cost-effective but also environmentally friendly.
In this guide, we’ll walk you through the simple steps to make your own DIY sponges, so you can say goodbye to store-bought ones for good.
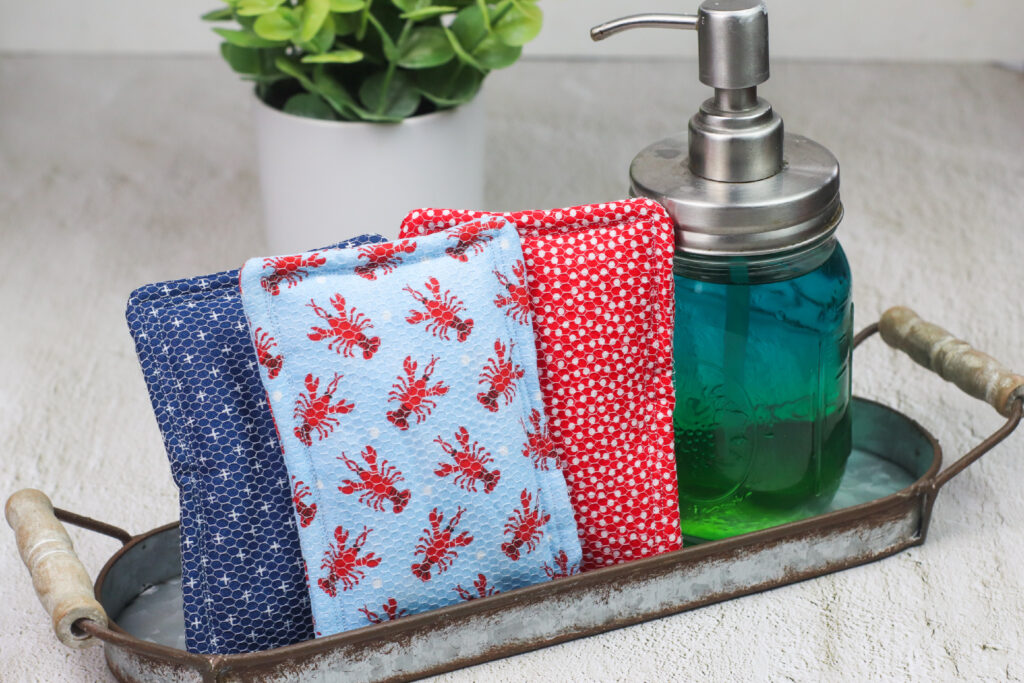
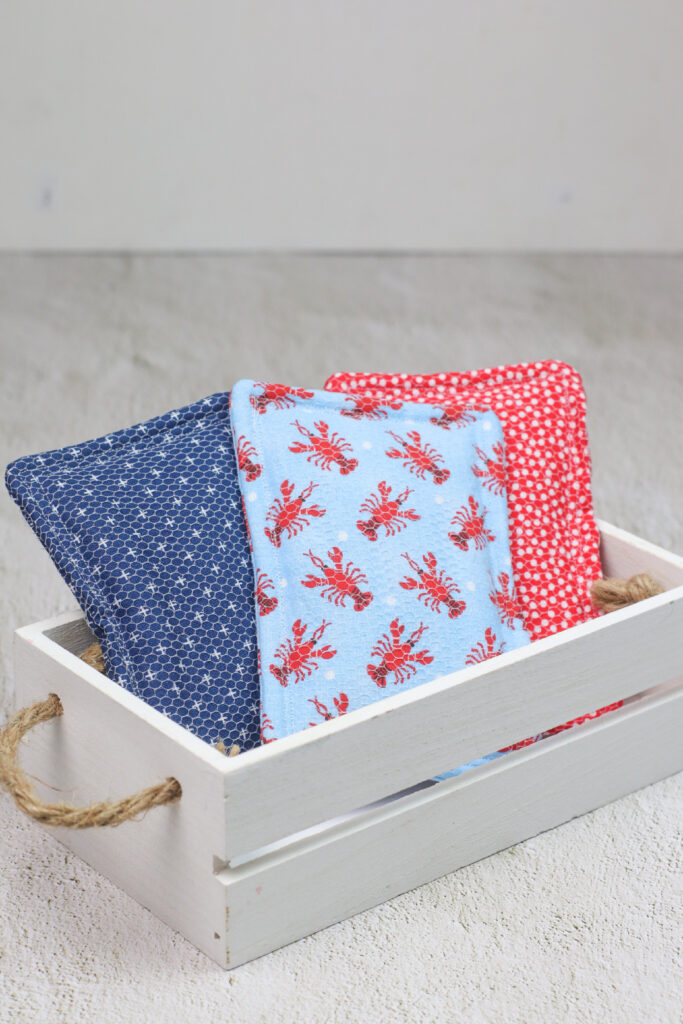
They’re easy and inexpensive to make, and you can use your reusable sponges for all sorts of tasks around the house, from scrubbing dishes at the kitchen sink to mopping up spills on your floor.
So why not give zero waste sponges a try? Your wallet and the environment will thank you!
Keep reading for instructions on how to make sponges at home with scraps of fabric pieces or old towels in just a few minutes time.
How to Make Your Own Sponges
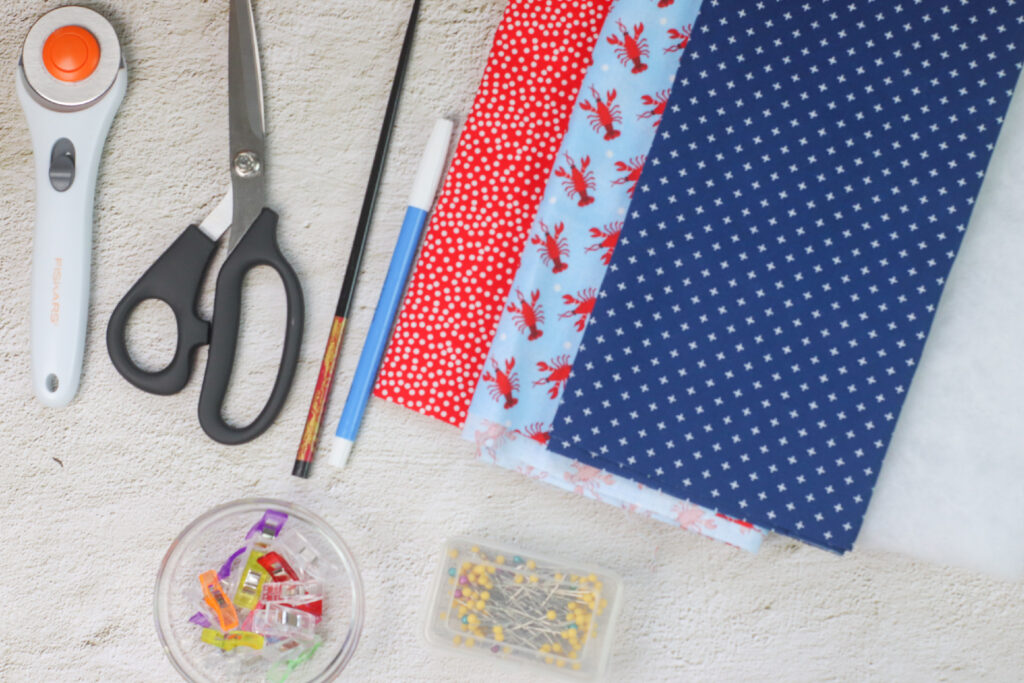
Supplies:
- ¼ yard mesh fabric
- ¼ yard cotton fabric
- ¼ yard cotton batting
- Sewing Machine
- Matching thread
- Fabric marking pen
- Sewing pins or clips
- Scissors
- Turning tool
- Cutting mat and ruler, measuring tape or ruler
Skill Level: Beginner
- Approximate time to complete: 15-20 minutes
- Approximate cost to make: $0.91 per sponge (each ¼ yard can make 3 sponges)

Step by Step Instructions:
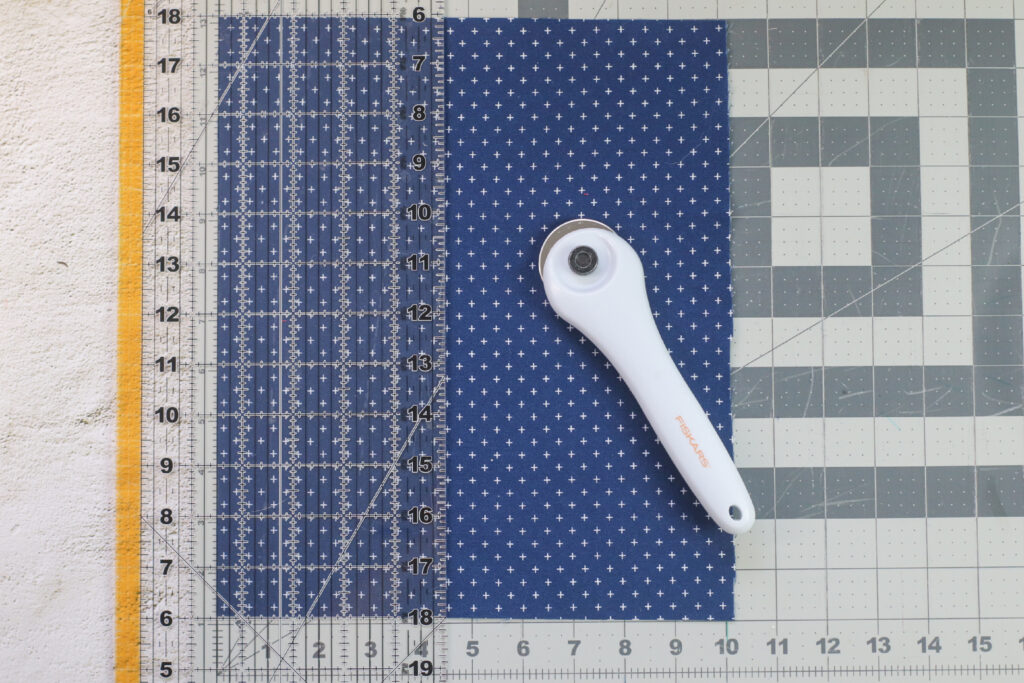
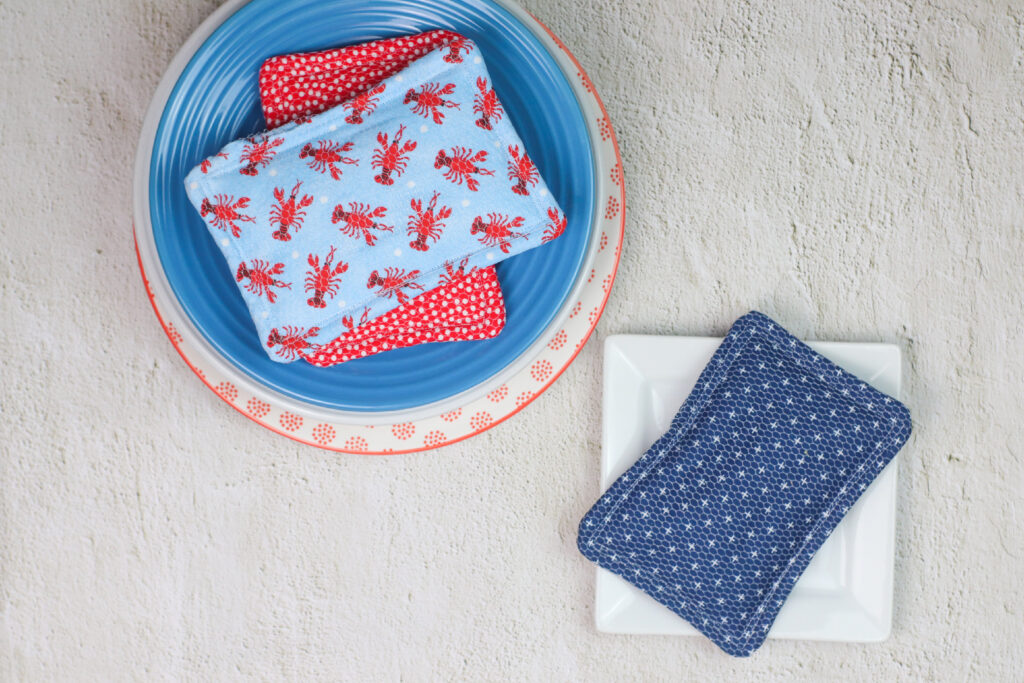
Cut (2) 4 ½” x 6” sponge strips from your cotton fabric and mesh fabric. For the cotton batting, cut 2-4 pieces into your desired size, depending on how thick you want your whole sponge to be.
On your flat work surface, layer your pieces as follows: one piece of cotton right side up, the two pieces of mesh next, the other piece of cotton right side facing down and the cotton batting on top. Pin or clip the layers together.
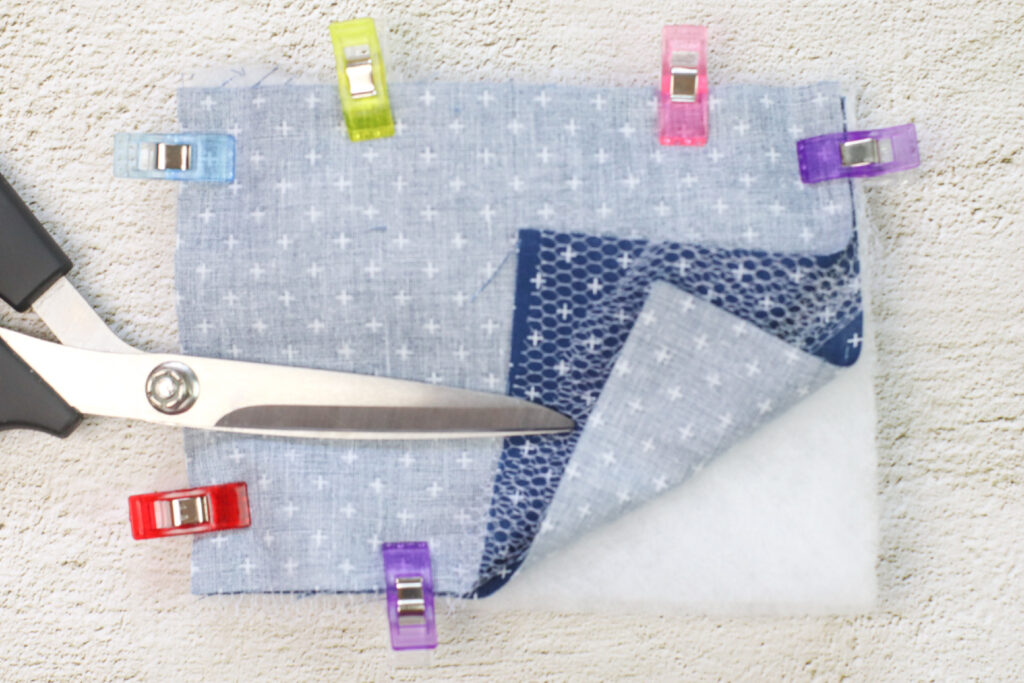
Using a 3/8” seam allowance, sew all the layers together, leaving a 3-4” gap for turning on one of the long sides. Clip the corners to remove bulk, being careful not to clip through the stitching.
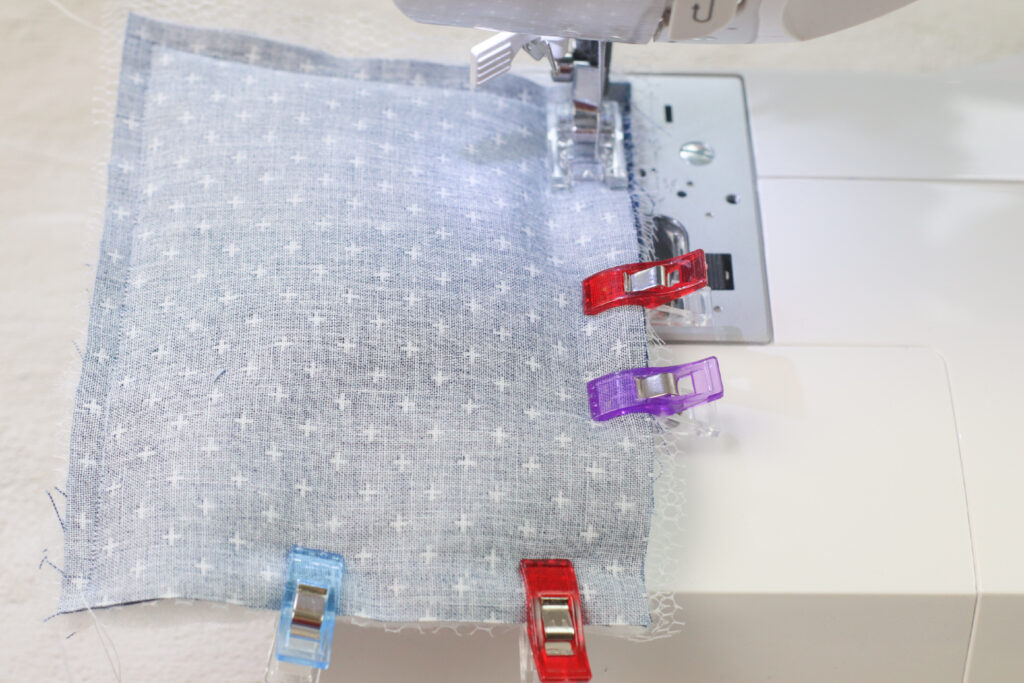

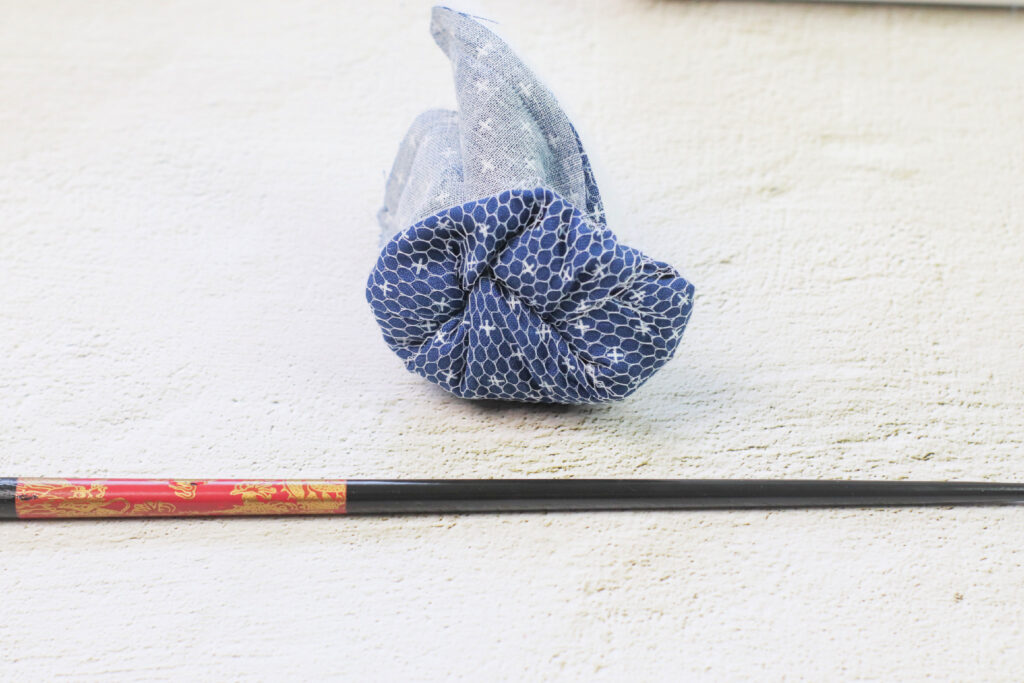
Using your turning tool, turn right side out between the mesh layers and push out the corners. Tuck in the raw edges of the opening and pin or clip closed.

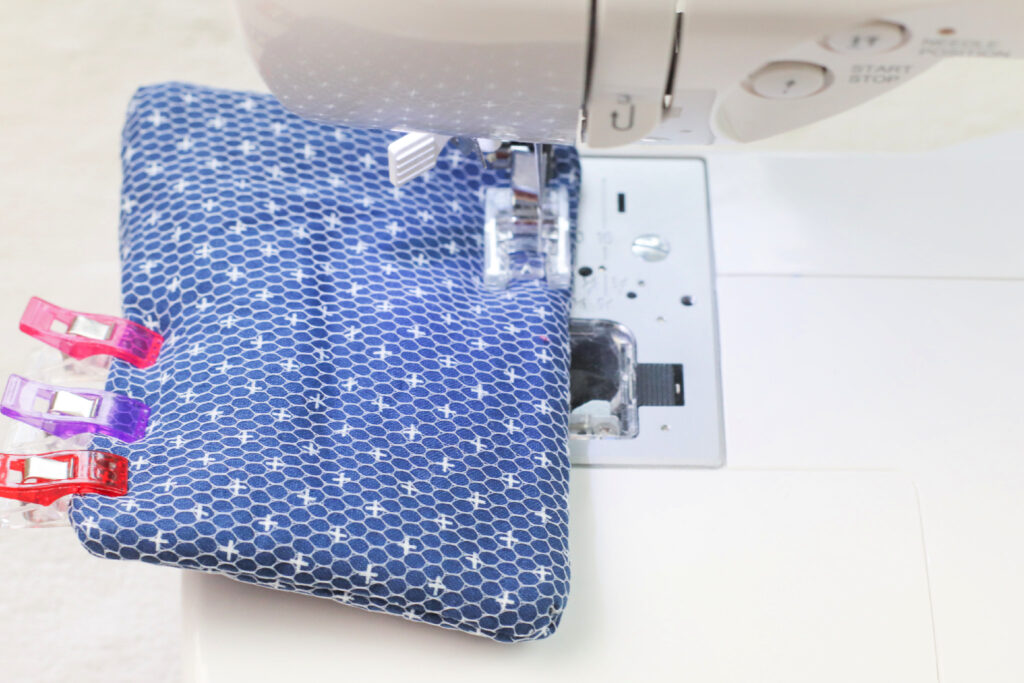
Topstitch around the entire sponge. Next, topstitch around the finished sponge again 1/4-inch to the left from the first topstitch line.
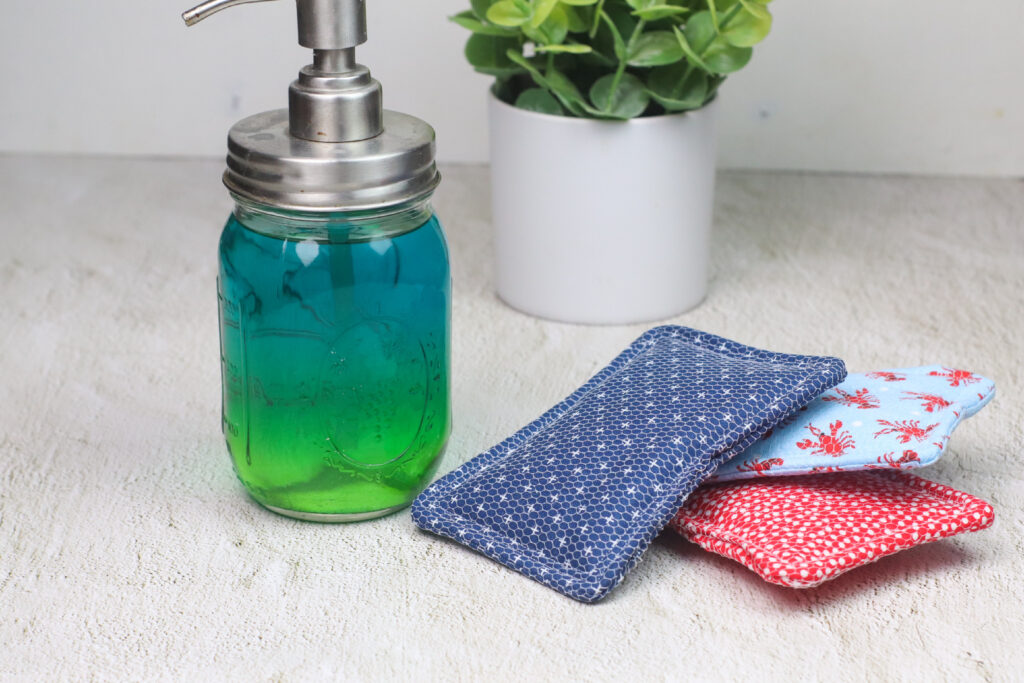
Once your sponges are complete, give them a good rinse with dish soap or detergent to remove any debris or residue. They are now ready to use for all your cleaning needs!
Rinse and wring out your sponges after each use to prolong their lifespan.
To clean your sponges, soak them in a mixture of water and vinegar or bleach solution regularly to disinfect and remove bacteria.
Relevant Posts:
FAQs
Where is the best place to store homemade sponges?
If you’re looking for the best way to store your homemade sponges, we have a few tips! Keep a dry sponge in an airtight container that can keep out dust as well as humidity and avoid storing near any porous materials (like wood cutting blocks) because they’ll absorb moisture from these surfaces which could not only ruin their shape but also cause mold growth.
How to Clean a Smelly Sponge
When your sponge is dirty, toss in the washing machine with a load of towels and dry on low.

[…] Make DIY Sponges […]