Want to make your own friendship bracelets for your best friend, new friends or family? Check out these steps on how to make your own DIY friendship bracelets!
If you’re looking for an activity to keep yourself busy, look no further than DIY friendship bracelets! If there’s one thing that never goes out of style, it’s friendship bracelets!
Making DIY Friendship Bracelets is the perfect fun activity to show your bestie some love. And what could be more adorable than a sparkly, colorful bracelet made by you?
Plus, it’s easy to learn and doesn’t require any special skills, making it perfect for kids of all ages.
You can use any materials you like, but the most popular ones are made with string or embroidery yarn.
This fun craft is perfect for rainy days, a great activity summer camp, an easy craft to make at slumber parties or they even make great DIY gifts!
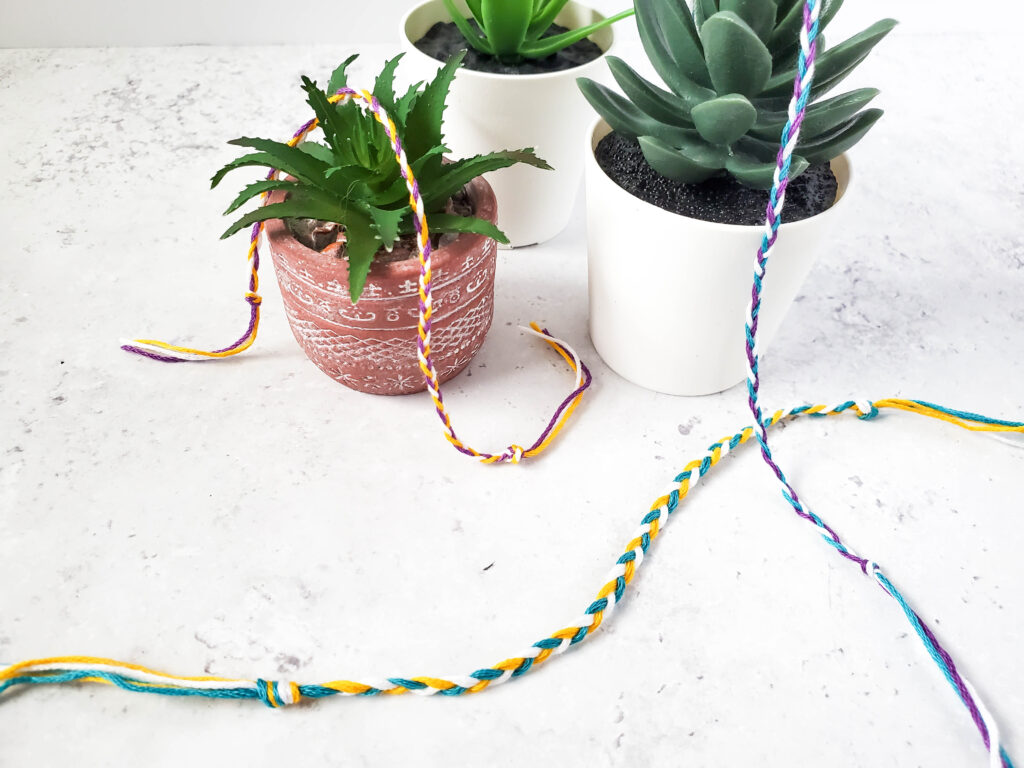
Before you get started, there are a few things you should know.
First, choose your thread wisely. It should be strong enough to withstand lots of wear and tear, but also flexible enough to tie into all kinds of knots.
Second, practice makes perfect when making beautiful bracelets. The better you get at making these bracelets, the more personalized and unique they can be.
Finally, have fun making your own unique friendship bracelets! DIY Friendship Bracelets are all about showing your personality and creativity, so let your inner artist shine through!
So grab some colorful thread and get started on making your own fun friendship bracelets.
How to Make Easy Friendship Bracelets
Supplies:
- Strands of Embroidery Floss – Different colors of thread
- Scissors
- Tape
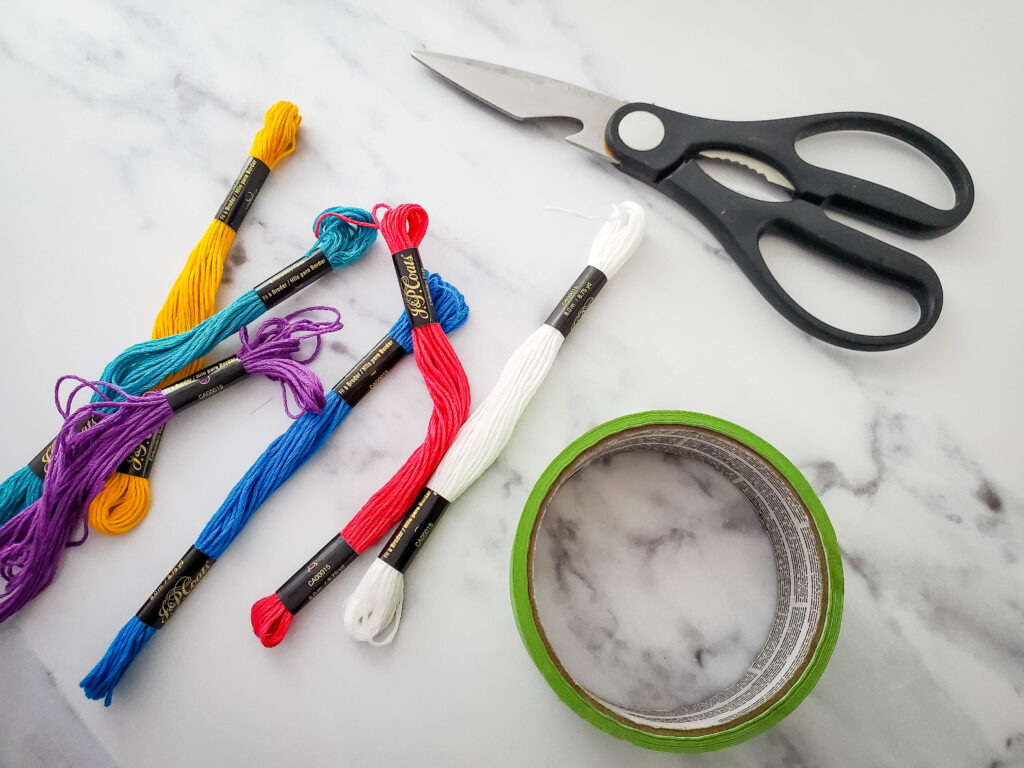
Step by Step Instructions:
Choose 3 strands of embroidery thread in your favorite color combination.
Cut 12 inch lengths of embroidery floss – 1 of each color for a thin bracelet, 2 of each color for a bit thicker of a bracelet, 3 of each color for thicker, and so on.
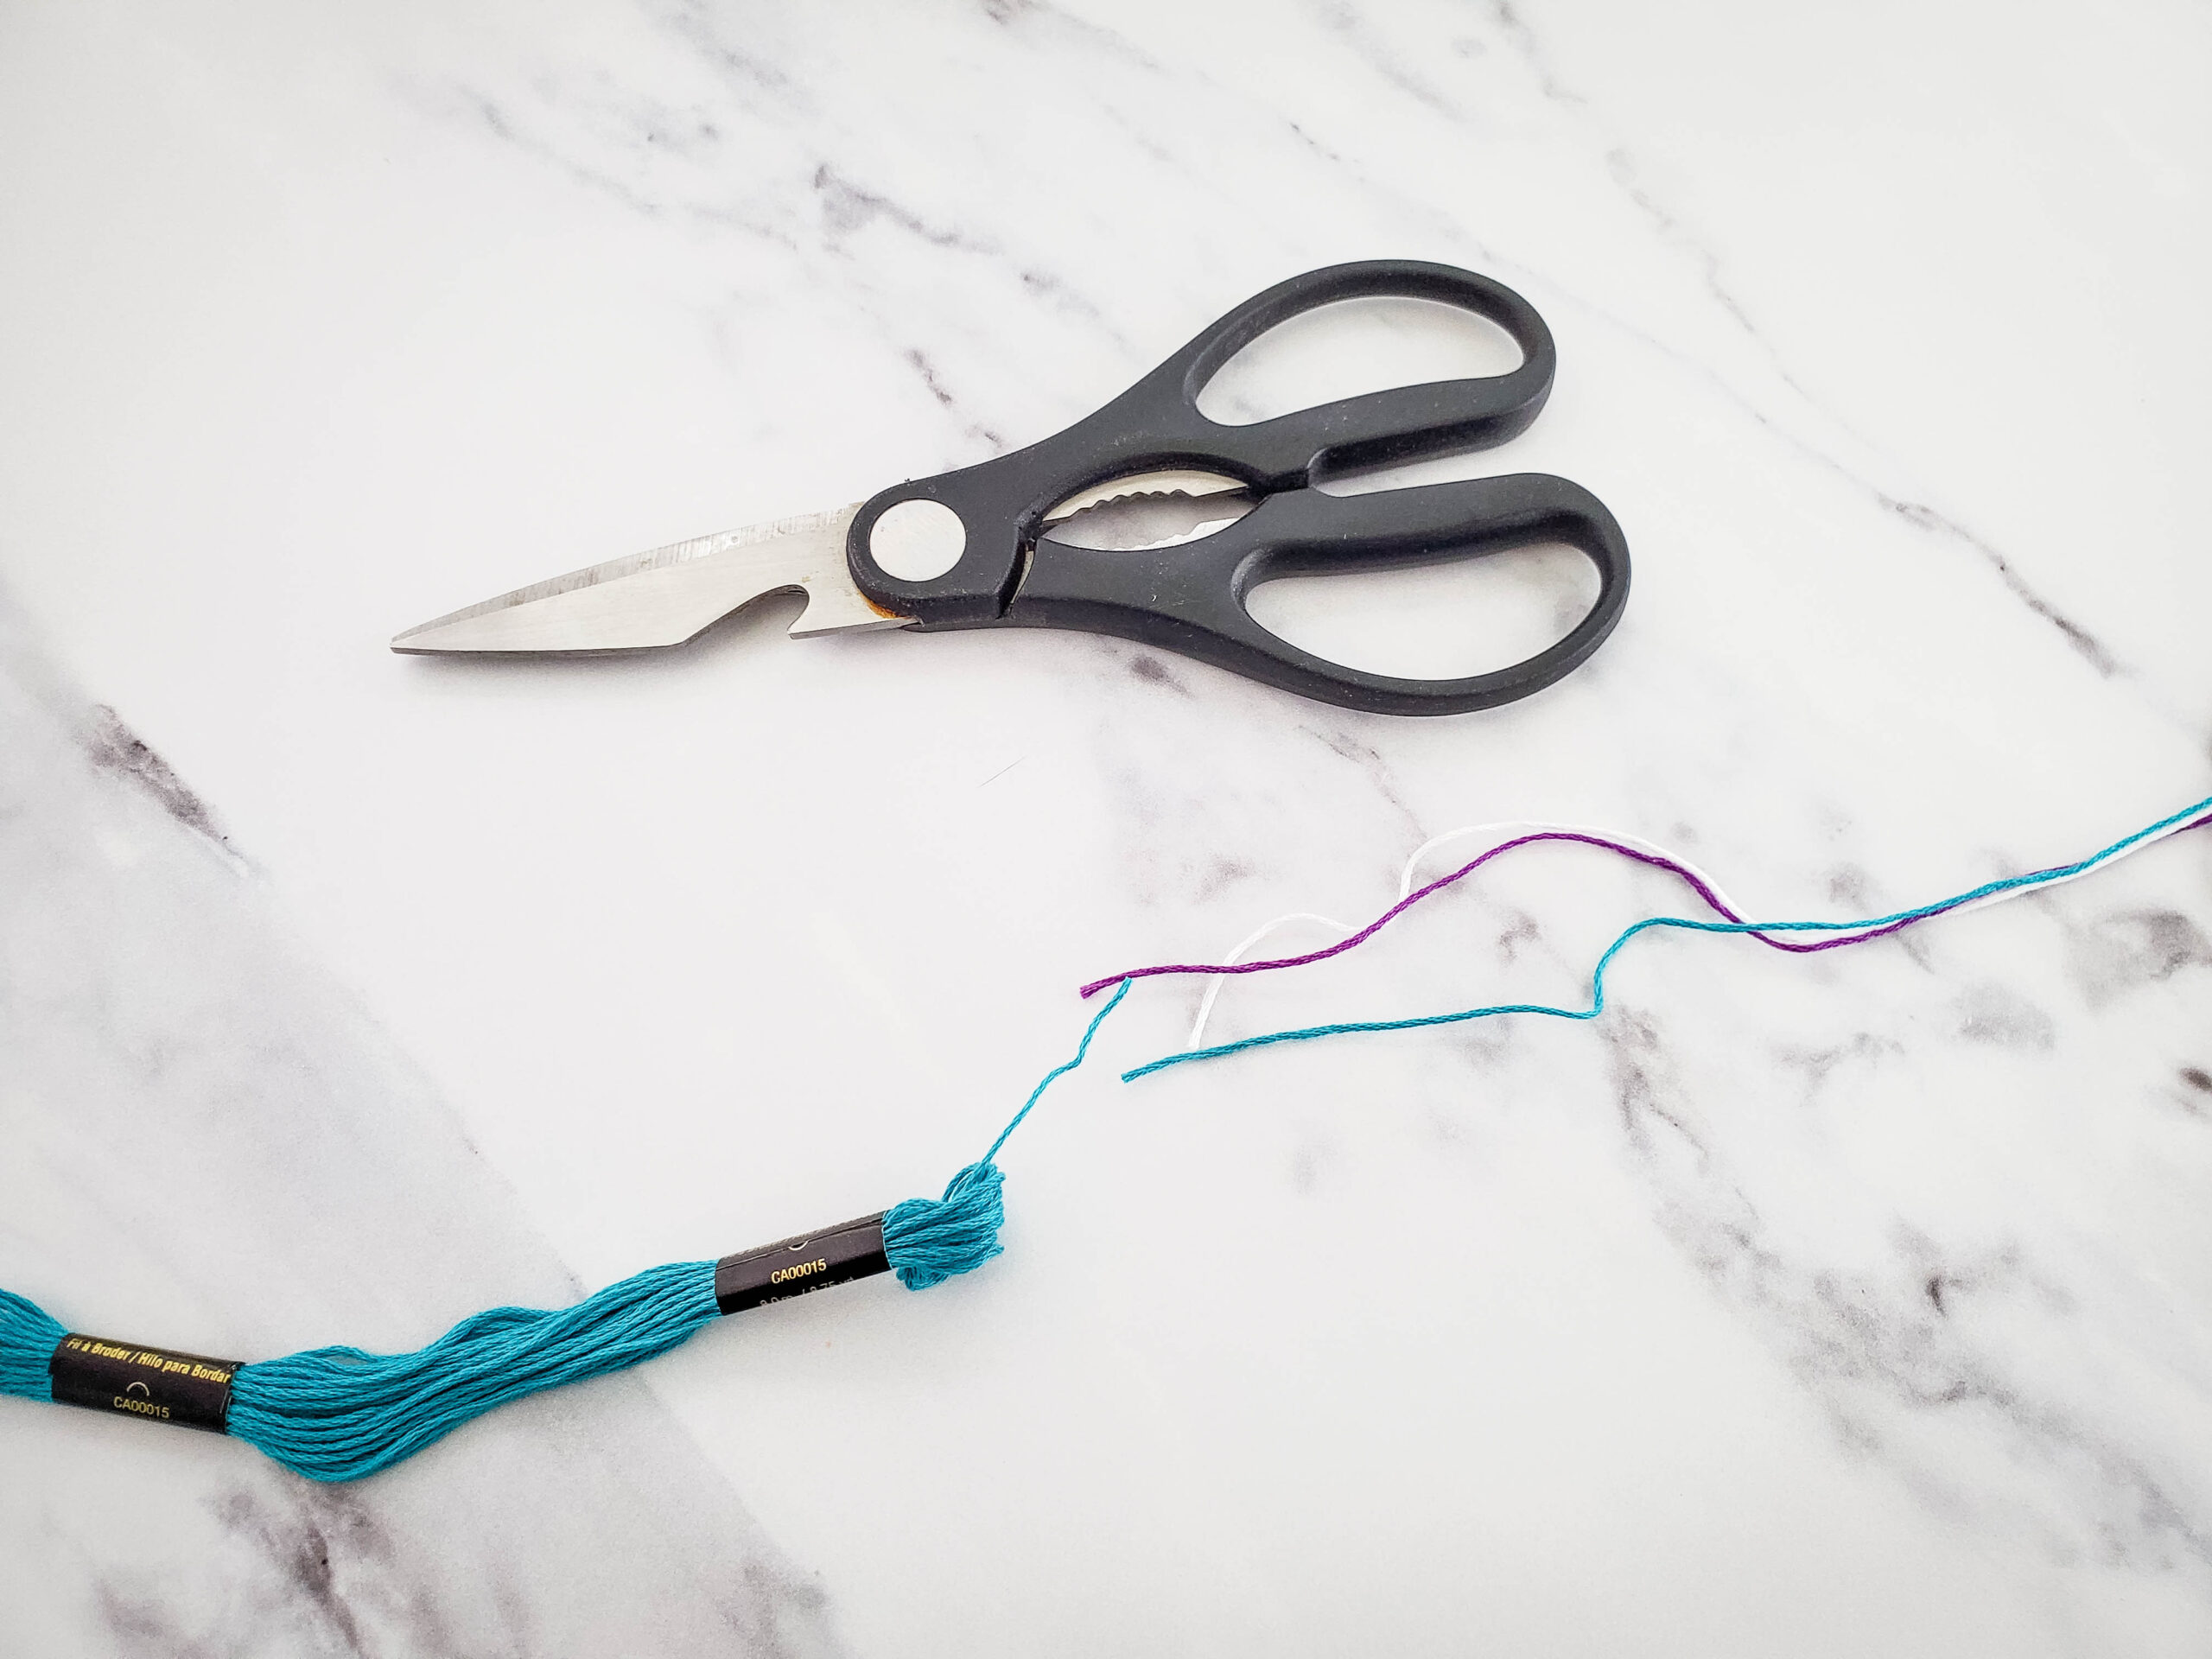
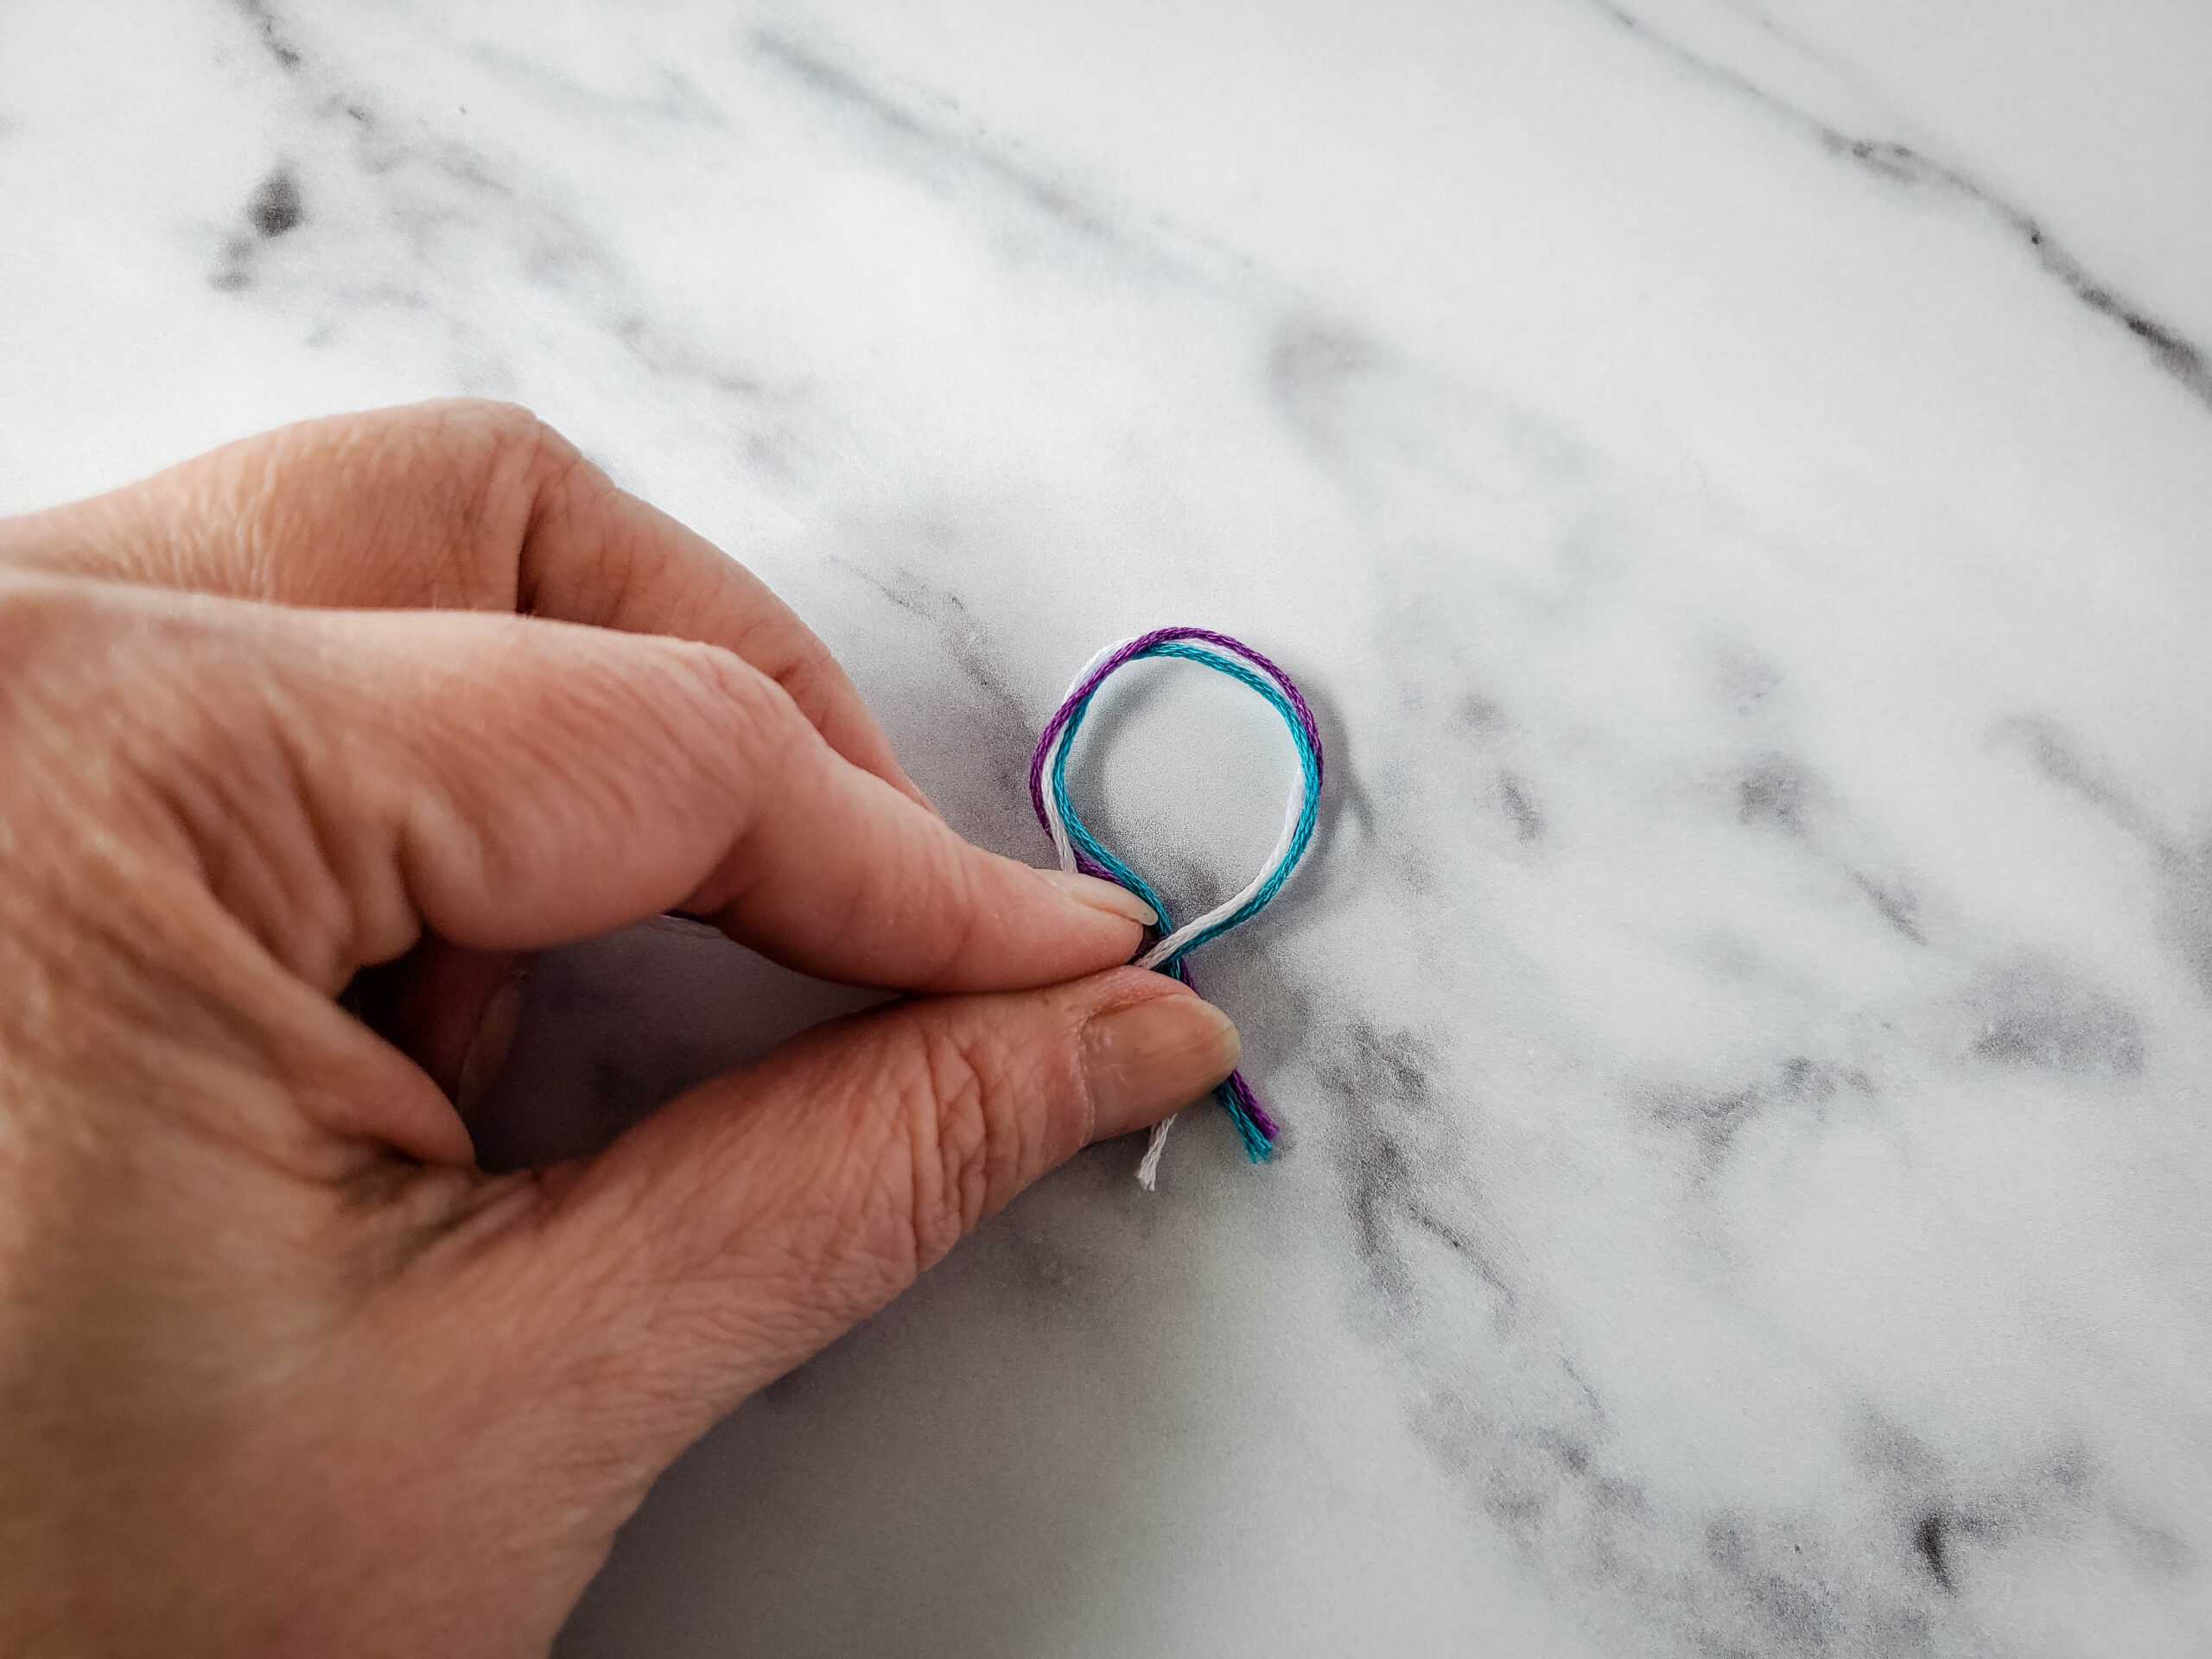
Line one end of each of the strands up, then make a loop, and a knot; leaving about 1.5 – 2 inches of embroidery floss above the knot for tying later on.
Using a piece of tape, secure the embroidery floss above the knot to a table.
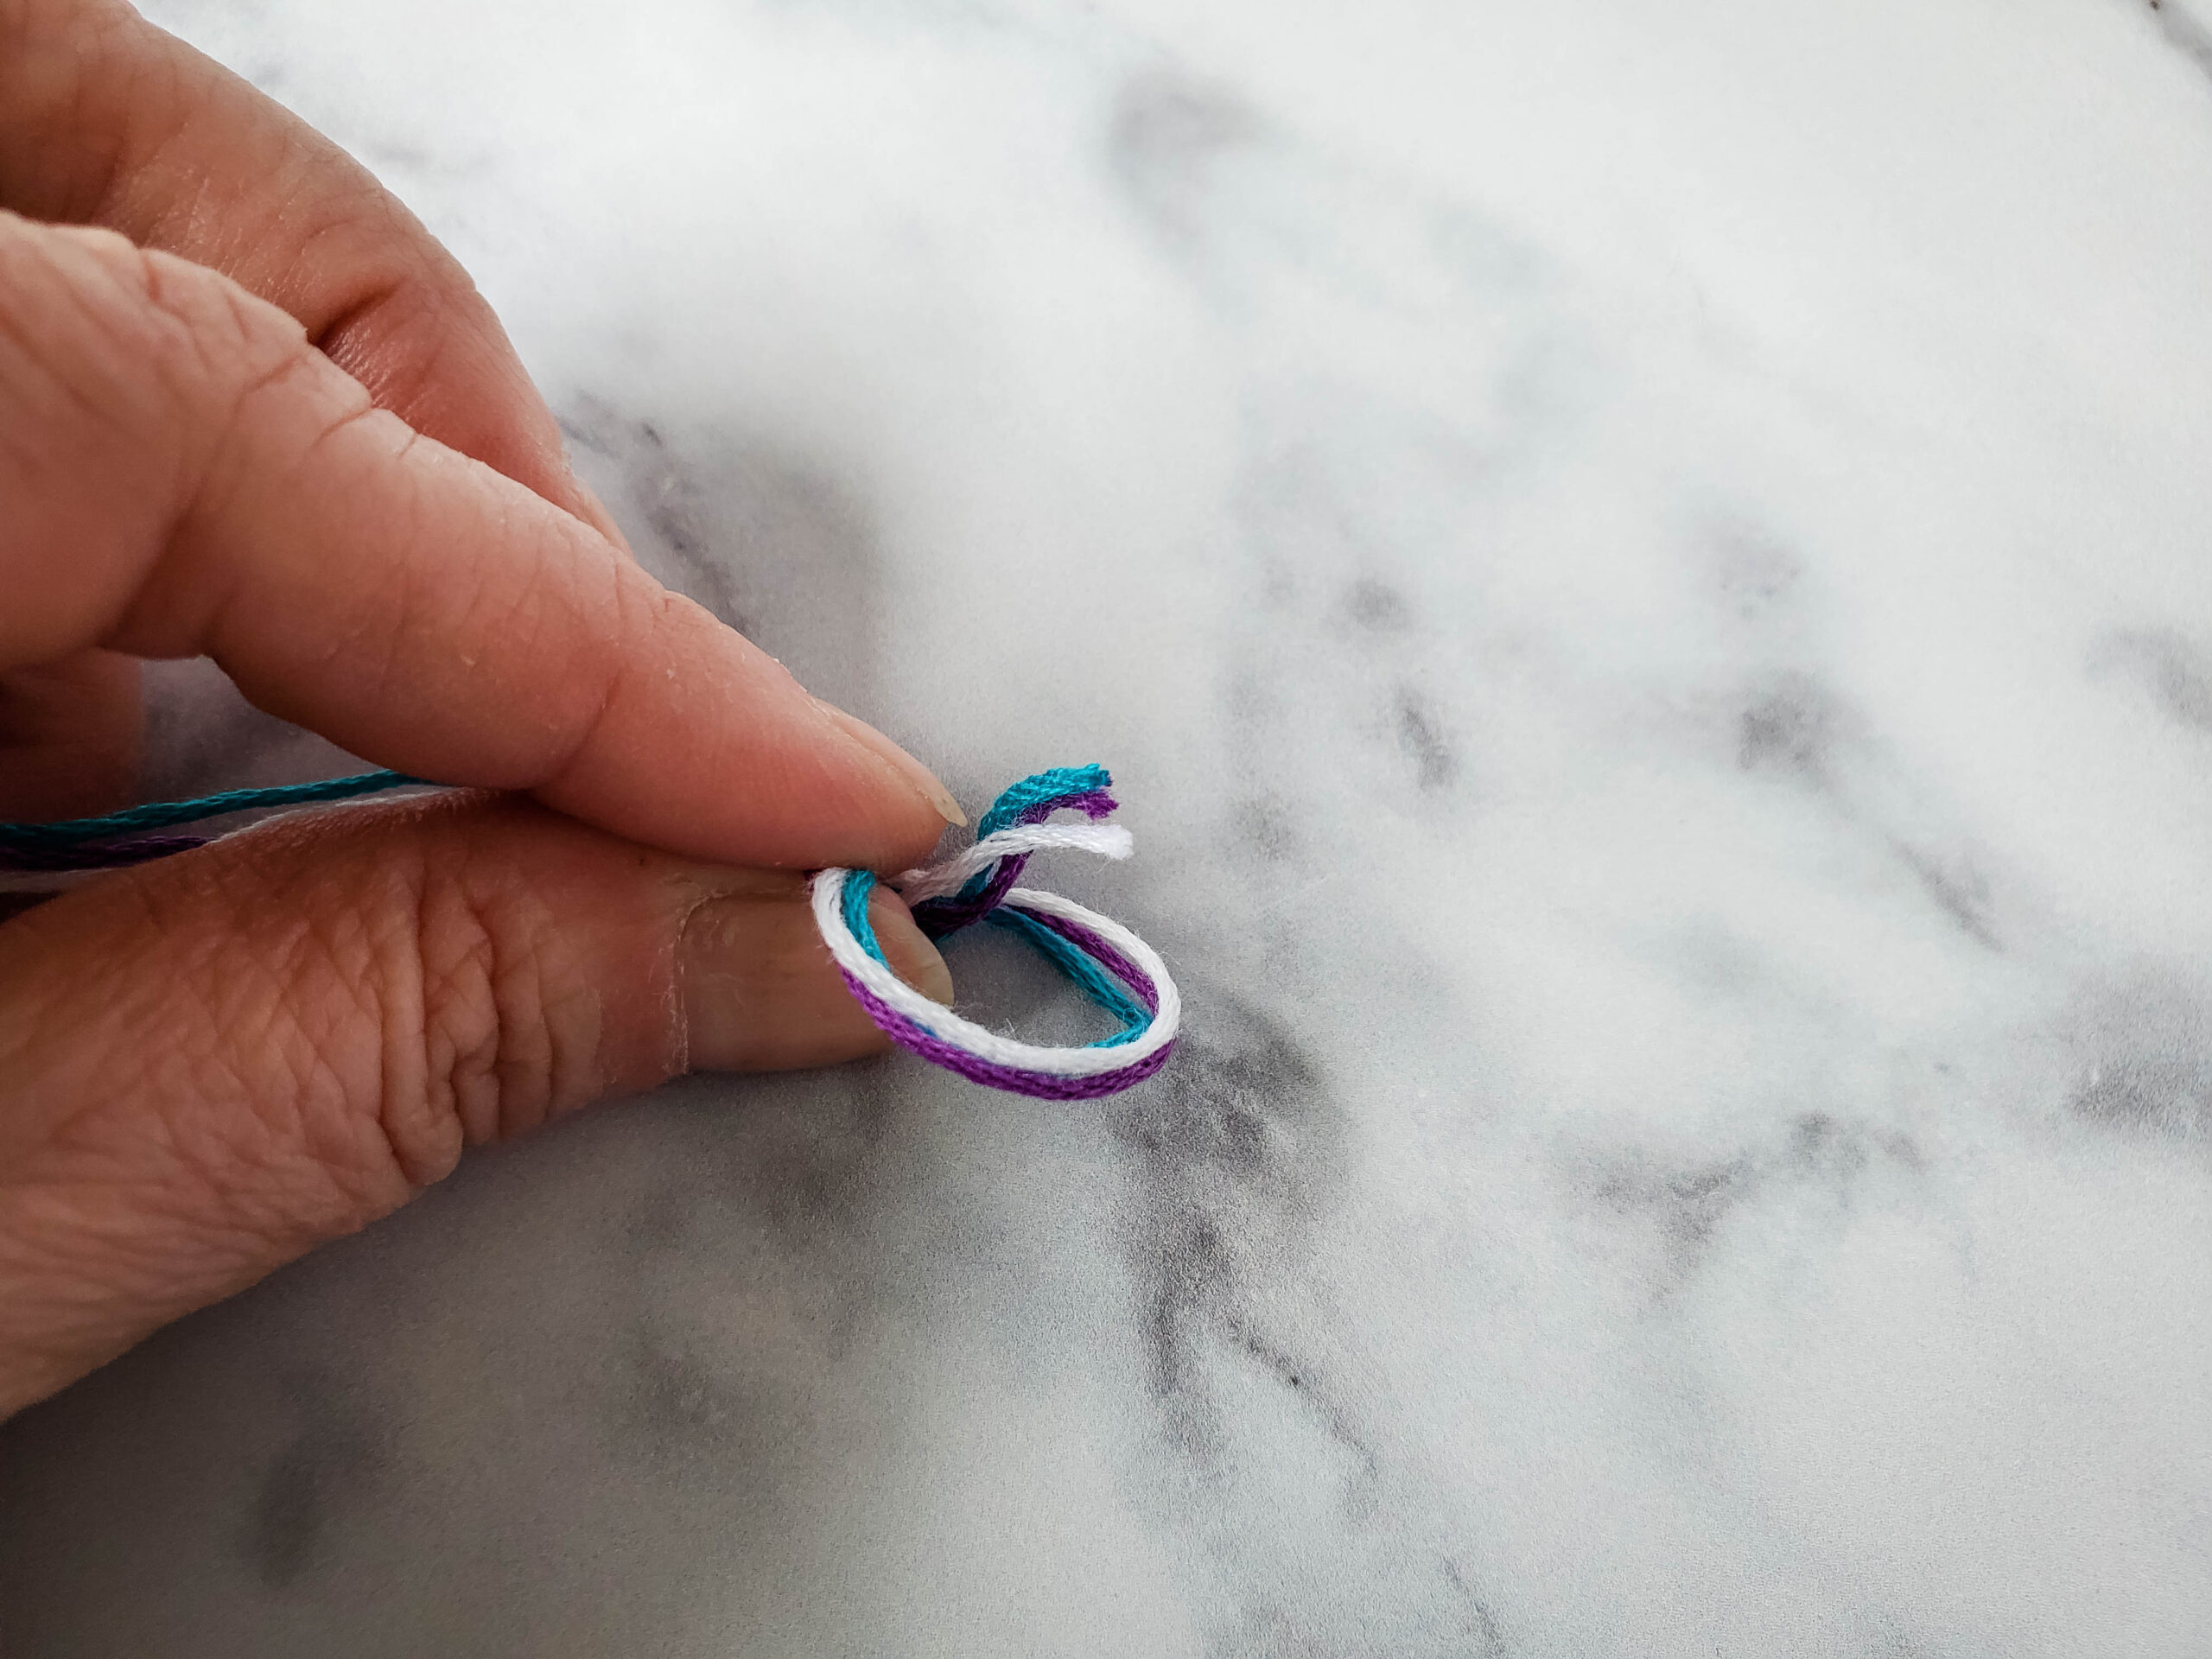

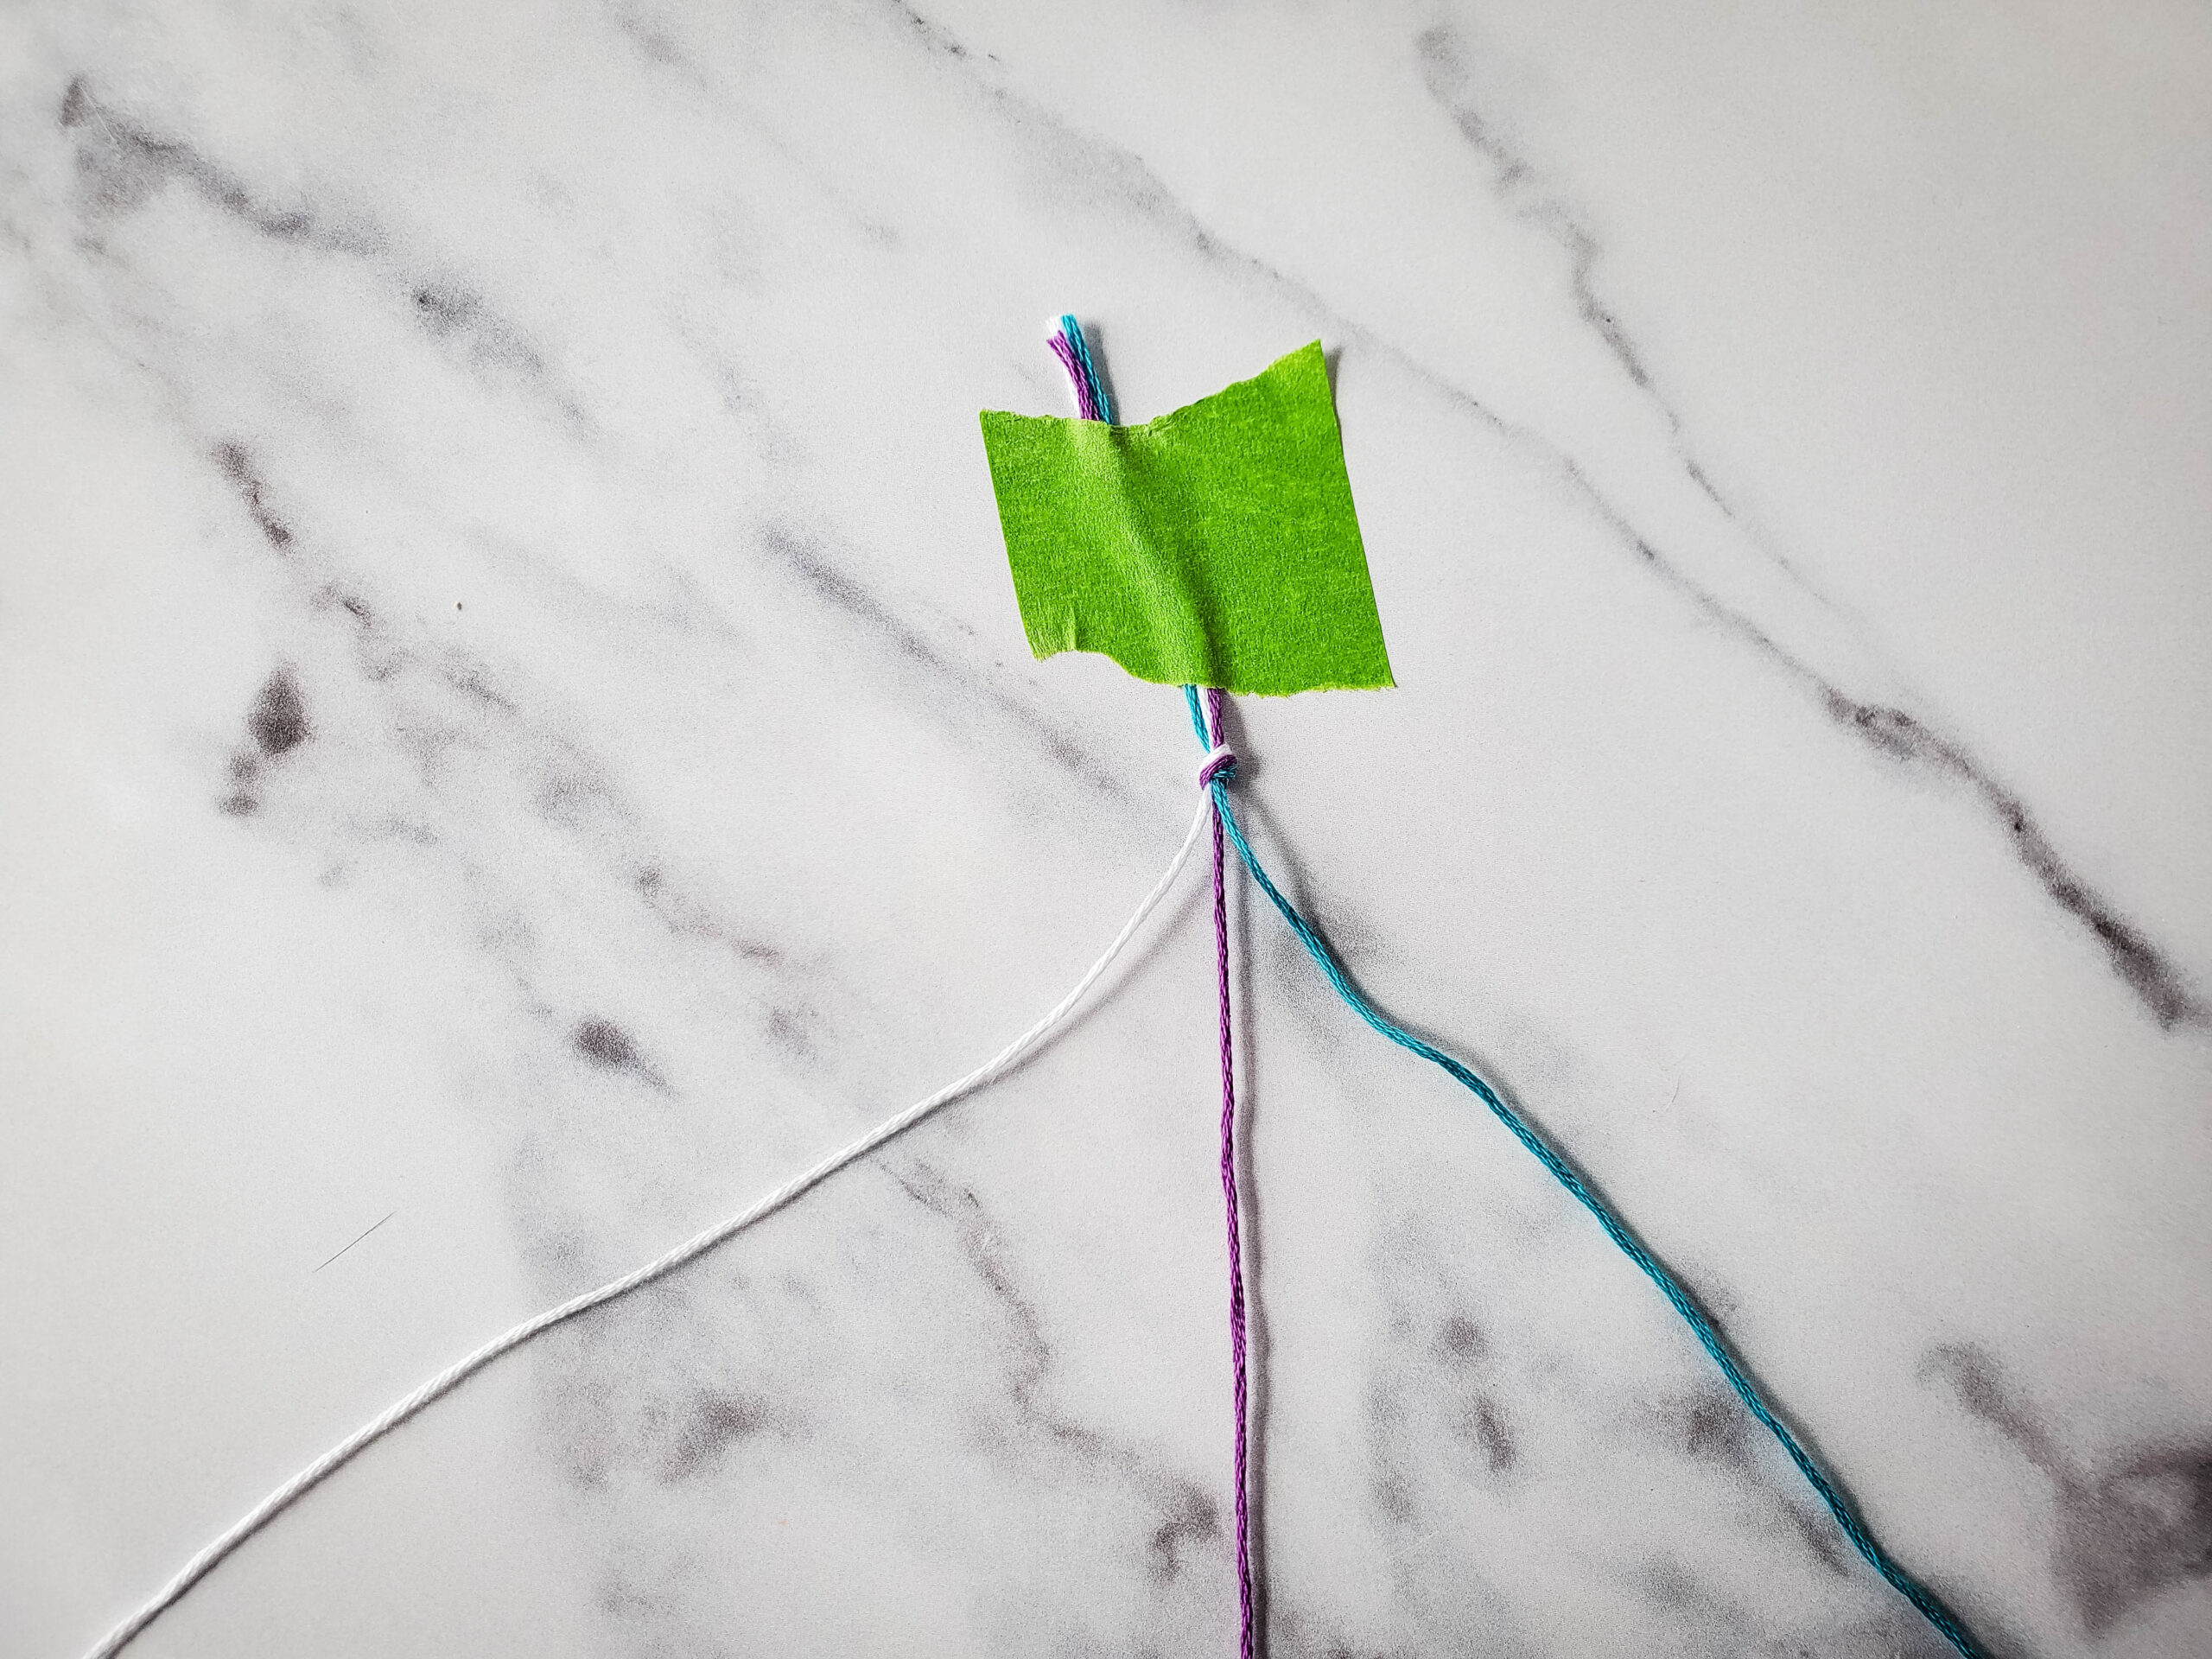
Divide your embroidery floss into 3 strands of colors. For instance: if you have 2 strands of each color, each of your strands should have 2 lengths of embroidery floss.
Arrange your strands: One color on the left side, one color in the middle, one color on the right side.
Braid your strands. Start by moving the left strand over the middle strand (which now the left becomes the middle), then the right strand over the middle (which now the right becomes the middle), then back to the left strand over the middle, right strand over the middle. Continue this process until you have your desired length. Most kids ages 5-12 will be 5.75 – 7 inches, and most adults will range from 6.5 – 8.5 inches.
Now make a loop, then knot at the end.
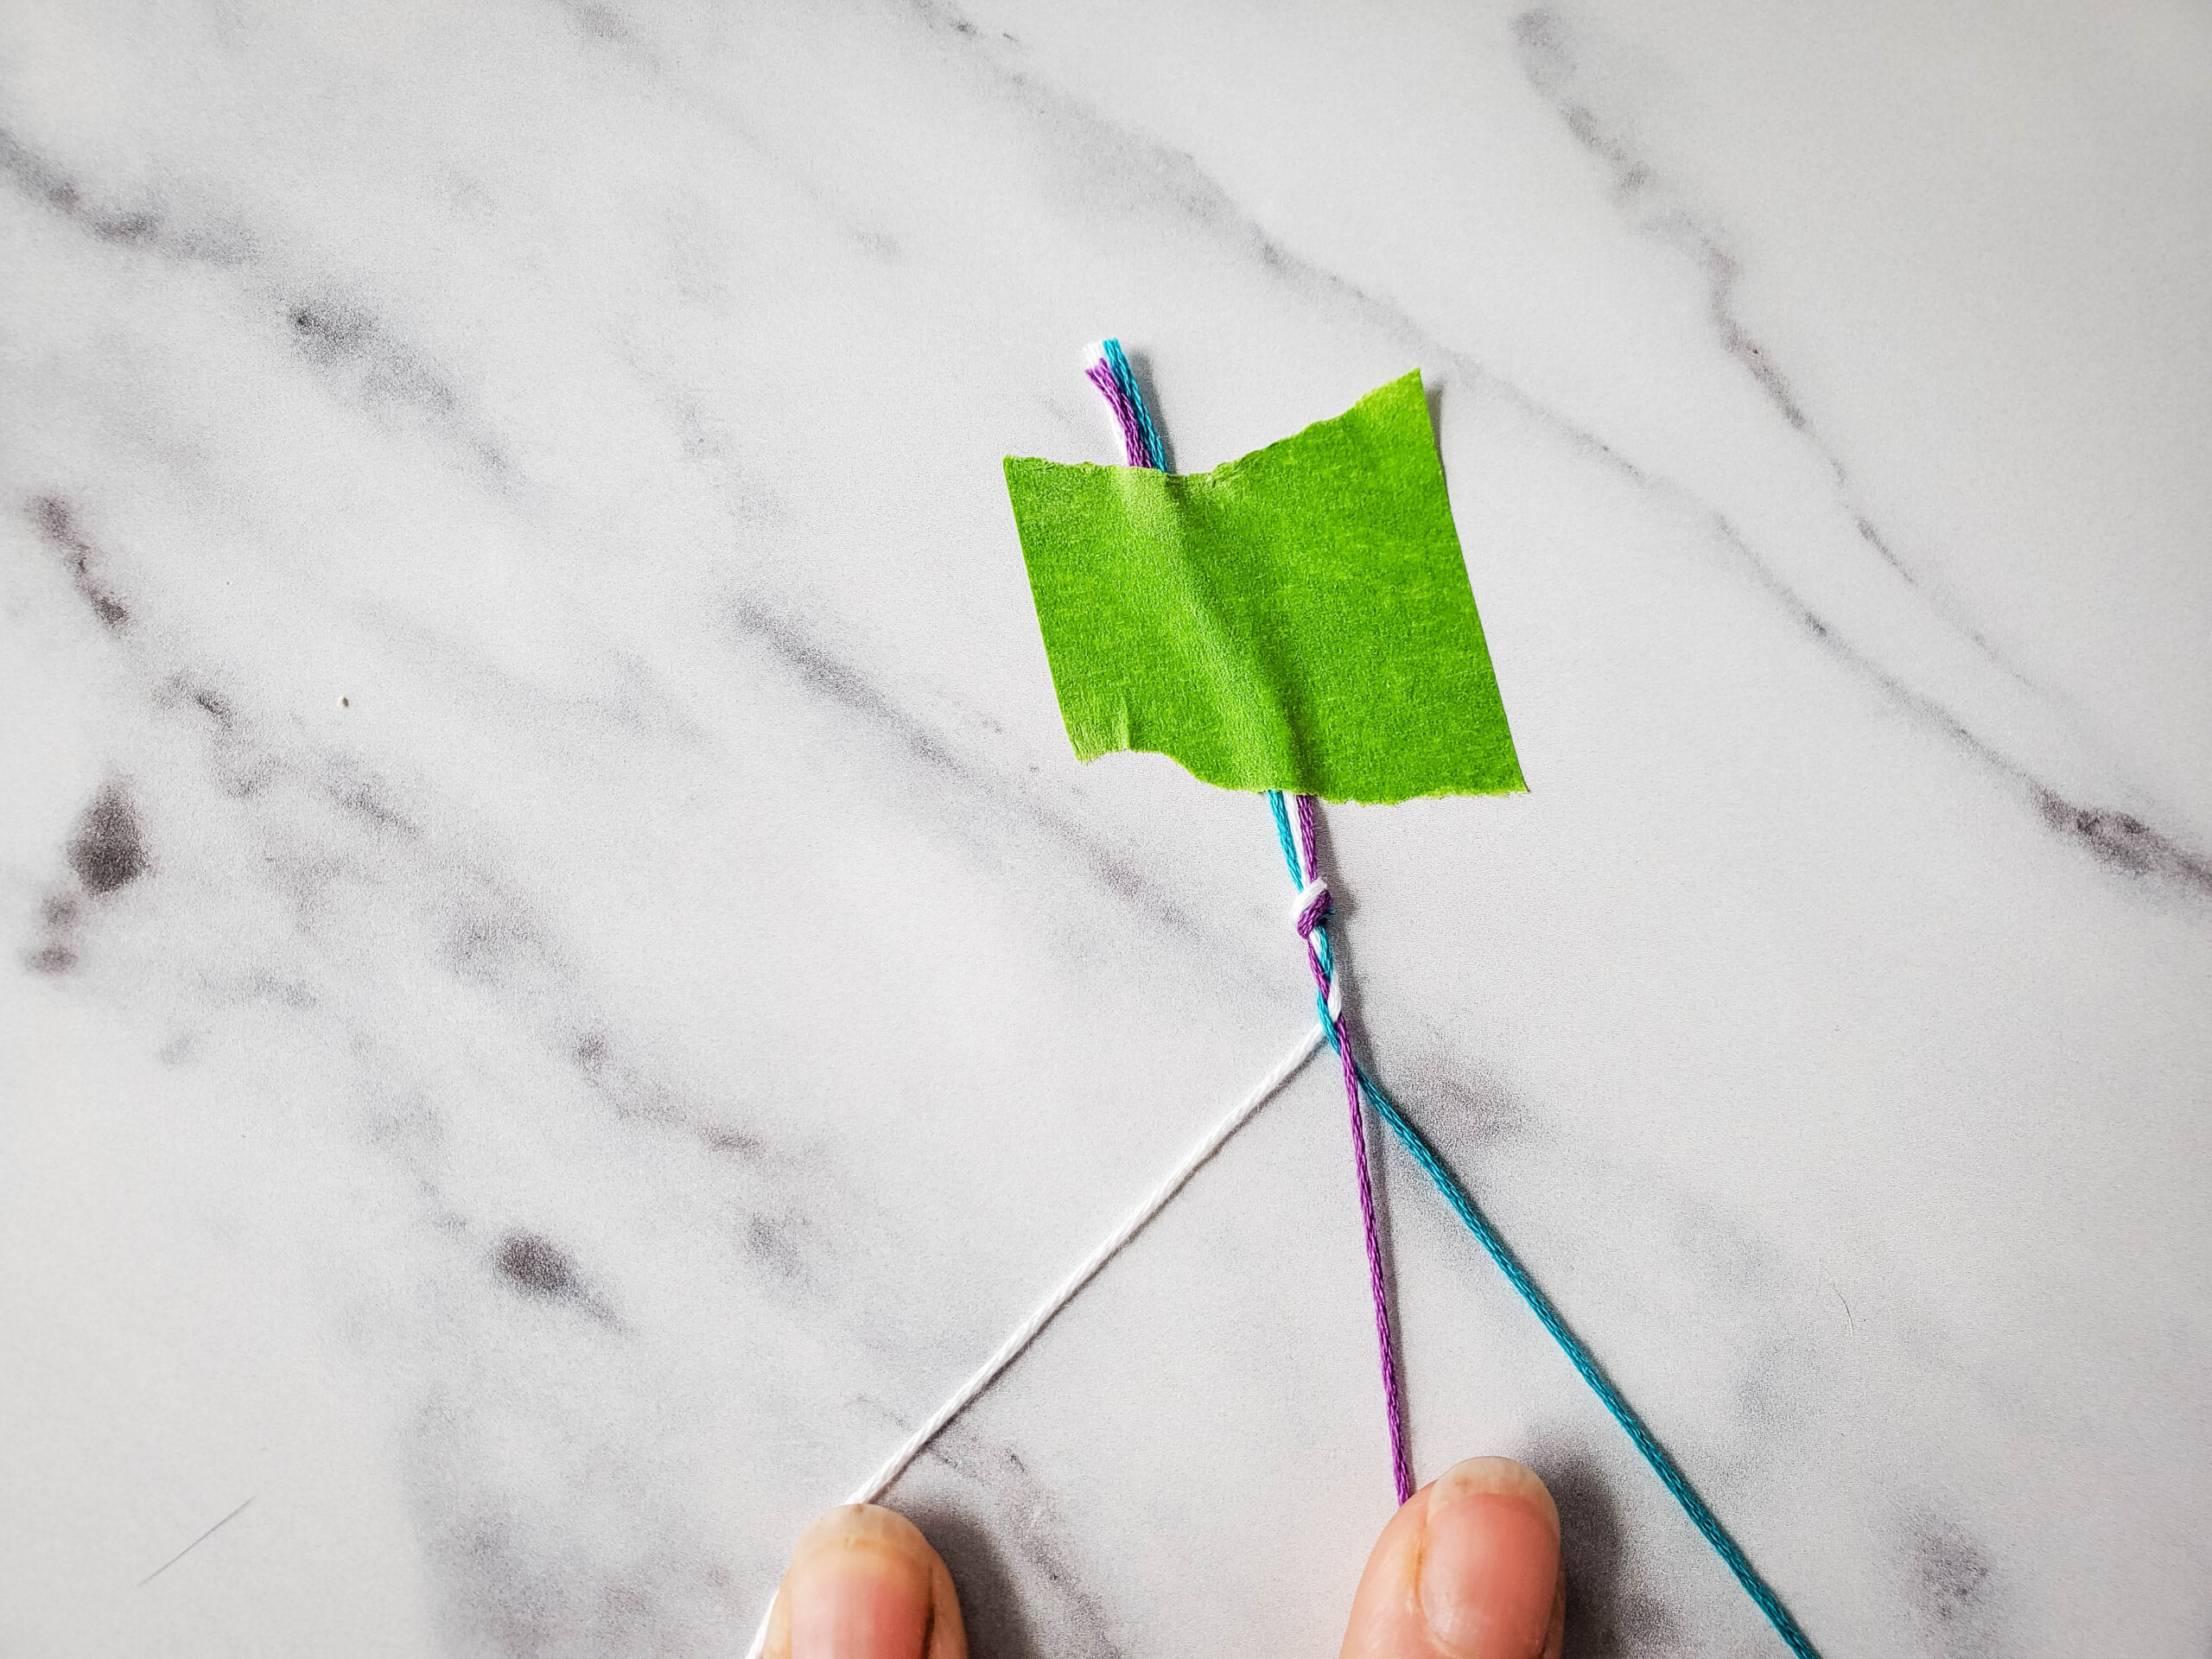
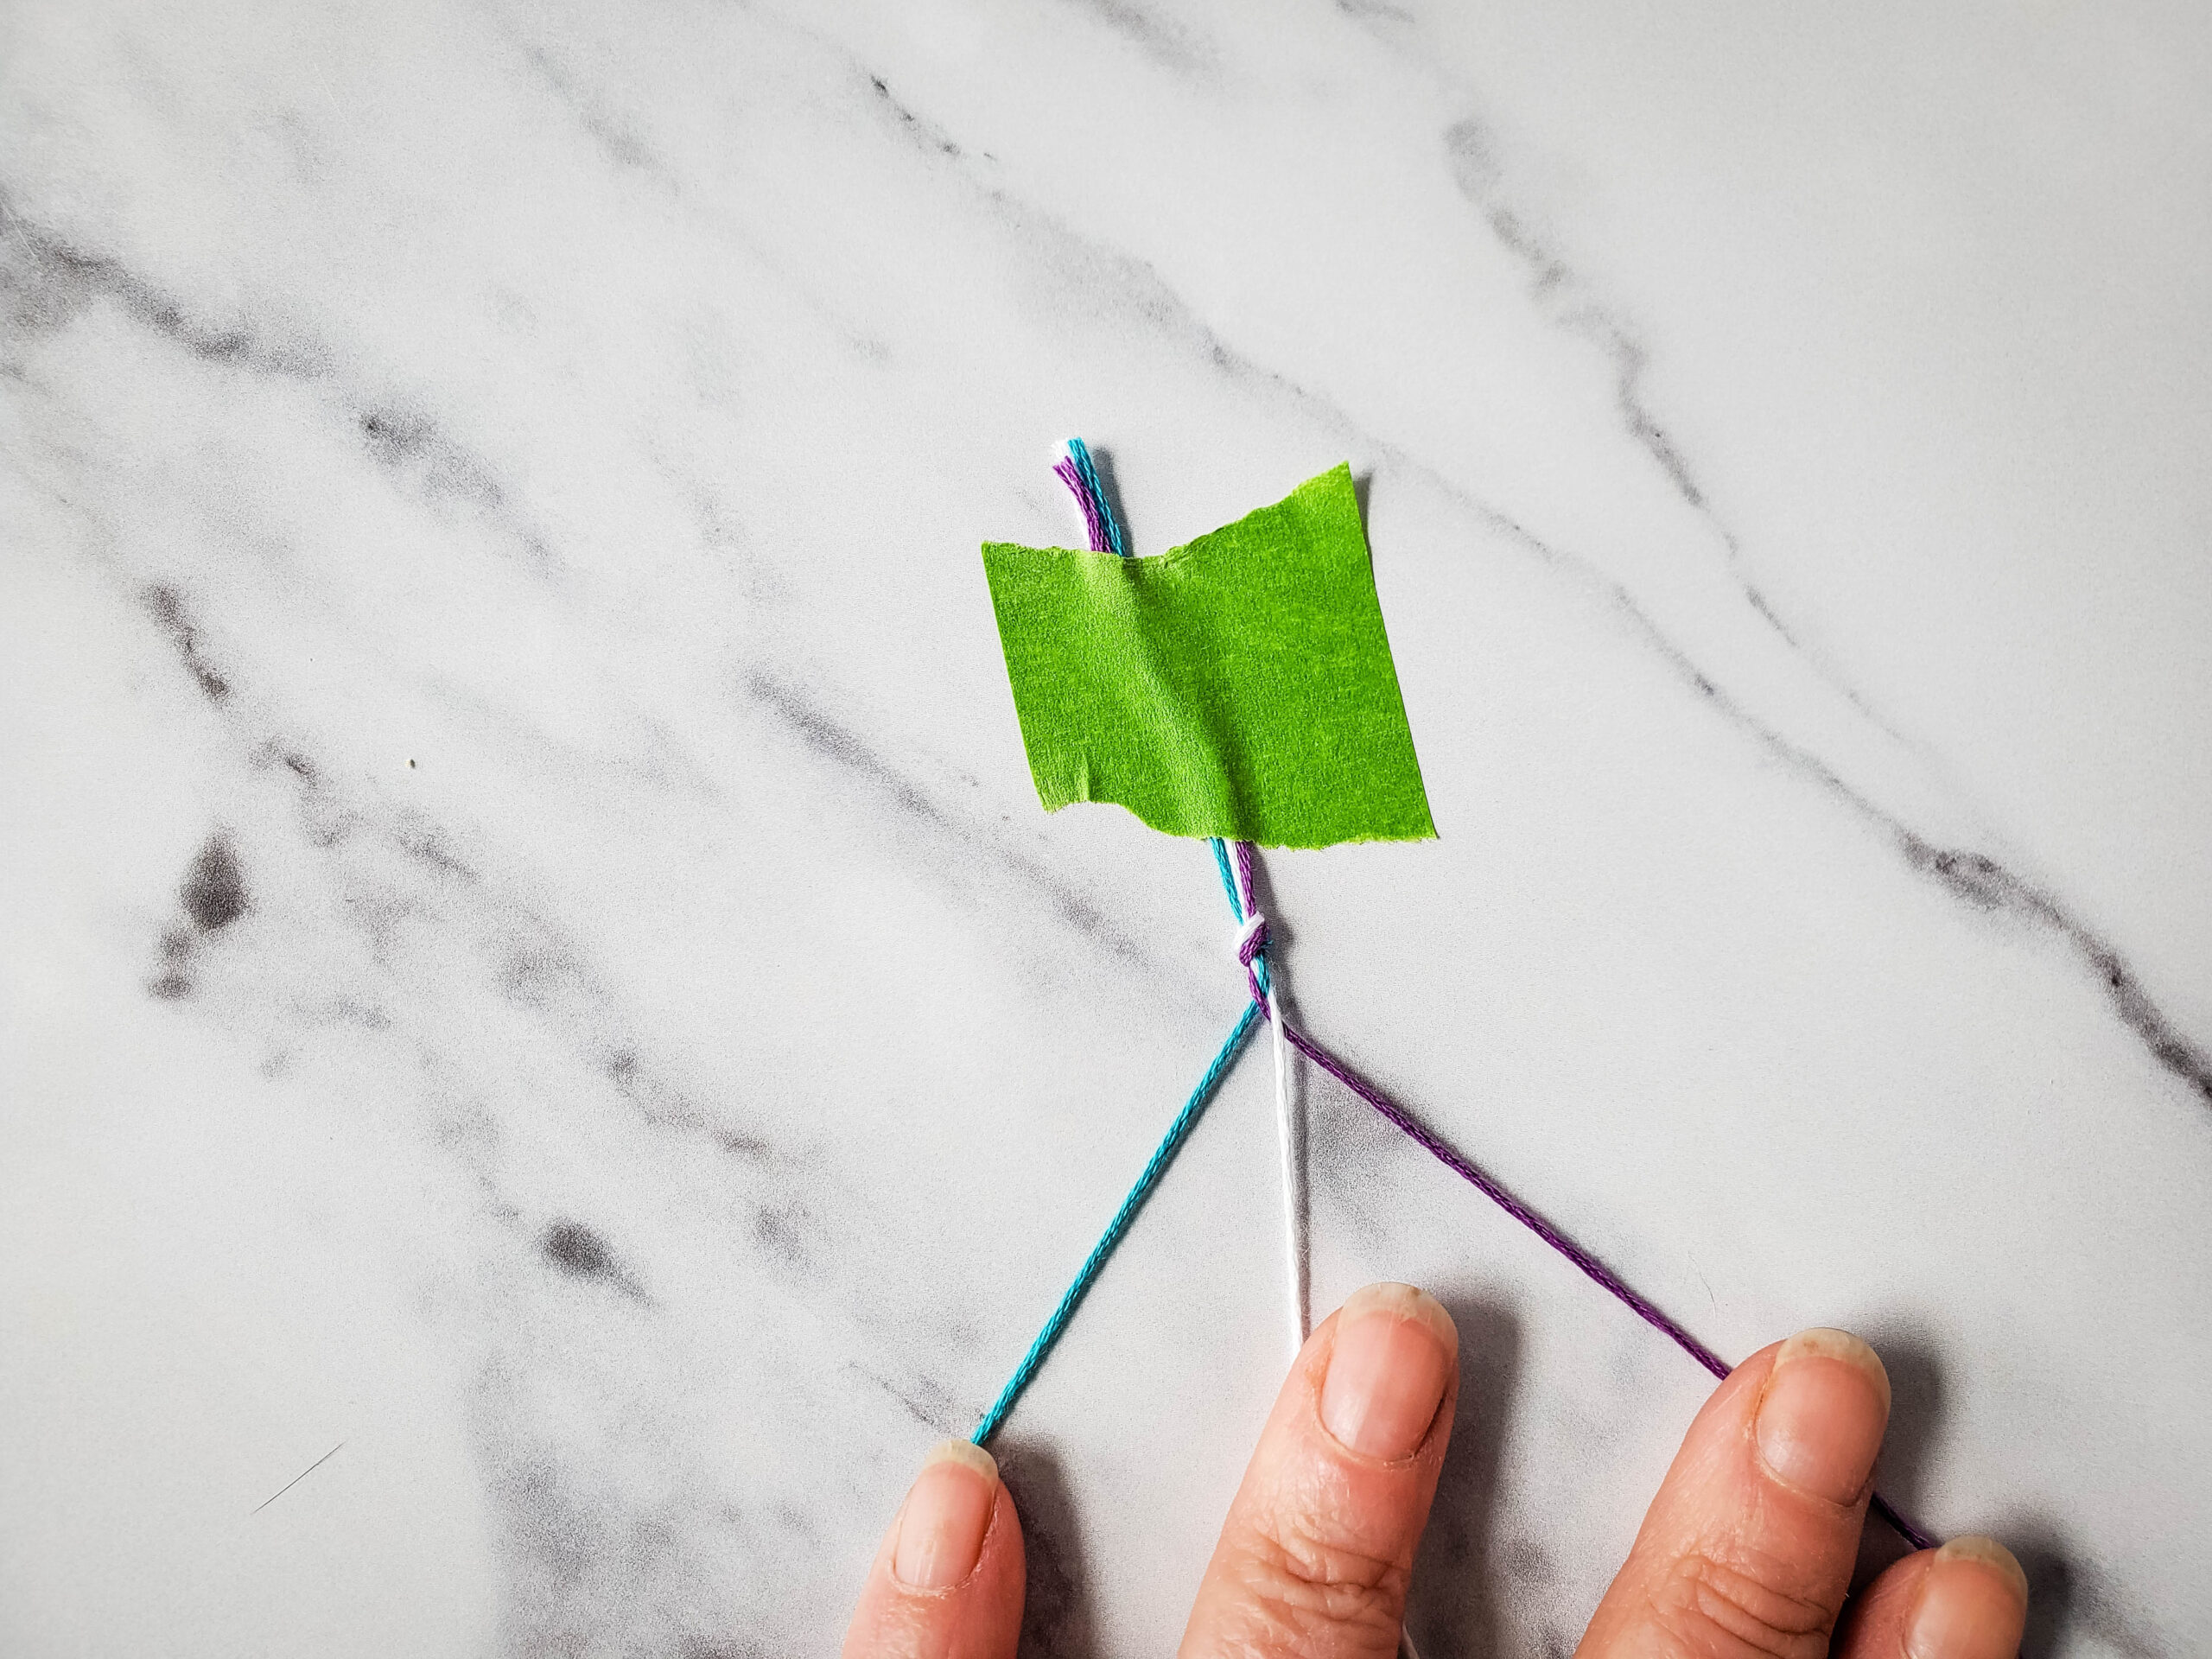
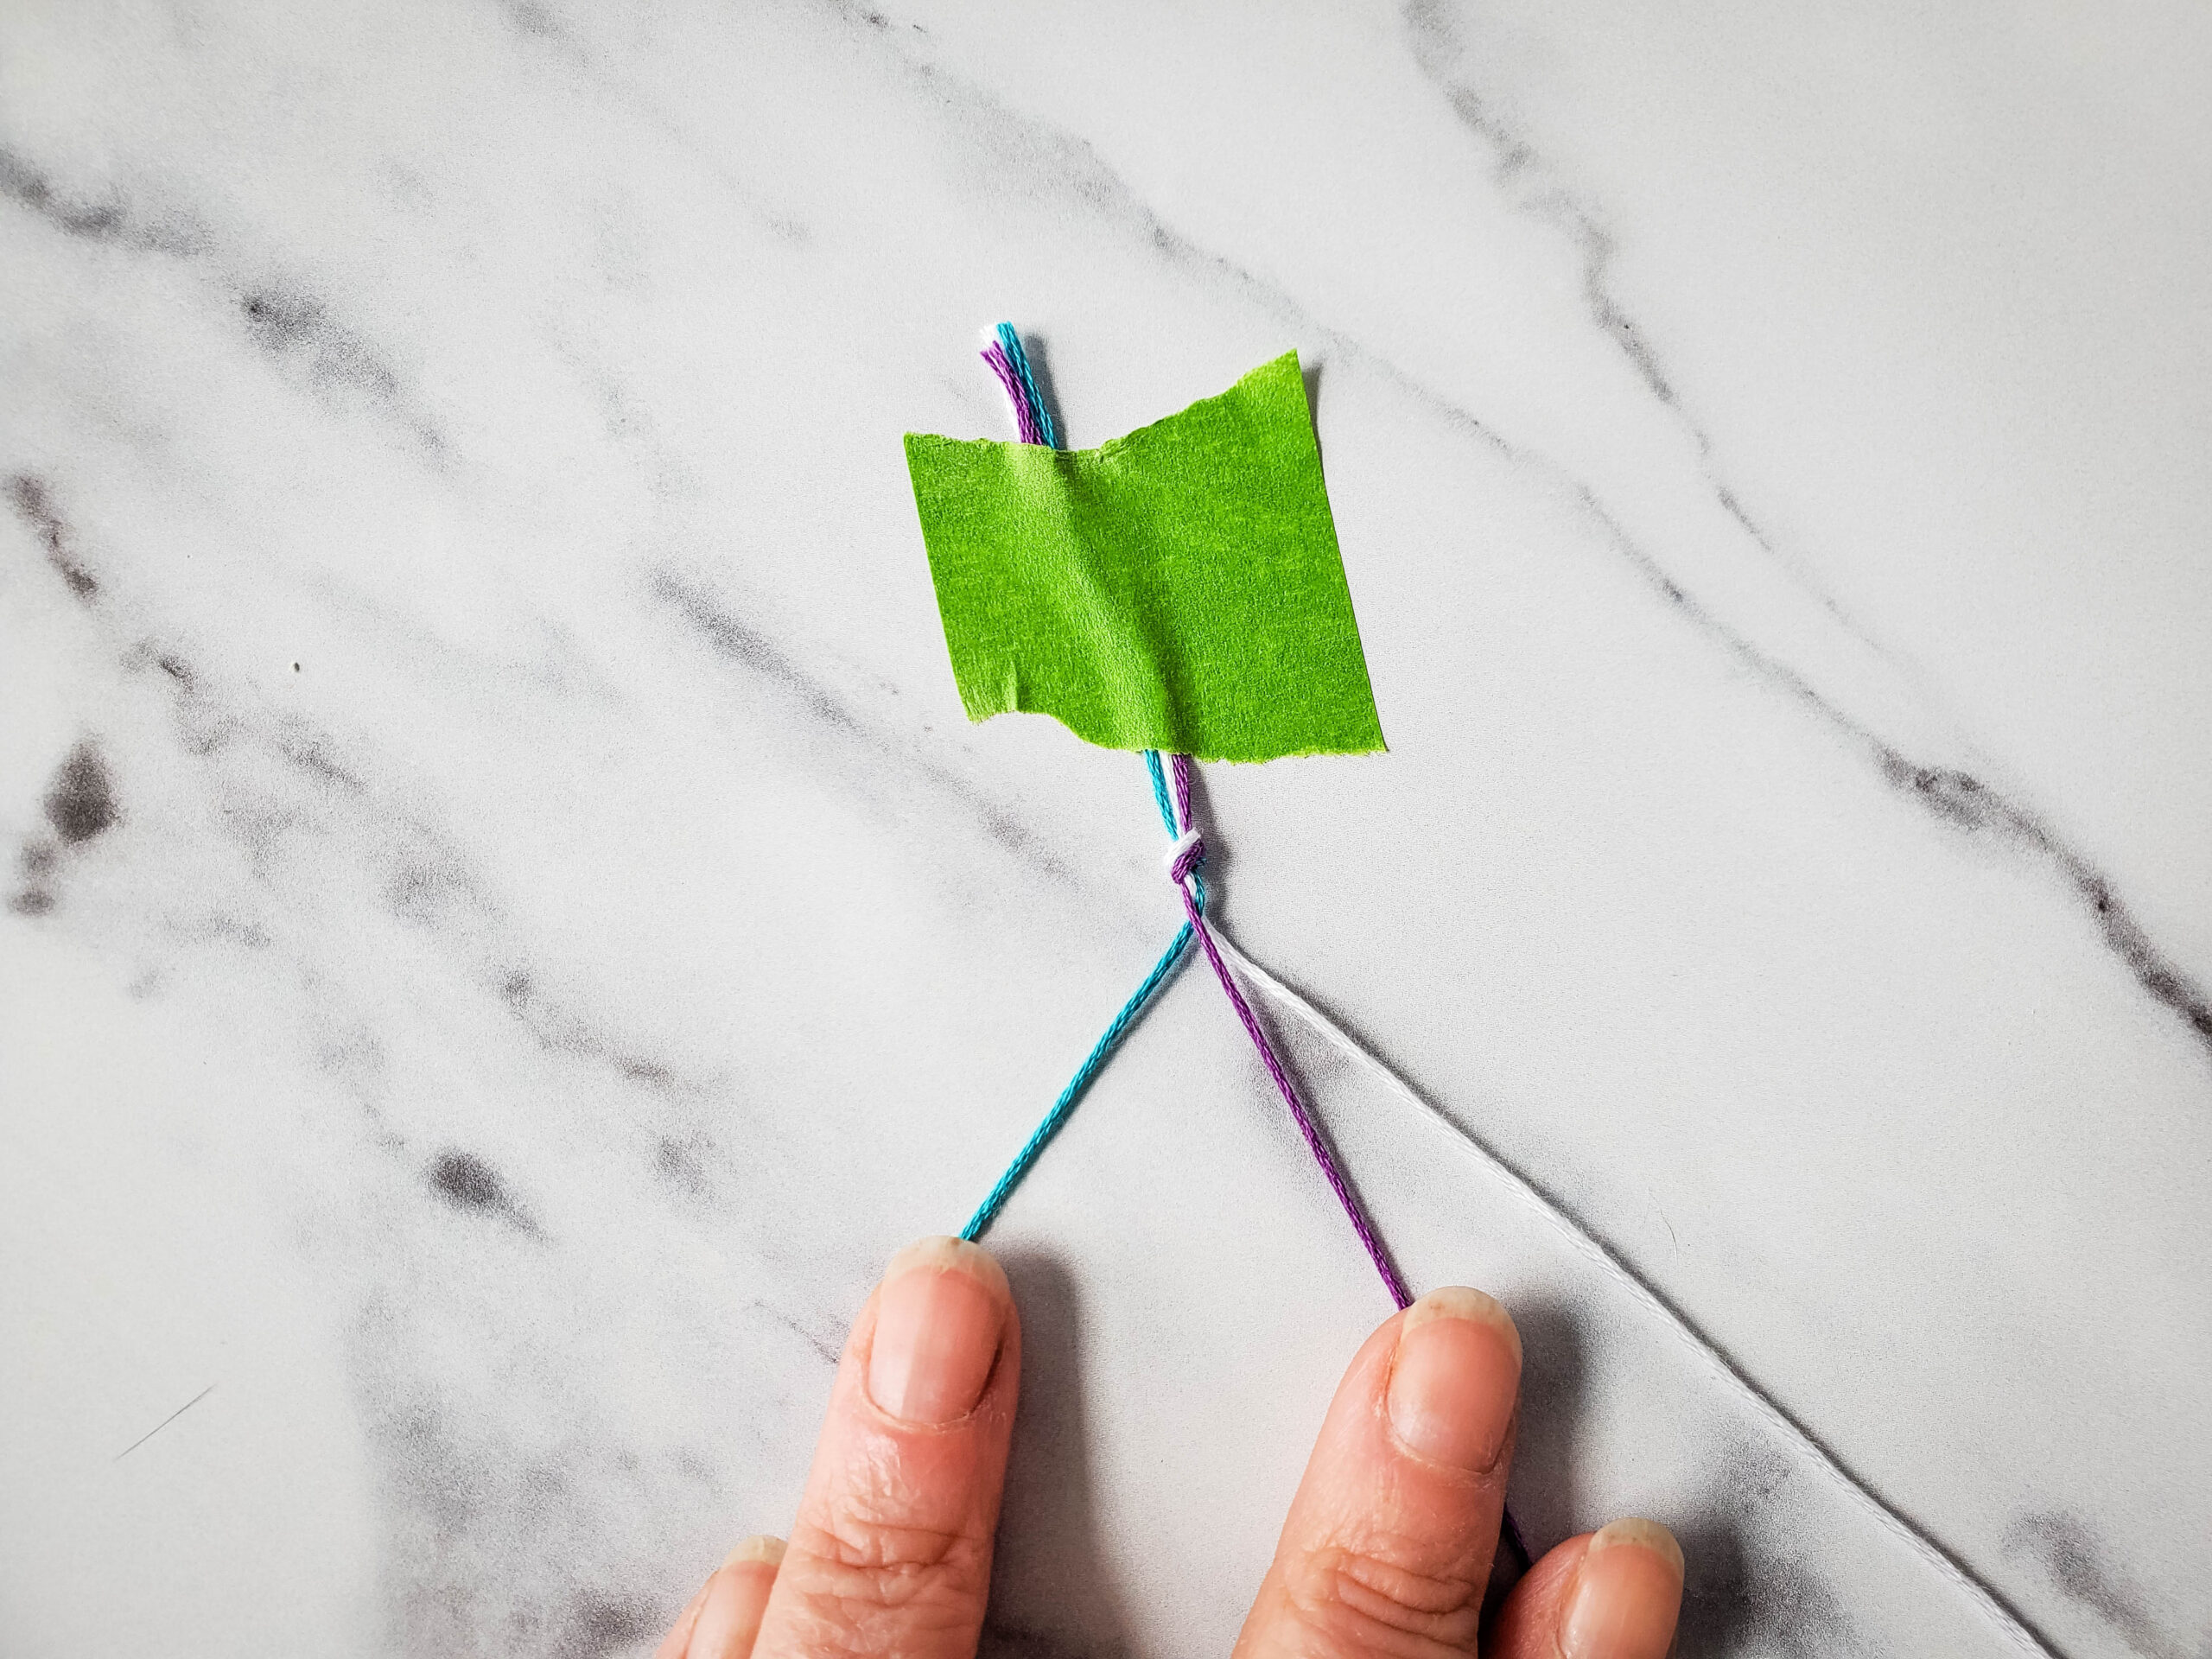
Trim any excess embroidery floss, leaving 1.5 – 2 inches under the knot for tying the bracelet on.
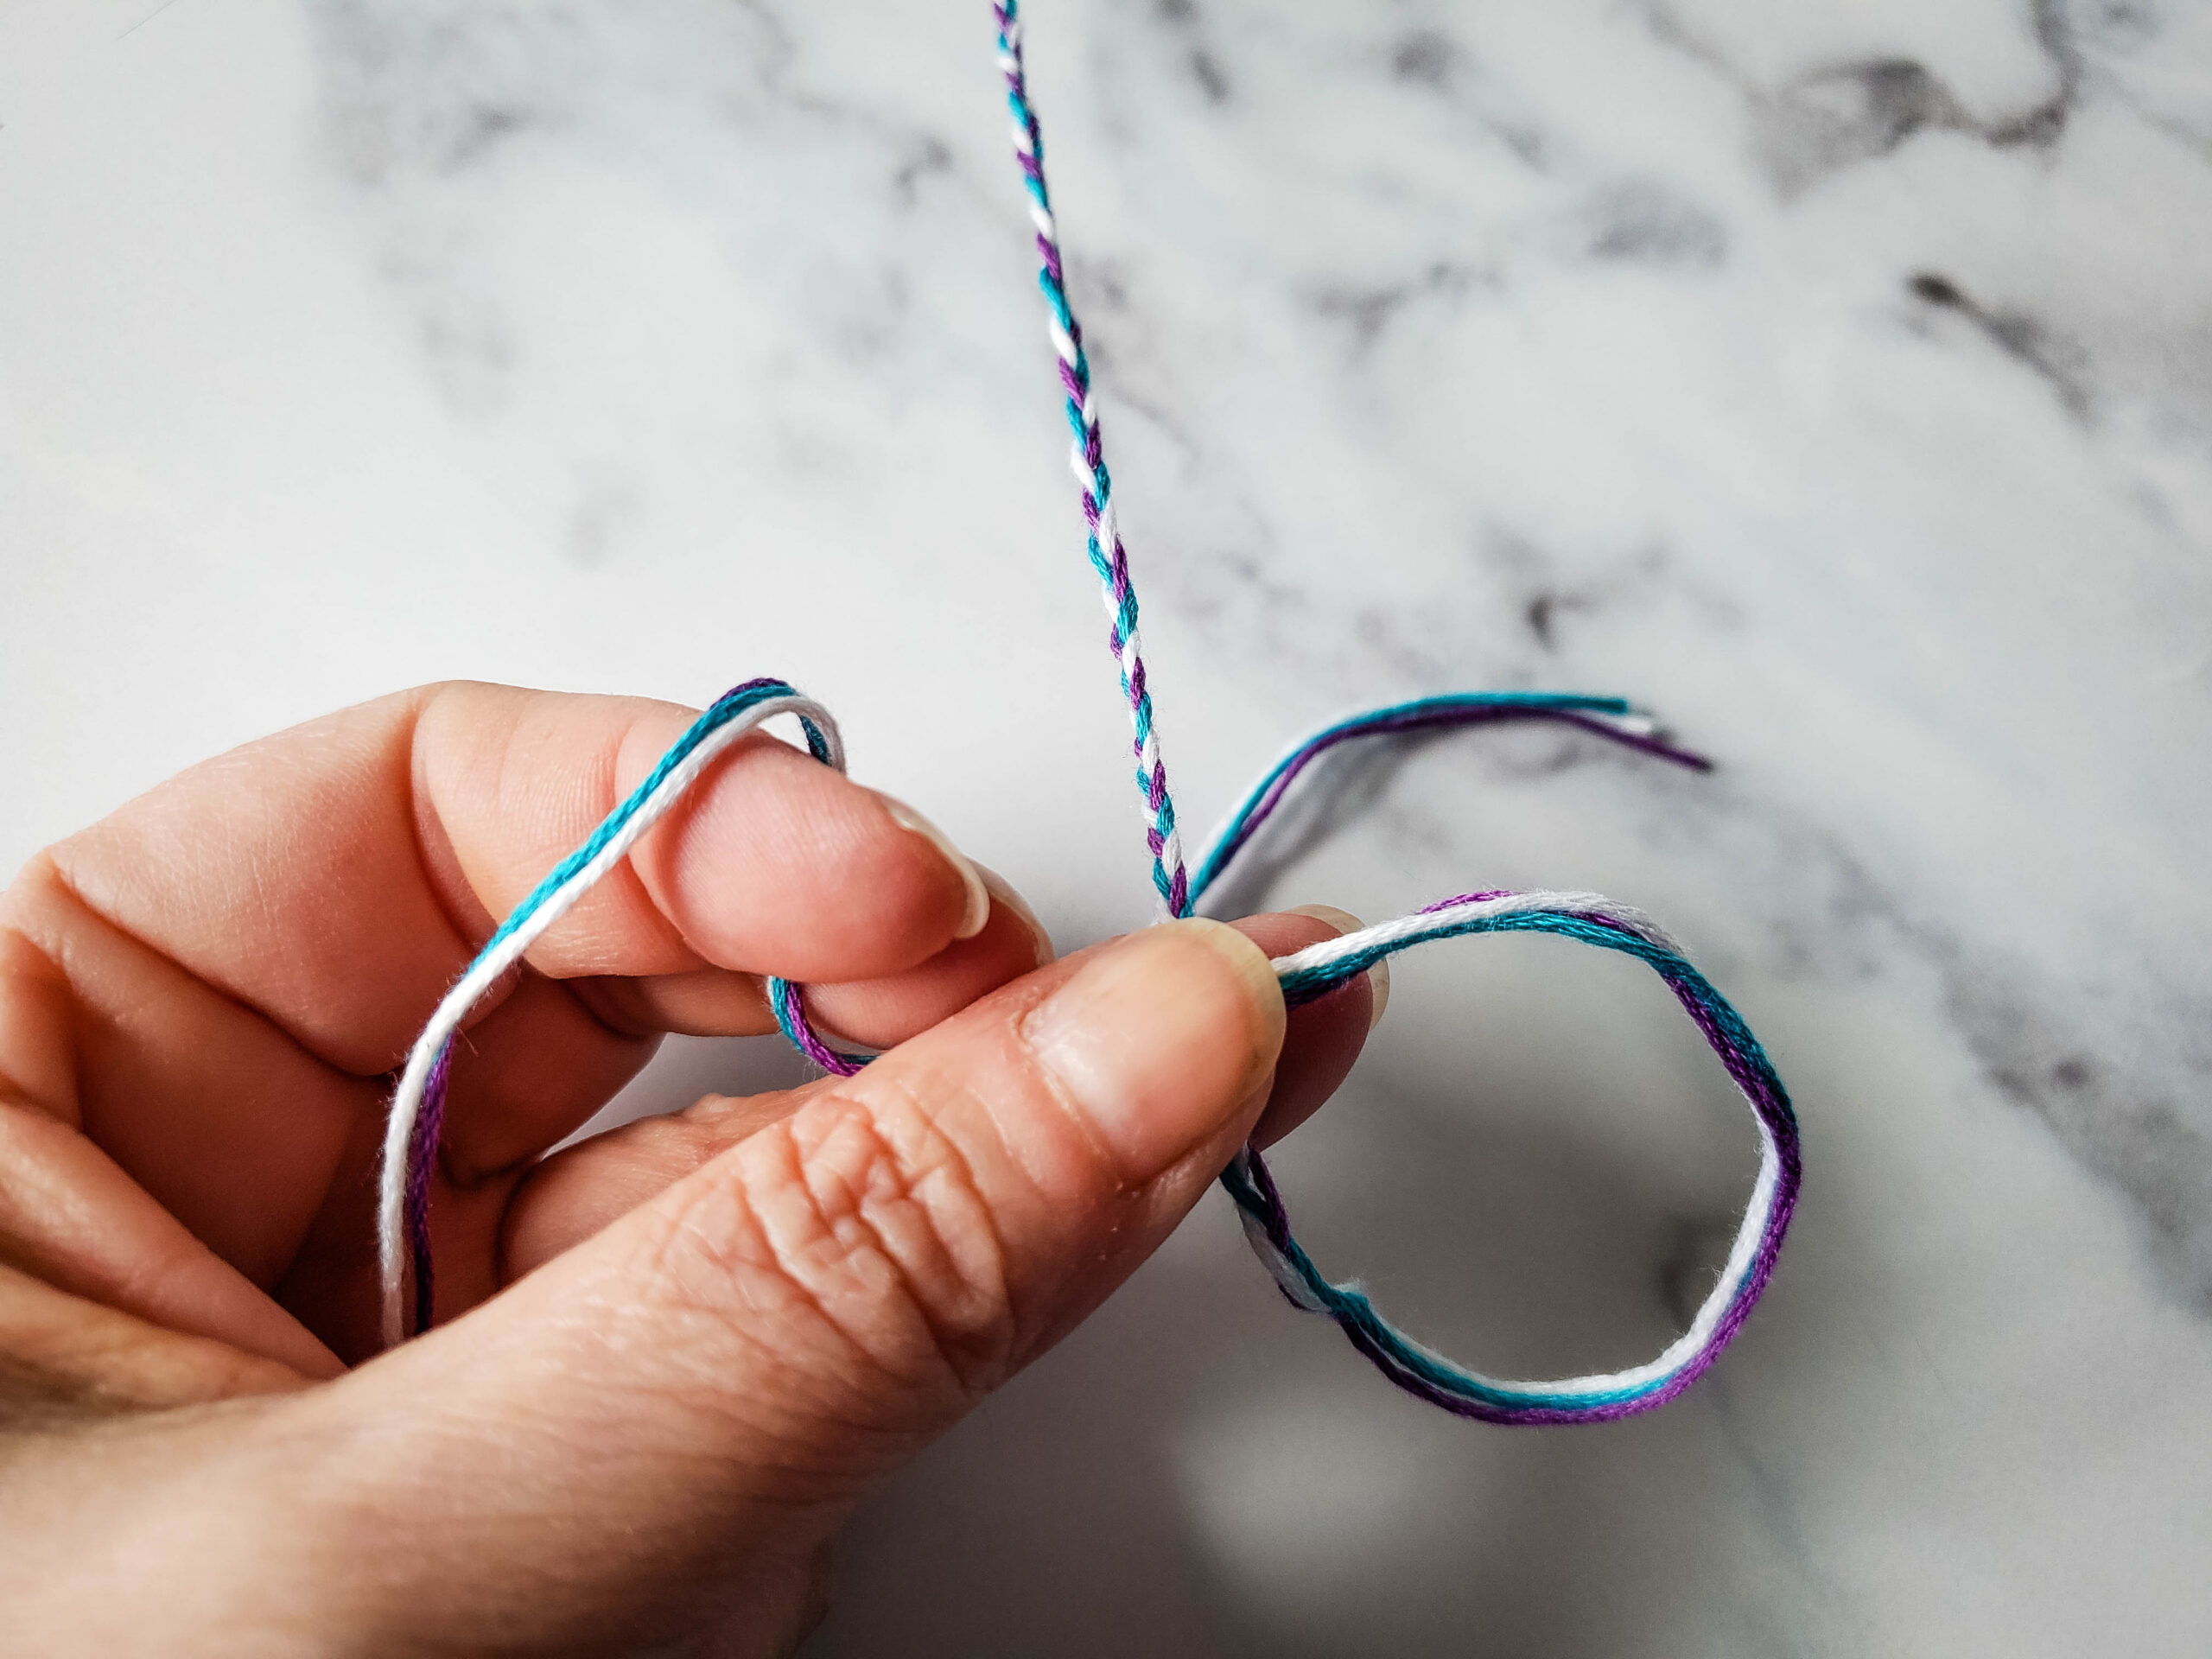
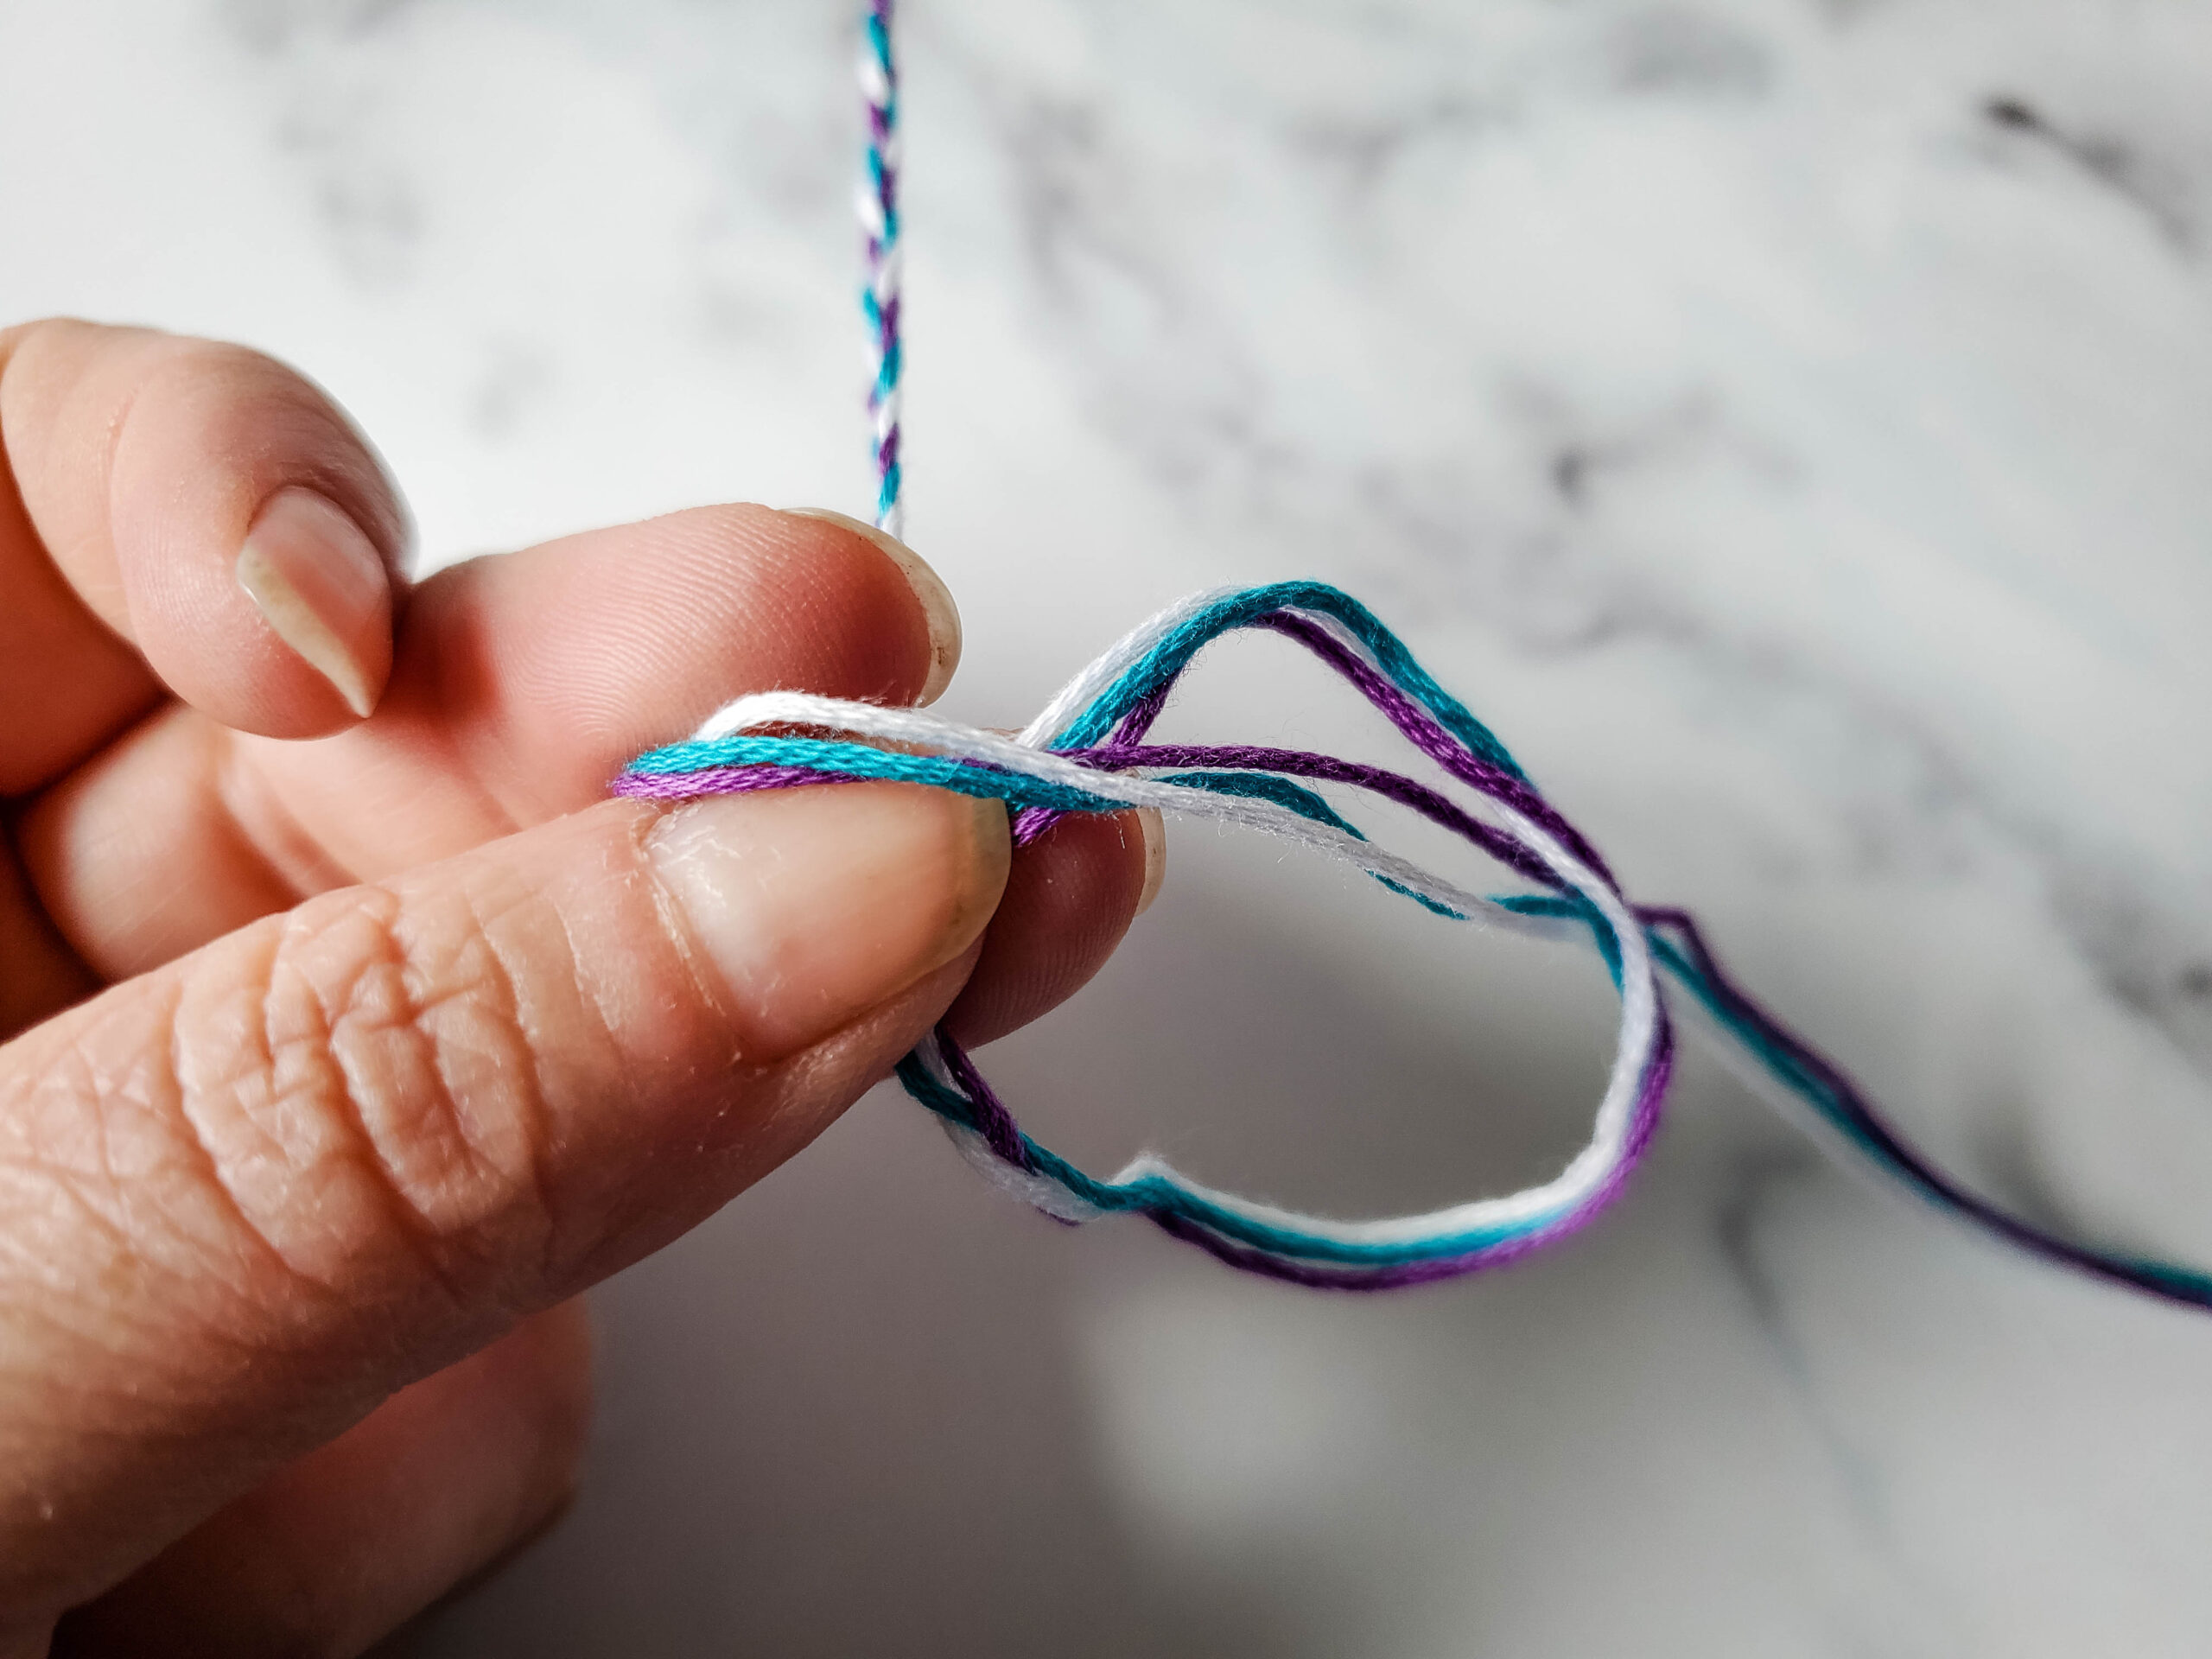
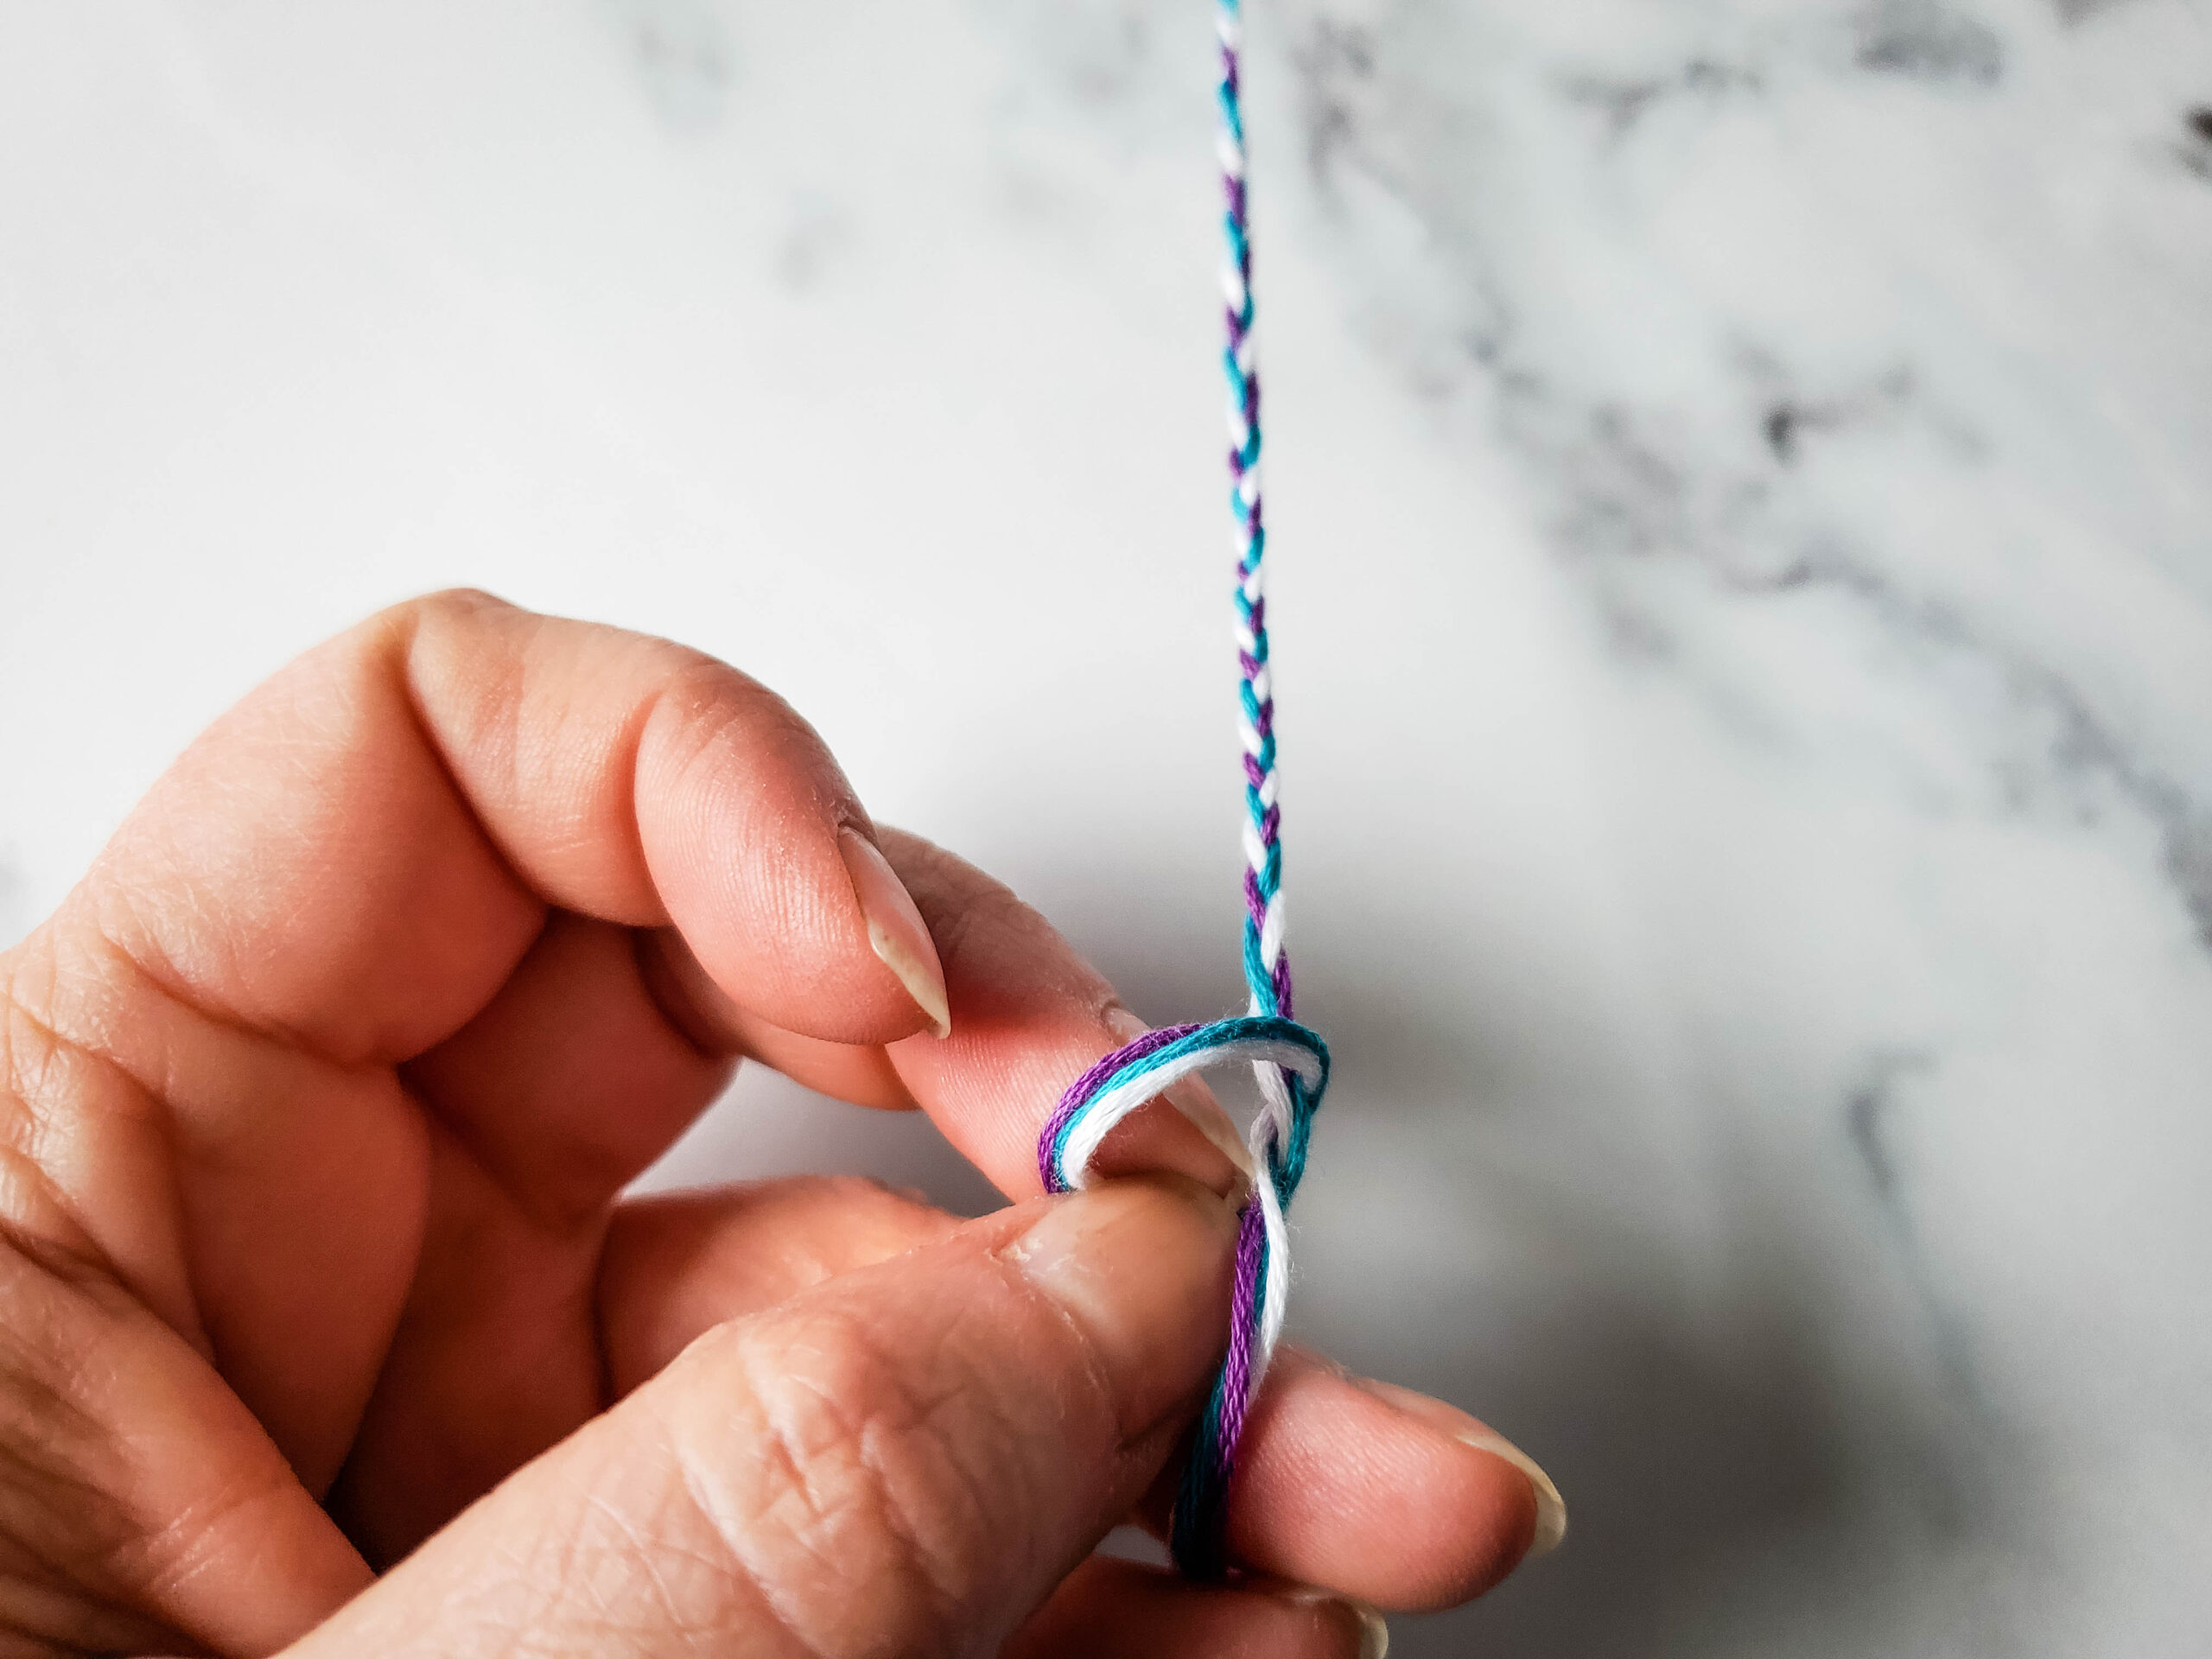
To wear the bracelet, place it on your wrist, and tie the two ends together in a knot.
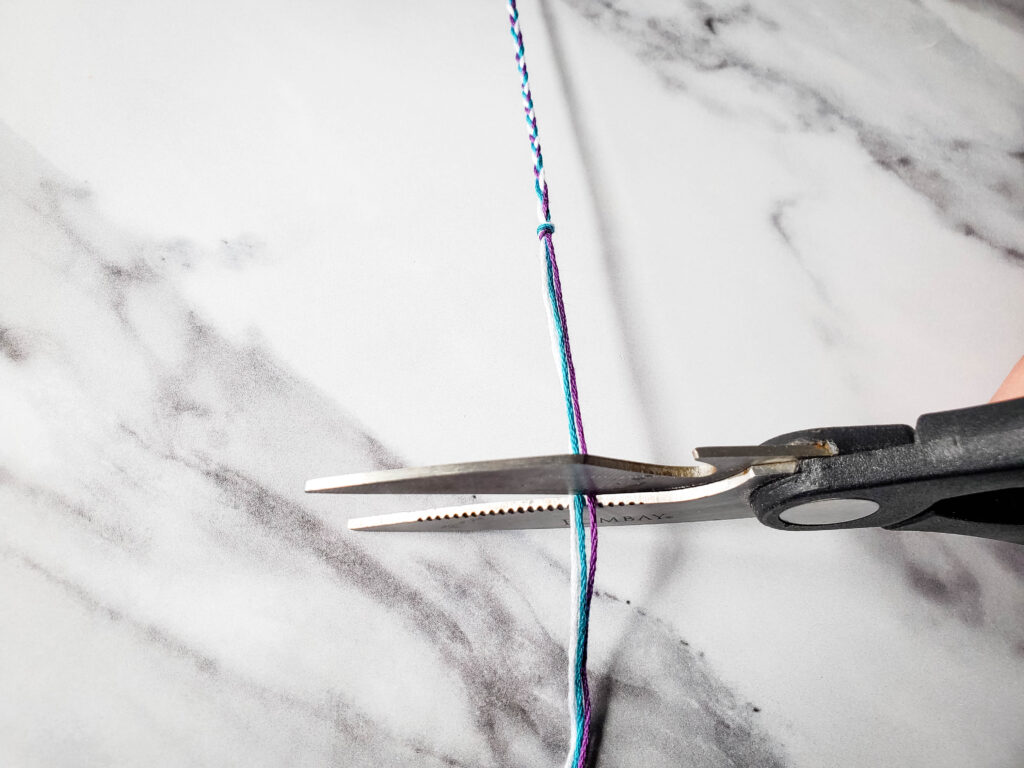
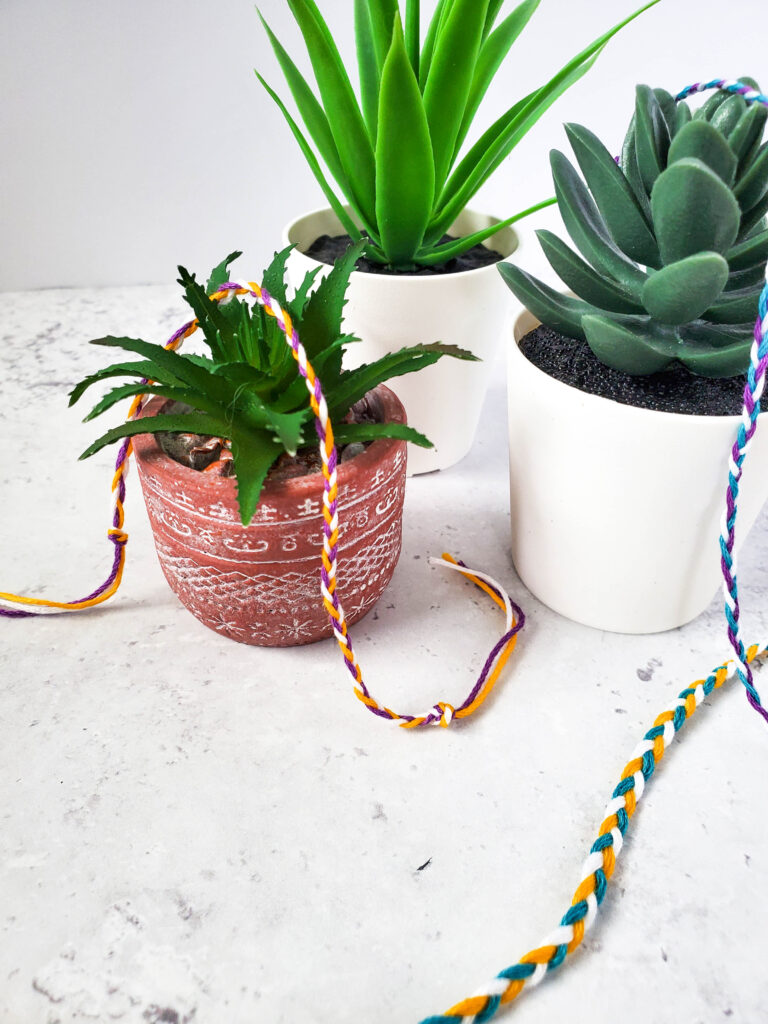
You can make beautiful friendship bracelets in intricate designs or even make your own patterns!
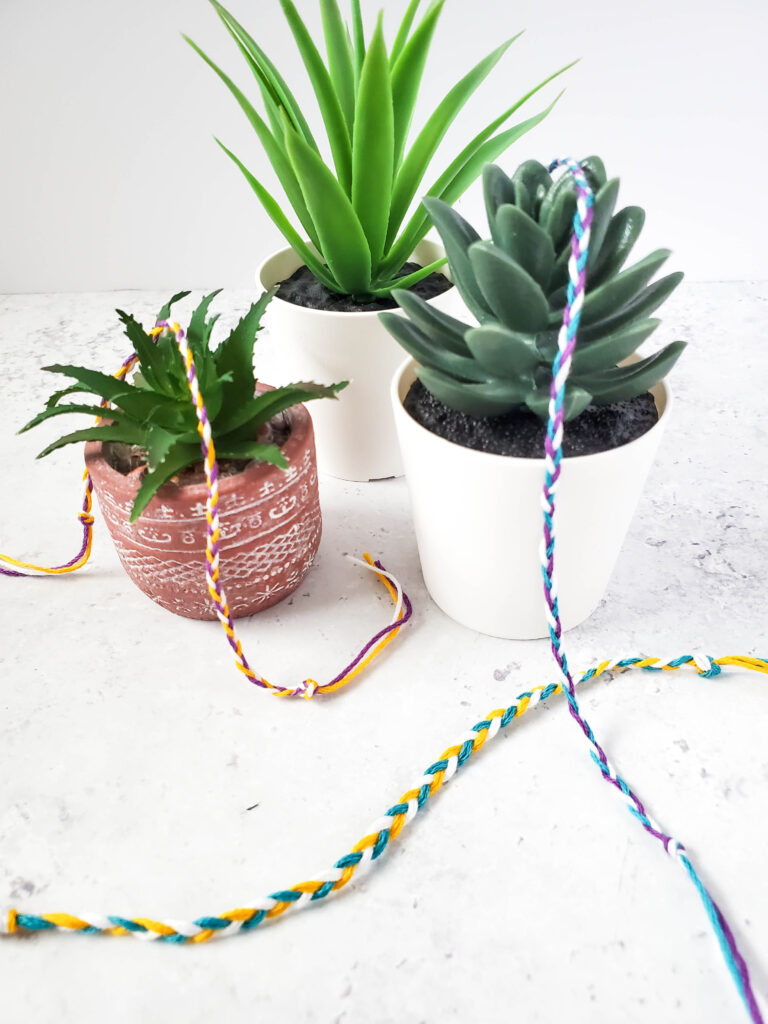
Find more Easy Friendship Bracelet Patterns
What’s Your Favorite DIY Friendship Bracelet?
*Contains affiliate links.

[…] These simple hemp bracelets make great gifts for friends or family members, or even as party favors for special occasions like birthdays or graduations to guarantee good luck!. Another fun bracelet project is to make a friendship bracelet. […]