If you’re excited about getting creative with your jack-o’-lanterns this year, this pumpkin carving guide is just what you need to take your skills to the next level!
Whether you’re a beginner looking for easy designs or a seasoned pro in search of new inspiration, carving pumpkins can be a fun and festive way to celebrate the season.
From choosing the perfect pumpkin to mastering intricate patterns, this guide will teach you how to carve a pumpkin like a pro!
So grab your carving tools, gather some friends or family, and get ready for a spooktacular time bringing your pumpkin visions to life!

*Contains affiliate links.
Pumpkin Carving Steps
How do I choose the right pumpkin for my carving project?
To choose the best pumpkin, start by picking one with the right shape and size to fit your design, and ensure it has a flat bottom so it sits steadily.
Look for a smooth surface with minimal blemishes and an even, deep orange color.
The pumpkin should feel firm to the touch and heavy for its size, with a greenish or brown sturdy stem. Avoid any with bruises, cuts, or signs of mold, and check that it sounds hollow when tapped.
Gather Your Tools
You’ll need a sharp knife, a small serrated knife or pumpkin carving tool, a large spoon or scoop, and a washable marker or pen for outlining your design. You can also pickup a pumpkin carving kit.
Be sure to also have a bowl ready for the pumpkin seeds and pulp.
Cut the Top or Bottom
Decide whether to cut off the top of the pumpkin (traditional method) or the bottom of the pumpkin (easier for lighting). Use a serrated knife to cut around the stem at an angle to create a lid that won’t fall through.

Scoop Out the Insides
Use a large spoon, an ice cream scoop to remove the seeds and stringy pumpkin guts. Scrape the walls of your pumpkin until they’re about 1 inch thick. Save the seeds if you want to roast them later!

Draw Your Design
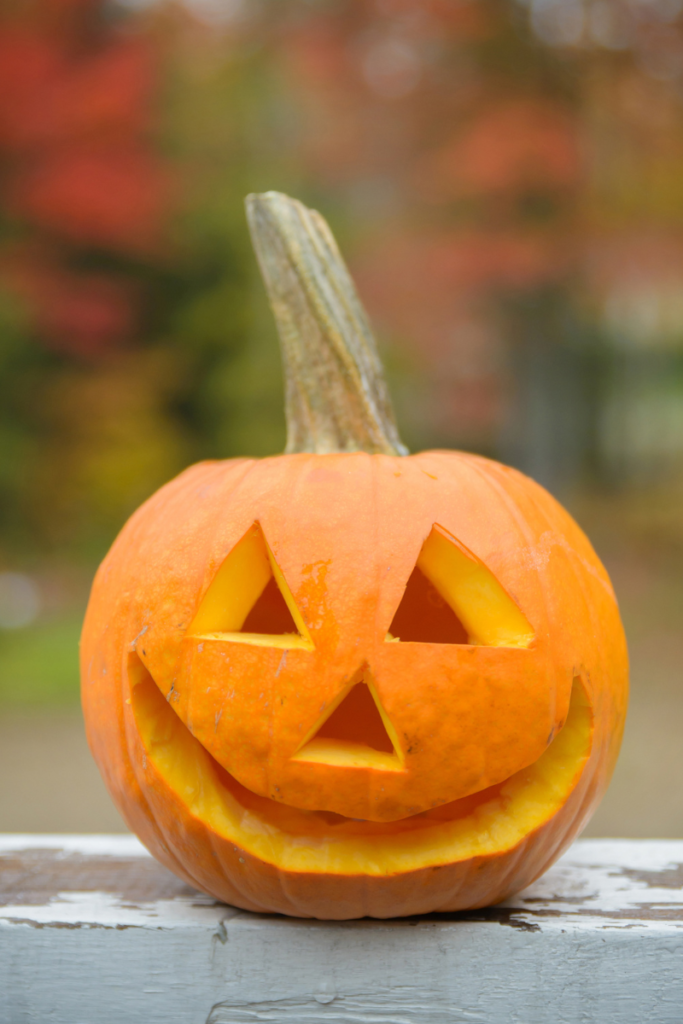
Draw your design directly onto the pumpkin. You can also use stencils or trace a printed design from pumpkin carving templates. For more intricate designs, consider using a pin or nail to poke tiny holes along the lines. Or maybe you’ll just go with the classic toothy grin of the iconic jack-o-lantern design.
Carve Your Pumpkin
Start by carving the smallest details first, working your way to the larger areas. Gently push the pieces out from the inside. Take your time and use a sawing motion for clean cuts.

Clean Up the Edges
Use a small knife or tool to smooth out any rough edges and clean up the details. You can also shave down the inside walls near the carved areas to let more light through.
Light Your Pumpkin
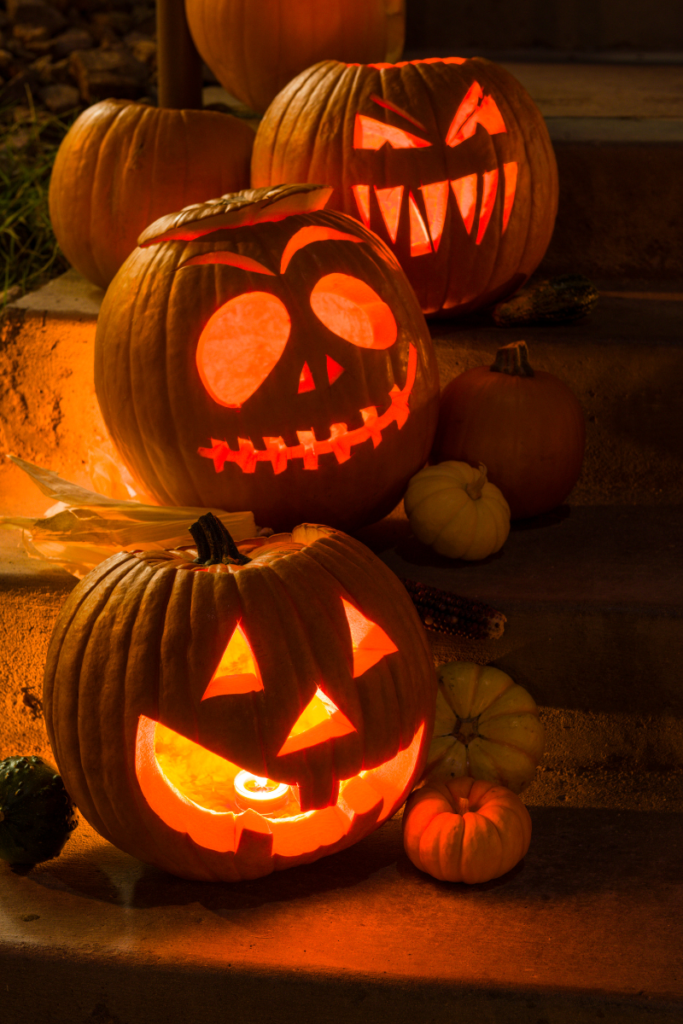
Place a candle, flameless candles, LED light, or battery-operated tea lights inside the pumpkin. If you cut the top off, leave the lid off while the candle is lit to avoid scorching.

For more festive fun, don’t miss out on these pumpkin-inspired ideas! Create a spook-tacular Halloween party dessert table, whip up a classic pumpkin pie, or enjoy all things pumpkin spice this season.
How long before Halloween should you carve a pumpkin?
It’s best to carve your pumpkin about 3-5 days before Halloween to keep it looking fresh for the big night. Carving too early can cause the pumpkin to wilt, mold, or rot before Halloween arrives.
If you need to carve earlier, you can slow down the deterioration process by keeping your pumpkin cool and out of direct sunlight, and applying a light coating of petroleum jelly or a diluted bleach solution to the carved areas. This will help extend its lifespan and keep it looking great!
Do you soak pumpkins before or after carving?
Soak fresh pumpkins *after* carving to help preserve them. Soaking the carved pumpkin in a mixture of water and a little bleach (about 1 tablespoon of bleach per gallon of water) for a few hours can kill bacteria and mold, which helps keep the pumpkin fresh longer. After soaking, make sure to dry it thoroughly before displaying it.


Leave a Reply